Making stencils can be a fun and rewarding craft project. These stencils are versatile tools used for painting, drawing, or adding designs to various surfaces. To start, you will need basic materials like paper, tape, a cutting tool, and your chosen design. Begin by selecting a clear and simple pattern. Trace this onto sturdy paper or a thin plastic sheet for durability. Once traced, carefully cut out the design to make your stencil.
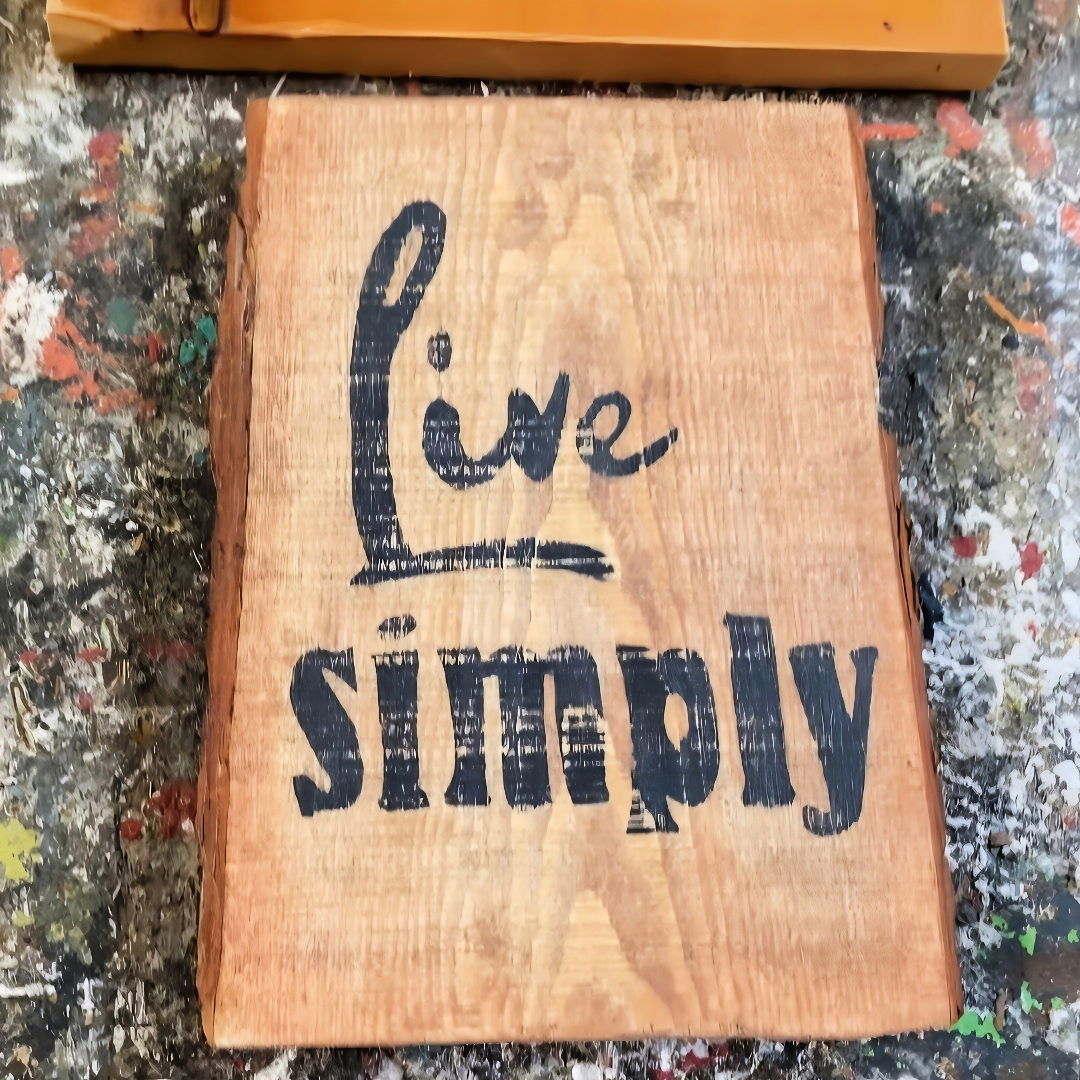
Using your new stencil is straightforward. Secure it onto the surface where you want the design with tape to prevent movement. Apply paint or drawing material over the cut-out areas of the stencil, ensuring even coverage. Remove the stencil gently and allow the design to dry. This technique can be used to personalize items like fabrics, walls, or notebooks.
Materials You’ll Need
- Graphics of Choice: These are your stencil templates. I simply print them off on regular computer paper using a laser jet or inkjet printer.
- Index Dividers: Available at the dollar store. They are made of a clear plastic that is perfect for stencils – not too rigid, not too flimsy.
- Sharp Exacto Knife: Essential for precise cutting. You’ll need a brand new blade to make clean cuts.
- Cutting Board: Protects your surfaces and assists in cutting straight lines.
- Packing Tape: Secures your graphics onto the plastic so they don't move around while cutting.
- Acrylic, Chalk, or Spray Paint: For applying the stencil to your surface.
- Spray Adhesive: Helps in adhering the stencil to your material, preventing paint from bleeding.
- Round Stencil Brush: Ensures even application of paint.
- 220 Grit Sandpaper: Gives a distressed, antique look.
- Clear Wax: To finish and protect your project.
Step by Step Instructions
Learn how to make a stencil with clear, step-by-step instructions. Perfect for DIY projects, crafts, and personalized designs!
Step 1: Choosing and Printing Your Graphics
First, pick out the graphics or text you want to turn into stencils. Print them out on standard computer paper. I used my laser jet printer, but an inkjet will work just as well.
Step 2: Preparing the Index Dividers
I bought my index dividers from the dollar store. These dividers are clear plastic—perfect for stencils because you can see through them easily. It’s important to get the right kind of plastic; if it’s too opaque, you won't be able to see your graphics underneath.
Step 3: Securing the Graphic
Place your graphic under the plastic divider. Use packing tape to secure the paper graphic to the plastic. This will keep everything in place while you’re cutting.
Step 4: Cutting Out the Stencil
Now, the precise work begins. Use a sharp exacto knife to cut out the graphic on the plastic. Make sure to change your blade if it's dull, as a sharp blade gives you more control and cleaner cuts. Take your time to follow the lines carefully.
- Tip: Press firmly, but don’t rush. Lift and adjust the plastic if some pieces don’t cut through completely.
Step 5: Saving the Center Pieces
Don’t throw away the center pieces of your letters (like the inside of an “O” or “A”). Stick these onto a piece of packing tape for safekeeping; they are crucial for your stencil to look right when in use.
Step 6: Applying the Stencil to Your Surface
Pick the material you want to stencil on. In my case, I chose pieces of wood that fit perfectly with my stencils. Spray the back of your stencil with spray adhesive lightly. Wait about 60 seconds for it to become tacky. This step helps to seal the stencil against the surface and prevents paint from leaking around the edges.
Step 7: Painting
Using a round stencil brush, dry brush your chosen paint over the stencil. I like to use black acrylic paint, but you can use whatever paint you have at hand. Apply a couple of coats for a more vibrant look.
- Tip: I sometimes layer multiple colors for a gradient effect. Start with a base color and carefully apply lighter or darker shades for a beautiful finish.
Step 8: Removing the Stencil
Once you've painted, carefully peel off the stencil while the paint is still wet. This helps to avoid any smudging.
- Tip: Be gentle and patient. The spray adhesive works well, but a hasty removal can ruin the crisp lines.
Step 9: Finishing Touches
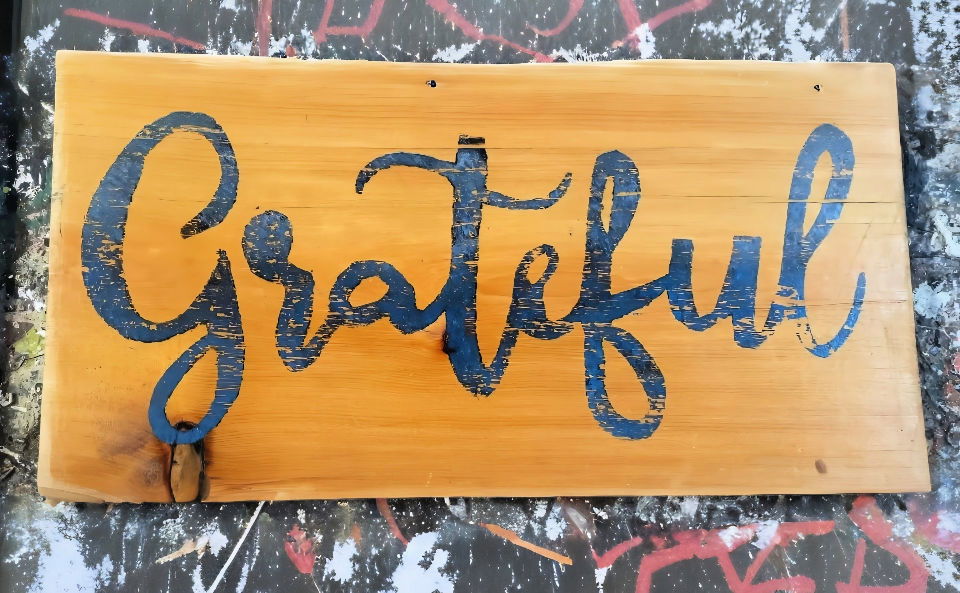
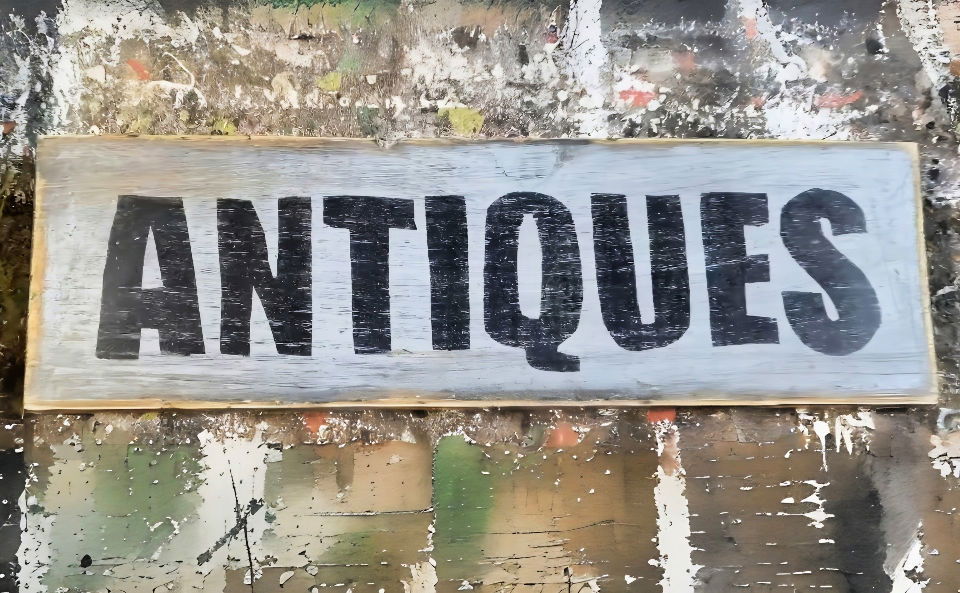
To give my signs a rustic and distressed look, I sand them lightly with 220 grit sandpaper. Finally, I apply clear wax to protect the paint and give it a polished finish.
Results and Final Thoughts
And there you have it! Your very own custom stencils. They may not be as perfect as store-bought ones, but they come pretty close and add a personal touch to your projects. It’s a simple, cost-effective alternative to expensive stencil sets.
Additional Tips:
- Storage: Keep your stencils and the small parts together by taping them to a piece of packing tape and storing them in an envelope.
- Stencil Maintenance: Clean your stencils immediately after use to ensure they last longer.
Making these stencils has been a favorite DIY project of mine, and I hope you find the process just as enjoyable.
FAQs About DIY Stencil
Discover essential answers to faqs about DIY stencil, covering techniques, materials, and tips to make your own stunning stencils.
First, secure your design under the stencil material with painters tape. If it’s intricate, trace it onto the plastic with a marker. This helps with accuracy when you start cutting.
Use a sharp craft knife or X-Acto knife to cut along the design lines. Take your time for clean cuts. If you’re working with a simple design, you might skip tracing and cut directly.
After cutting, remove the design and check for rough edges. Go back with your craft knife to clean up any imperfections. This step is crucial for a smooth stencil.
Yes, if you use durable material like Mylar for your stencil, it can be reusable. Just clean it gently after each use and store it flat or rolled up in a tube to maintain its shape.
To apply paint with your DIY stencil:
Secure the Stencil: Tape your stencil to the surface to prevent it from moving.
Choose the Right Paint: Use acrylic or spray paint for most surfaces. For fabric, fabric paint is best.
Use a Stippling Technique: Dip a stencil brush in paint, remove excess, and use an up-and-down motion to apply paint.
Apply Thin Coats: Multiple thin coats are better than one thick coat to prevent bleeding under the stencil.
Let It Dry: Allow the paint to dry completely before removing the stencil to ensure crisp lines.
Conclusion:
In conclusion, learning how to make a stencil can be an enjoyable and rewarding process. By following the steps outlined in this guide, you'll be able to make unique and personalized designs for various projects. Remember to use the right materials and take your time for the best results. With practice, you'll improve and find even more creative uses for your stencils.
Related DIY Projects and Ideas:
Get inspired with creative DIY projects and ideas! Discover fun, budget-friendly crafts and home improvement tips to transform your space easily.
- DIY Magnetic Board: Transform your space with this creative DIY magnetic board idea. Perfect for organizing notes and adding a stylish touch.
- DIY Gun Rack: Follow this step-by-step guide to create a custom DIY gun rack for safe and stylish firearm storage.
- DIY Welding Table: Discover easy steps for beginners to build a functional DIY welding table for your workshop.
- DIY Ladder Plant Stand: Elevate your greenery with this DIY ladder plant stand project. Perfect for displaying plants in style.
- How to Hang a Door: Learn how to hang a door with this DIY guide. Perfect for home improvement projects.

