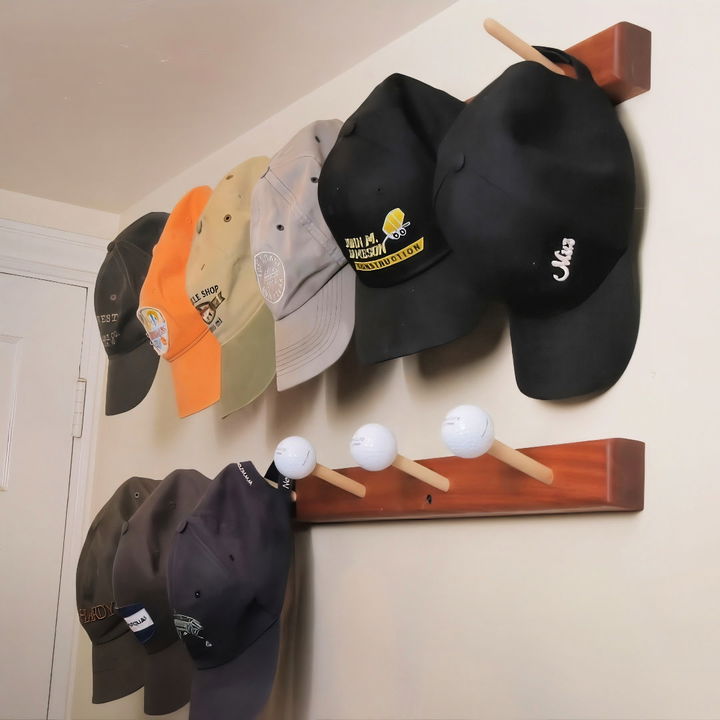
Making your own DIY hat rack is a practical and fun project. This guide provides simple steps to build a rack that keeps your hats organized and accessible. Use common materials you may already have at home. This project helps you craft a functional and attractive rack that is perfect for organizing your space.
Building a DIY hat rack also serves as a great way to add a personalized touch to your home decor. By following easy-to-understand instructions, you can build a unique piece that suits your style. Whether for yourself or as a gift, this project is a rewarding experience.
Materials You Will Need
Before we begin, let’s gather all the essential materials. Here’s what you’ll need:
- Wood: A sturdy piece of wood, preferably at least 3 feet long and no less than half an inch thick.
- Dowels: Wooden dowels, which will serve as the pegs for hanging your hats.
- Drill Press: To drill precise holes for the dowels.
- Screws: For mounting the hat rack to the wall. Ensure they are long enough to secure to the wall studs.
- Round-Over Bit: To round the edges of the wood for a polished look.
- Golf Balls (Optional): A creative way to prevent dents in your hats.
- Marking Tools: Pencil and measuring tape for marking where to drill.
Why These Materials?
- Wood forms the base and needs to be durable enough to sustain the weight of multiple hats.
- Dowels make individual pegs for each hat.
- Drill Press ensures clean, precise holes.
- Screws provide a secure method to mount the rack.
- Round-Over Bit helps in finishing the edges to avoid splinters.
- Golf Balls offer a perfect rounded end to prevent damage to your hats.
Step-by-Step Guide
Let’s move step-by-step through the process of building your very own hat rack.
1. Preparing the Wood
First, select your piece of wood. It should be sturdy and at least three feet long.
Marking the Wood
- Mark three inches from each end.
- Then, mark every six inches between those points. This spacing ensures that your hats have enough room to hang neatly without crowding.
Cutting the Holes
Move your marked wood to the drill press. Drill holes at each mark at an 18-degree angle — this tilt helps keep the hats from sliding off.
2. Adding Mounting Screw Holes
Next, add mounting screw holes. These should be 16 inches apart to align with the studs in your wall. Using a stud finder may assist in locating these points on your wall beforehand.
3. Finishing Touches
Use a round-over bit on your drill press to soften the edges of the wood piece. This both improves the aesthetic and ensures no one gets splinters from your hat rack.
Assembling the Hat Rack
Now that the wood base is ready, it’s time to add the dowels.
4. Inserting the Dowels
Insert dowels into the angled holes. For convenience, do not glue them; this way, you can easily replace any dowel that breaks. Each dowel now serves as a peg for hanging hats.
5. Mounting Your Hat Rack
With the dowels in place, you can now mount your hat rack on the wall using the screws. Use a level to ensure it is perfectly horizontal.
Optional: Protect Your Hats
If you’re concerned about dents in your hats, here’s a neat trick: use golf balls.
6. Using Golf Balls
- Drill a half-inch hole into each golf ball.
- Fit a golf ball over the end of each dowel.
- Secure with a bit of epoxy to keep them in place.
This trick provides a rounded end, protecting your hats from dent marks, especially helpful for more expensive or delicate hats.
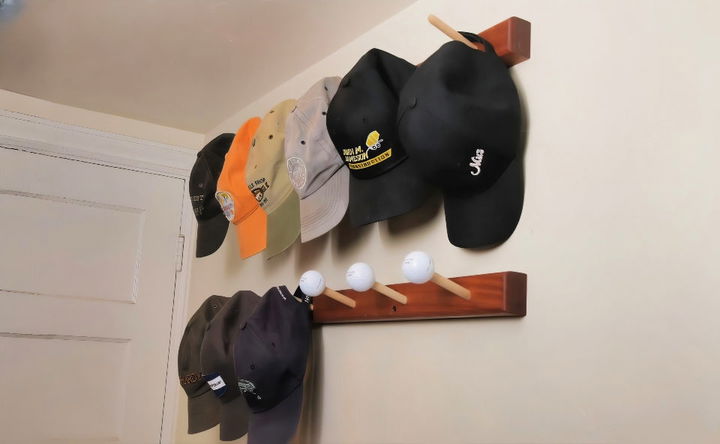
Final Steps
Once mounted, start hanging your hats. Feel free to double or even triple up the hats on each peg based on your collection size.
Tips and Tricks
- Wood Selection: Choose a hard wood like oak for durability.
- Safety First: Always wear safety goggles when drilling.
- Customization: Paint or stain the wood to match your home decor.
There you have it! A simple and easy hat rack that’s both functional and stylish. It’s perfect for beginners but provides a touch of craftsmanship that anyone will appreciate. Try it out and see how it helps keep your hats organized.
FAQs About DIY Hat Rack
Discover everything you need to know about DIY hat rack projects with our comprehensive faqs, including tips, materials, and steps to make your own.
There are many simple designs that require minimal tools and skills. For example, you can make a hat rack using a wooden board and some clothespins glued to it for a vertical design. Another easy project is using curtain rings on a rod to hang caps.
Yes, you can opt for freestanding hat racks or use damage-free hanging strips designed for holding weight without leaving marks on your walls. Some DIY hat racks can be hung over doors or placed on shelves.
Consider making a hat wall gallery by arranging hooks in a decorative pattern or using a pegboard for a customizable display. You can also build a hat rack that doubles as a piece of art, like a zigzag wall-mounted rack or a painted antler design.
Make sure to use durable materials and secure the rack properly to the wall or ensure a solid base if it’s freestanding. If you’re mounting it on the wall, use wall anchors suitable for your wall type to support the weight of the hats.
Personalizing your DIY hat rack is easy and fun. You can paint or stain the wood to match your room’s color scheme. Adding decorative knobs or using themed hooks can also reflect your personal style. For a rustic look, consider using reclaimed wood or adding a vintage finish.
Conclusion:
In conclusion, making your own DIY hat rack is a fun and practical project. It offers a personalized touch to your home decor while organizing your hats efficiently. By following the simple steps outlined in this guide, you can craft a stylish and functional hat rack that suits your needs and preferences. Get started on your DIY hat rack today and enjoy the satisfaction of a custom-made solution!
Related DIY Projects and Ideas:
Explore creative related DIY projects and ideas for home decor, crafts, and more. Get inspired with step-by-step guides and expert tips.
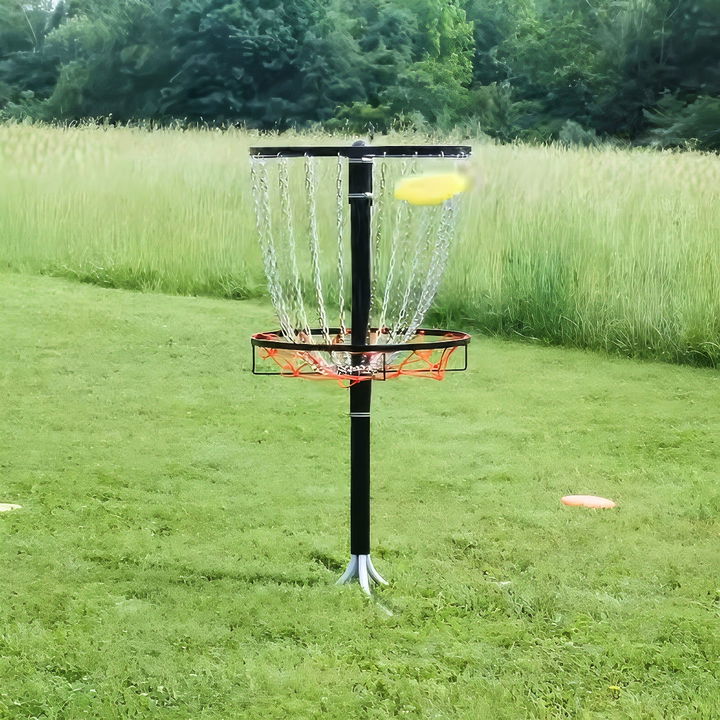
- DIY Disc Golf Basket: Create your own disc golf course with this DIY disc golf basket.
- DIY Ballet Barre: Build your own ballet barre with this DIY ballet barre. Perfect for aspiring dancers at-home practice.
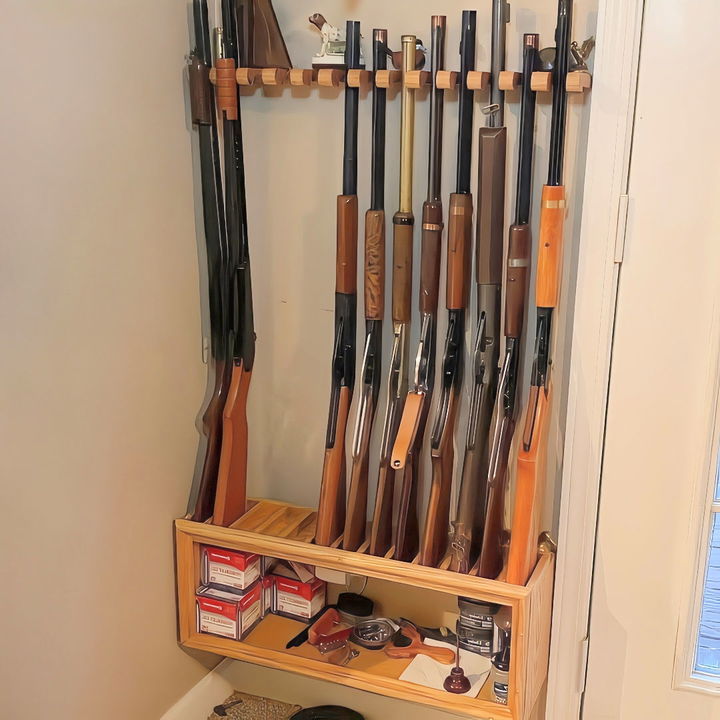
- DIY Gun Rack: Follow this step-by-step guide to build a DIY gun rack. Secure and organize your firearms efficiently.
- DIY Chicken Feeder: Ensure your flock is well-fed with this homemade DIY chicken feeder plan.
- DIY Cat Bed: Make your feline friend cozy with this DIY cat bed. Easy project for a comfortable cat retreat.
Related posts: