Making a DIY Mason Jar Vase is a simple and affordable way to add a personal touch to your home decor. This project involves reusing old mason jars and turning them into charming vases with just a few materials like paint, ribbons, or twine. By following these steps, you can customize the vase to match your style and decor preferences, making it a versatile and eco-friendly project suitable for any room.
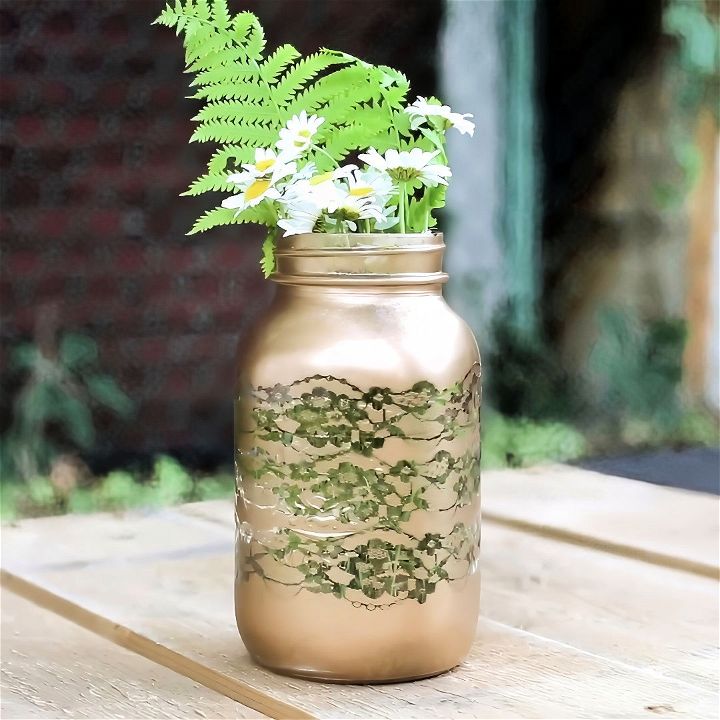
The process of making a DIY Mason Jar Vase is straightforward and enjoyable. It includes cleaning the jar, painting or decorating it, and then adding flowers or other decorative elements. With various design options like painting or using decorative wraps, the possibilities are endless. Let's explore the next section to get started on your unique and beautiful mason jar vase.
Materials You Will Need
Before we start, it’s important to gather all the materials you’ll need:
- Mason Jar: The base of our vase, known for its sturdy build and versatility.
- Lace or Lace Ribbon: Used to create a beautifully patterned design on the jar.
- Spray Paint: Choose any color that fits your home decor. We used gold for a more sophisticated look, but pastel colors also work great.
- Glue Gun: Essential for attaching the lace securely to the jar.
- Masking Tape: To hold the lace in place if needed.
Step by Step Instructions
Learn how to make a beautiful DIY mason jar vase with our easy step-by-step instructions, from prepping and decorating to spray painting and finishing touches.
Step 1: Preparing Your Mason Jar
First, ensure that your mason jar is clean and dry. Any dust or moisture can affect how well the glue and paint adhere to the jar.
Step 2: Cutting the Lace
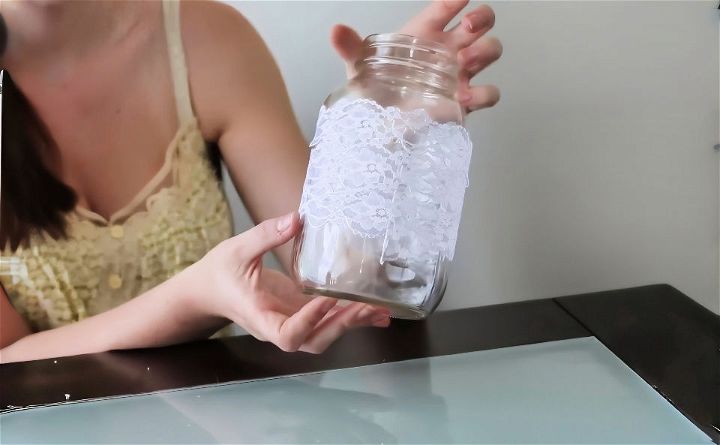
Cut your lace into strips that can wrap around the jar. If you only have a large piece of lace, you can cut it to fit your jar's height. We cut ours into three strips, each about an inch wide, to wrap around the jar in layers.
Step 3: Applying the Lace with Hot Glue
This step requires a bit of careful handling:
- Start by gluing one end of a lace strip to the jar.
- Wrap the lace around the jar snugly, gluing down the other end to secure it.
- Repeat with additional strips of lace if you are layering.
Make sure the seams of the lace strips are aligned at the same spot, ideally towards the back of the vase, to keep them less noticeable.
Step 4: Spray Painting
Now for the fun part – adding color!
- Take the jar outside or to a well-ventilated area to avoid inhaling fumes.
- Hold the spray paint can about 12 inches away from the jar to get an even coat.
- Spray lightly and evenly, making sure the paint doesn't pool, which can cause drips.
- Let the jar dry for about 20-30 minutes.
If you desire a more intense color, apply a second coat after the first one is completely dry.
Step 5: Removing the Lace
Once the paint is fully dry:
- Carefully peel off the lace from the jar.
- Admire the design that the lace leaves behind, revealing a beautifully patterned vase.
Extra Tips for Success
- Test the spray paint on a separate surface first to get a feel for the coverage and drying time.
- Use gloves to protect your hands from the glue and paint.
- Rotate the jar as you spray to get an even coat all around.
Displaying Your Creation
After removing the lace:
- Fill your new vase with flowers. Fresh daisies looked adorable in mine!
- Use the vase as a centerpiece on your dining table or as a decorative piece on a shelf.
This beautiful lace mason jar vase also makes a thoughtful, handmade gift for friends and family.
Making your own DIY lace mason jar vase is not only a satisfying project but also a fantastic way to personalize your home decor. By following these steps, you’ll have a beautiful, custom vase that reflects your unique style. I hope you enjoyed this tutorial as much as I did!
FAQs About DIY Mason Jar Vase
Discover answers to common questions about DIY mason jar vase projects. Get tips, ideas, and inspiration for creating beautiful mason jar vases.
Yes, you can use various types of paint, such as acrylic, spray paint, or chalk paint. However, if you plan to fill your vase with water, avoid painting the inside of the jar or use a waterproof sealant to protect the paint.
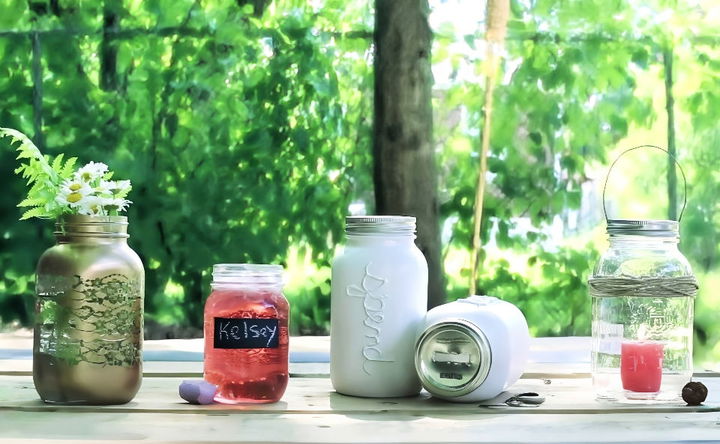
Absolutely! You can create an ombre effect with spray paint, design a hanging mason jar vase, or even incorporate a picture frame into your vase for a personalized touch.
Consider using unique embellishments like ribbons, lace, jute twine, or even a skeleton key. You can also experiment with different painting techniques, such as distressing or stenciling, to give your vase a one-of-a-kind look.
Mason Jar Vases are perfect for events like weddings or parties and make thoughtful, handcrafted gifts. Personalize them with monograms, match them to the event’s theme, or fill them with seasonal flowers to suit the occasion.
To ensure your Mason Jar Vase lasts a long time, apply a clear sealant over the paint to protect it from water and scratches. If you’re using the vase to hold fresh flowers, consider adding a plastic liner inside to prevent water damage. Regular cleaning with a soft, damp cloth can also help maintain its appearance without damaging the surface.
Conclusion:
In conclusion, making a DIY mason jar vase is a simple and enjoyable project that adds a personal touch to any space. It’s economical, flexible, and can be customized to match any decor style. Give it a try and enjoy the satisfaction of crafting something beautiful and unique.

