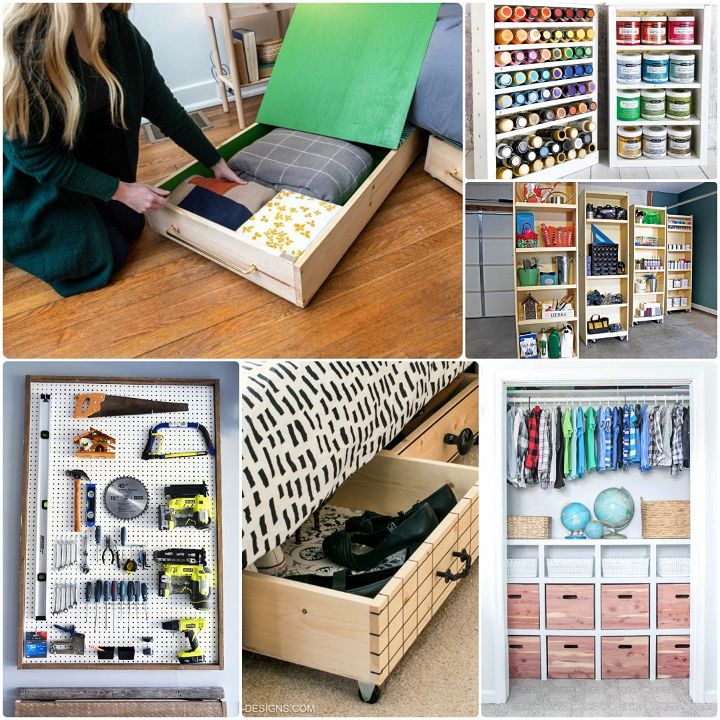
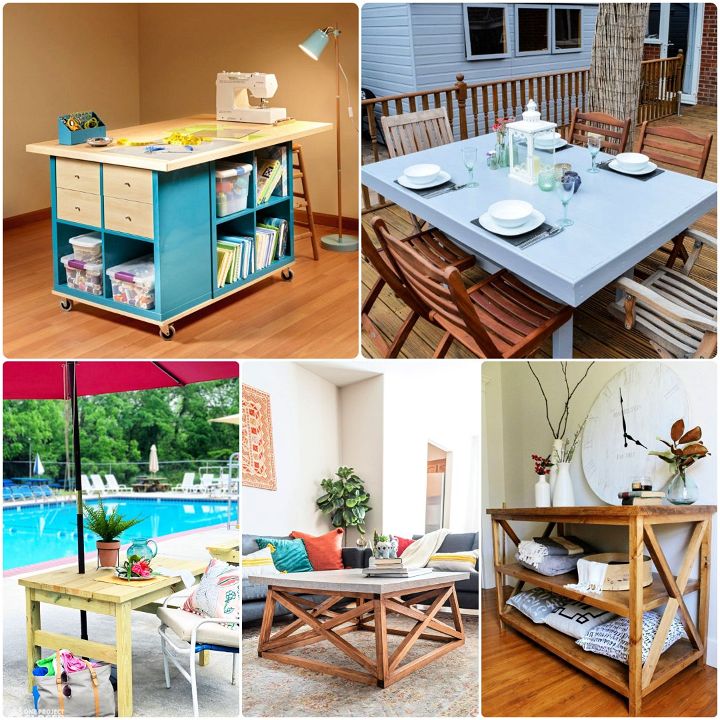
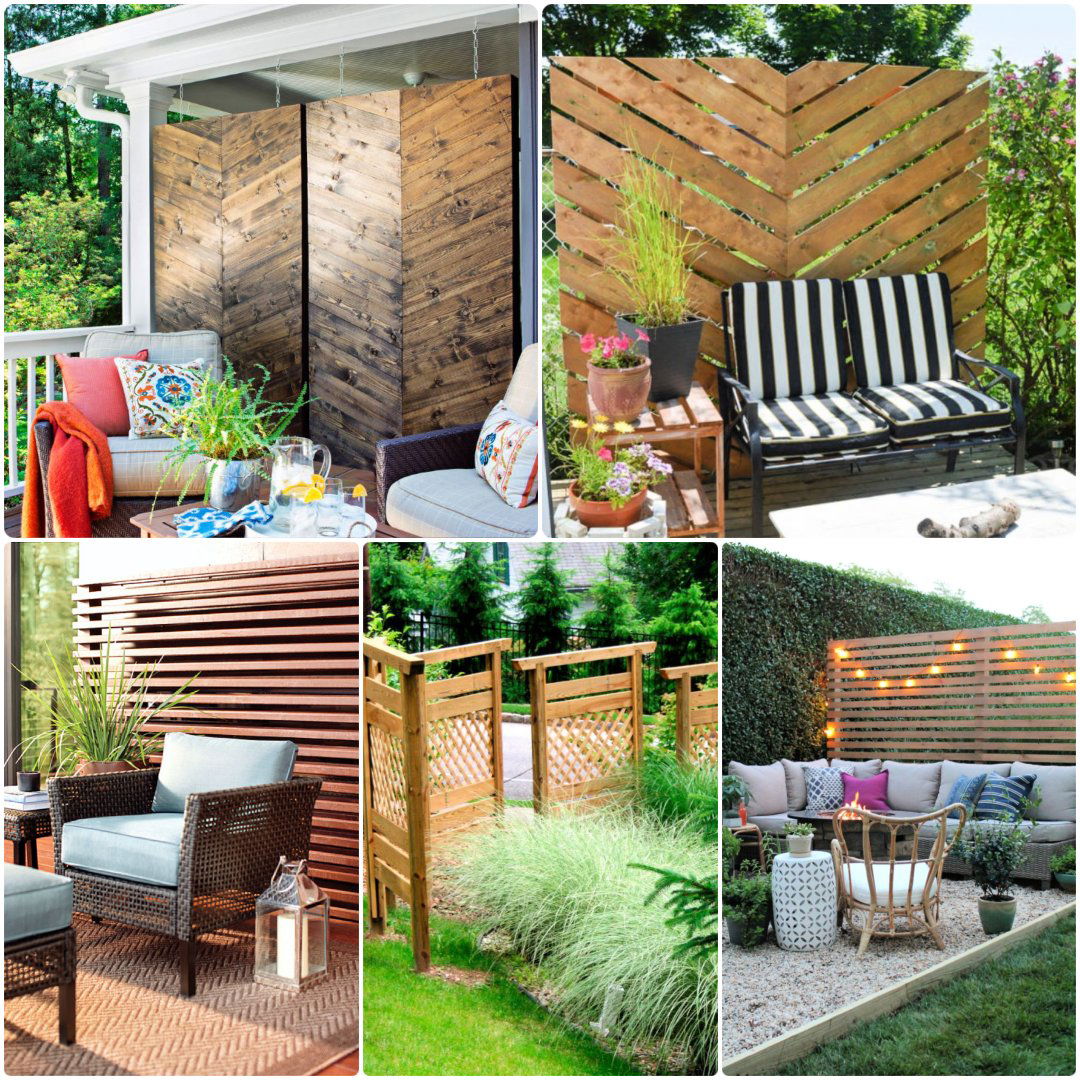
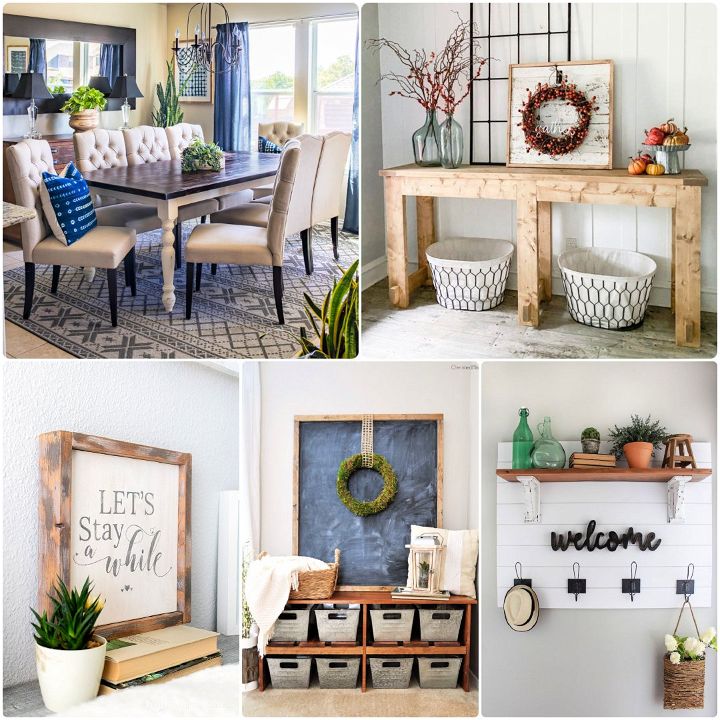
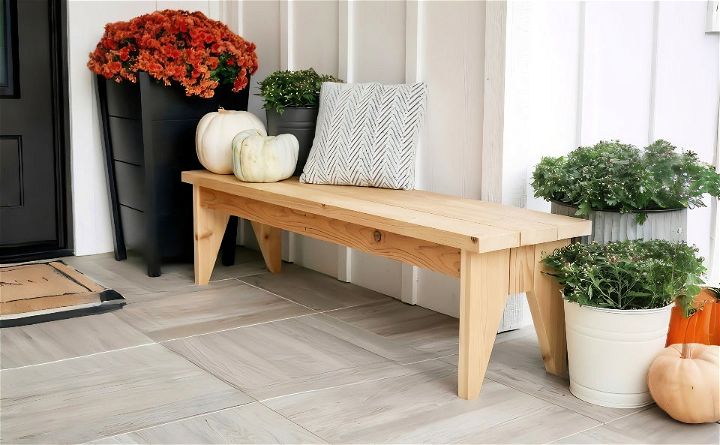
Building a simple DIY outdoor bench can transform your garden or patio into a cozy seating area. This project doesn't require advanced skills or complex tools, making it accessible for anyone interested in building their own furniture. With just a few materials and straightforward steps, you can complete this project in a weekend. The finished bench will be sturdy and stylish, providing a perfect spot for relaxing outdoors.
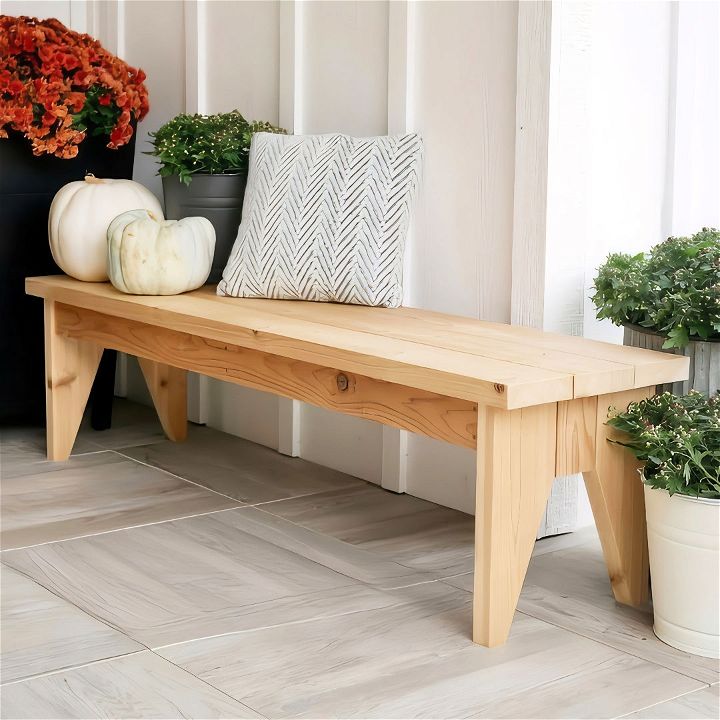
Before starting, gather essential materials like wood, screws, and a saw. Follow step-by-step instructions to ensure safety and accuracy in your build. Sand and paint or stain the wood to protect it from the elements and achieve a polished finish. This DIY outdoor bench project not only enhances your space but also gives you a sense of accomplishment.
Materials You'll Need
Understanding why each material is used helps ensure your bench is durable and safe. Here's a list of what you'll need:
- Cedar 2x6 and 2x4 boards: Cedar is naturally resistant to rot and insects, making it great for outdoor furniture. You can also use pressure-treated wood or kiln-dried lumber with a protective coating.
- 2.5-inch exterior-grade screws: Essential for outdoor use to prevent rusting.
- Wood glue: Adds extra strength to your joints.
- Orbital sander: For smoothing rough edges and surfaces.
- Measuring tape and pencil: To measure and mark your cuts accurately.
- Circular saw or miter saw: For cutting the lumber to the desired lengths.
- Drill with a set of bits: Necessary for pre-drilling holes and driving screws.
- Straight edge or ruler: To draw straight lines for cuts.
Step by Step Instructions
Learn how to build a simple DIY outdoor bench with step-by-step instructions. From cutting lumber to sanding and finishing, find easy tips for customization.
Step 1: Cutting the Lumber
First, you'll need to cut the cedar boards to the correct lengths. Here's how to measure and cut:
- Measure out each piece according to the cut list on my website. [Link to plans]
- Use a circular saw or miter saw to make precise cuts. Cutting accurately ensures all the pieces fit together seamlessly.
Step 2: Making the Legs
The legs add stability and style to your bench. Here’s how to make them:
- Take two of the 2x4 boards and measure up 10 inches from one end on one side.
- Measure over 4 inches from the same end on the adjacent side.
- Connect these two marks with a straight edge and draw a line.
- Use your saw to cut along the line, creating a tapered leg.
Step 3: Assembling the Seat Frame
Now that you have the legs ready, it’s time to assemble the seat frame. Here’s what to do:
- Pre-drill holes where the screws will go into the cedar 2x4s. Since cedar is a softer wood, pre-drilling helps prevent it from splitting.
- Apply some wood glue to the joints for added strength.
- Fasten the 2x4s together using 2.5-inch exterior screws. Ensure everything is square and level.
Step 4: Attaching the Legs
With the seat frame assembled, you can now attach the legs. Here's the process:
- Position two legs on each side of the seat frame; ensure they are evenly spaced.
- Keep a quarter-inch gap between the legs for a neat appearance.
- Secure each leg with three screws from the inside of the frame to keep the screws hidden.
- Repeat the process for the other side.
Step 5: Attaching the Seat Boards
We’re almost done! Next, we’ll attach the top boards where you’ll be sitting. Here are the steps:
- Place the seat boards under the frame and align them precisely where you want them.
- Pre-drill holes at an angle through the frame into the seat boards.
- Secure the boards with screws, ensuring the screw heads don't show from the top.
Step 6: Sanding and Finishing
For a smooth and snag-free bench, sanding is crucial. Here’s what to do:
- Use an orbital sander to smooth out any rough edges on the legs and seat boards.
- Pay extra attention to rounded edges to make them comfortable to touch and sit on.
Additional Tips and Customization
You can customize your bench to make it truly unique:
- Pocket Holes: If you prefer a cleaner look, consider using pocket holes for hidden screws.
- Different Joinery Methods: Feel free to explore different types of joinery for added strength and visual appeal.
- Protective Coating: Apply a clear sealant or stain to protect the wood from the elements.
Building this simple outdoor bench was a rewarding project. It’s perfect for beginners, and you can easily customize it to meet your needs. Remember, safety comes first, so always use protective gear and follow proper procedures when working with power tools.
FAQs About DIY Outdoor Bench
Discover answers to common questions about creating a DIY outdoor bench. Perfect for enhancing your outdoor space with a personal touch.
Consider the style of your garden or patio, the level of woodworking skill you have, and the purpose of the bench. Simple designs are great for beginners, while more intricate designs can offer additional features like storage or accommodate specific spaces like around a tree.
Yes, there are many plans available that are suitable for beginners. These plans often come with detailed instructions, images, and a list of materials and tools needed. Starting with a simple design can help you build confidence and skills.
You can customize your bench by choosing different types of wood, adding a stain or paint, or incorporating unique design elements. Consider adding cushions or pillows for extra comfort and style.
Building your own bench can be more cost-effective than buying a pre-made one. It allows you to control the cost by selecting materials and you can save on labor costs. Additionally, it provides a sense of satisfaction that comes with creating something yourself.
To protect your outdoor bench from weathering, apply a sealant that is appropriate for the type of wood you have used. You can also use exterior-grade paint or stain to add an extra layer of protection. Regular maintenance, such as cleaning and reapplying sealant or paint as needed, will help extend the life of your bench.
Conclusion:
In conclusion, building a simple DIY outdoor bench is a rewarding project that enhances your outdoor space. This guide provided detailed steps to build your own bench, ensuring a perfect fit for your style and needs. Enjoy the satisfaction of crafting your perfect outdoor seating, and don't forget to share your DIY creations with friends and family.
Related DIY Projects and Ideas:
Explore innovative and inspiring Related DIY Projects and Ideas to enhance your home decor, garden, and lifestyle with easy, step-by-step guides.
- Building a DIY Deck: Transform your outdoor space with our free DIY deck plan. Follow detailed instructions and materials list to get started.
- How to Build a Pond in Your Yard: Create a serene backyard oasis with our DIY pond. Explore easy steps and inspiration.
- How to Build a DIY Birdhouse: Attract birds to your yard with our adorable DIY birdhouse. Get started with simple instructions.
- Easy DIY Flagpole: Show your patriotism with a custom DIY flagpole. Follow our easy plans to build your own.
- DIY Pergola to Build Your Dream Space: Enhance your garden with a stunning DIY pergola. Find free plans and tips.

