Making your own DIY reed diffuser is a wonderful way to add a personal touch to any space while enhancing the atmosphere with your favorite scents. This easy project requires simple materials like reeds, fragrance oil, and a decorative bottle, making it an affordable option for home fragrance. With just a few steps, you can customize the aroma to your liking and design a diffuser that complements your decor.
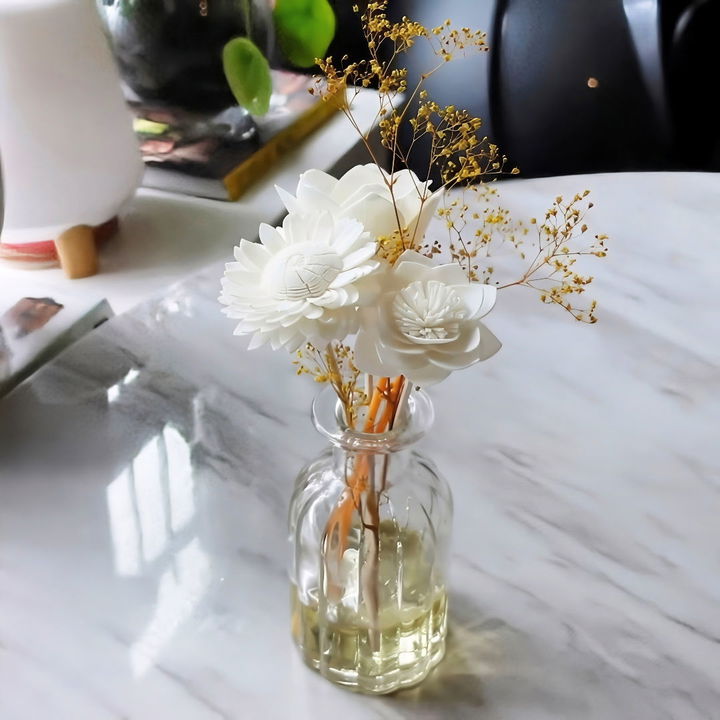
Not only is a DIY reed diffuser practical and stylish, but it also provides a natural way to keep your home smelling fresh. Using essential oils, you can tailor the scent to suit different moods and seasons. The process is straightforward and enjoyable, making it a great project for anyone interested in crafting or home improvement.
Why Make a Reed Diffuser?
There are dark corners in my home where fresh flowers don’t thrive, but I still want a touch of nature and fragrance. Reed diffusers are perfect for these spaces, adding a lovely scent and visual charm without the need for sunlight.
Materials You'll Need
Before we get started, let's gather all the necessary materials:
- Vase or Bottle: Look for small bottles with narrow openings. This reduces the rate of oil evaporation, prolonging the diffuser's life. Try to avoid clear glass if the diffuser will be in direct sunlight, as this can degrade the essential oils.
- Reed Sticks: These are essential for diffusing the scent. They come in different colors, and you can choose ones that match your aesthetic.
- Dried Flowers: These add beauty and a touch of nature to your diffuser. You can pick vibrant colors to match your decor.
- Essential Oils: These are the fragrances that will diffuse through your reeds. Choose oils based on your scent preferences.
- Carrier Oil: This dilutes the essential oils. Sweet almond oil, jojoba oil, grapeseed oil, or fractionated coconut oil are all good choices due to their mild scents and light textures.
- Isopropyl Alcohol: This helps the oil mixture to travel up the reed sticks.
- Funnel: This makes pouring the oils into the bottle easier.
Why Each Material is Needed:
- Vase/Bottle: This holds the oil mixture and reeds.
- Reed Sticks: They absorb the oil and diffuse the scent into the air.
- Dried Flowers: Aesthetic appeal.
- Essential Oils: Provide the fragrance.
- Carrier Oil: Dilutes the essential oils and helps distribute the scent evenly.
- Isopropyl Alcohol: Combines the oils and facilitates wicking.
- Funnel: Prevents spills when pouring.
Step-by-Step Guide to Making a Reed Diffuser
Learn how to make a reed diffuser with our easy step-by-step guide below!
Step 1: Make Your Oil Blend
To start, mix your oils in a separate container. Here's the basic recipe:
- 1/4 cup of Carrier Oil: Choose sweet almond oil for a mild scent.
- 30 drops of Essential Oils: The number and type of drops can be adjusted based on your scent preference.
- 1/2 teaspoon of Isopropyl Alcohol: Use 99% concentration for best results.
Here’s an example blend for a warm, cozy scent:
- 10 drops of Vanilla Essential Oil
- 10 drops of Sweet Tobacco Essential Oil
- 5 drops of Bergamot Essential Oil
- 5 drops of Jasmine Essential Oil
Step 2: Mix Your Oils
Once you’ve gathered your oils, combine them in a bowl or measuring cup. Add the essential oils to the carrier oil and mix well. Then, add the isopropyl alcohol and stir to combine.
Step 3: Pour the Oil Mixture into the Bottle
Using a funnel, carefully pour the mixed oil into your vase or bottle. Filling it about 3/4 full is usually best, as overfilling can cause leaks and underfilling may not look as pleasing.
Step 4: Insert the Reed Sticks
Place several reed sticks into the bottle. Start with about 4-5 sticks; you can always add more if you want a stronger scent. The reeds will absorb the oil and begin diffusing the fragrance into the air.
Step 5: Decorate with Dried Flowers
Arrange your dried flowers around the reed sticks. This adds a beautiful, decorative touch and makes your diffuser look like an intentional piece of decor.
Helpful Tips and Tricks
Making Different Scents for Various Rooms
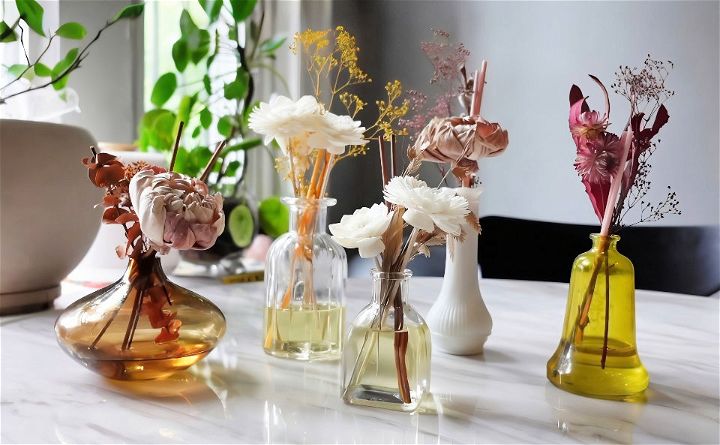
I enjoyed this project so much that I made several diffusers for different rooms in my house:
- Kitchen: For a fresh, clean scent, I used 10 drops of Lemon Oil, 10 drops of Sandalwood Oil, 5 drops of Geranium Oil, and 5 drops of Ylang Ylang Oil. This blend is invigorating and works well in a kitchen space.
- Bedroom: For a calming and cozy atmosphere, I used 10 drops of Chamomile Oil, 10 drops of Vanilla Oil, 5 drops of Vetiver Oil, and 5 drops of Sandalwood Oil. This is ideal for relaxing and unwinding.
- Bathroom: A floral and refreshing scent can be made with 10 drops of Jasmine Oil, 10 drops of Teakwood Oil, 5 drops of Basil Oil, and 5 drops of Bergamot Oil. This is perfect for small, enclosed spaces.
Safety and Longevity Tips
- Pet Safety: Essential oils can be harmful to pets. Be cautious with oils like citrus or pine which can be particularly dangerous. Place diffusers out of pet's reach and in well-ventilated areas.
- Oil Longevity: The diffuser oil should last about a month, but you can refresh the scent by flipping the reeds weekly.
Transitioning Scents
When the scent fades, simply replace the oil and reeds. You can clean the bottle with warm, soapy water before adding a new scent to avoid mixing the previous fragrance.
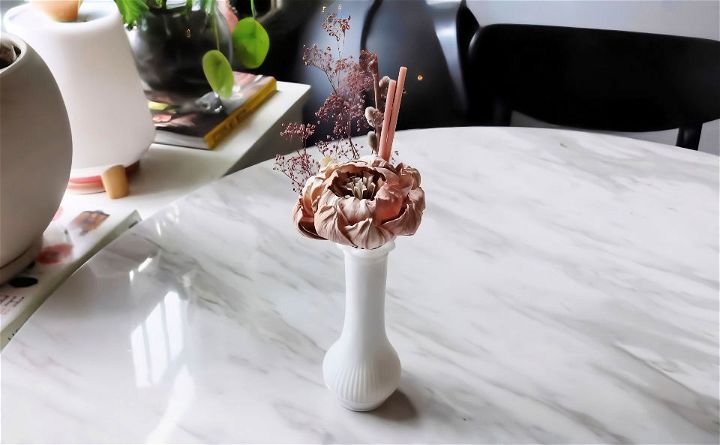
Making a reed diffuser is a simple and rewarding DIY reed diffuser. It allows you to customize scents that reflect your taste and style, and it’s a great way to add charm to any room. If you have any favorite essential oil blends or tips, please share them with me in the comments! Don’t forget to like, comment, and subscribe for more DIY projects.
FAQs About DIY Reed Diffuser
Discover answers to faqs about DIY reed diffusers. Learn tips, materials, and best practices for making your own natural home fragrance solutions.
A reed diffuser is a simple, low-maintenance device used to disperse essential oils into the air, creating a pleasant aroma in your space. It consists of a container filled with scented oil and several reed sticks. The oil travels up the reeds and evaporates into the air, spreading the fragrance.
While you can use various non-porous containers, glass or ceramic vessels with a wide base and narrow neck are ideal. The wide base ensures stability, and the narrow neck slows down the evaporation of the oils, making your diffuser last longer.
The intensity of the fragrance can be adjusted by the amount of essential oil added to the carrier oil. More oil will result in a stronger scent. You can also flip the reeds or add more sticks to increase the scent’s dispersion.
Reed sticks can become clogged with dust or saturated with oil over time, which can reduce their effectiveness. It’s a good idea to replace them every month or so, or whenever you notice the scent is not diffusing as well as it used to.
Selecting essential oils for your reed diffuser depends on the mood you want to create. For a relaxing atmosphere, lavender or chamomile are great choices. Citrus oils like lemon or orange can energize a room, while eucalyptus or peppermint can help with focus and clarity. Consider blending different oils to create a unique scent profile that suits your preferences.
Conclusion:
In conclusion, making your own DIY reed diffuser is an easy and cost-effective way to enhance your home's aroma. With simple ingredients and a bit of creativity, you can customize scents to suit your preferences. By making a DIY reed diffuser, you not only save money but also enjoy the satisfaction of crafting a personalized home fragrance solution. Try it out and experience the difference.

