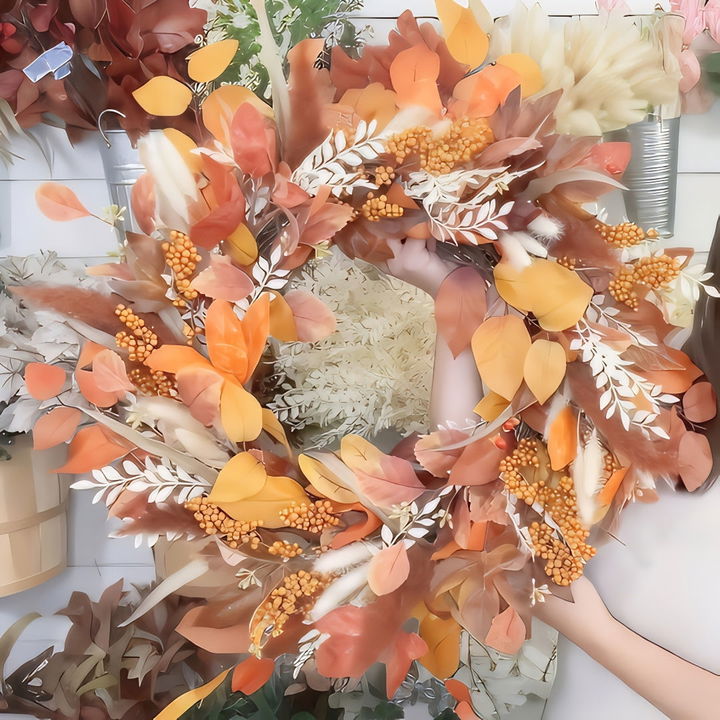
Learn how to make a burlap wreath at home with this easy guide. Making a burlap wreath is fun and easy. Start by gathering your materials, such as a wire wreath frame, burlap ribbon, scissors, and floral wire. Next, secure one end of the burlap ribbon to the frame with floral wire. Begin weaving the burlap through the frame, making loops that cover the wire. Keep the loops even and fluffy for a full-looking wreath.
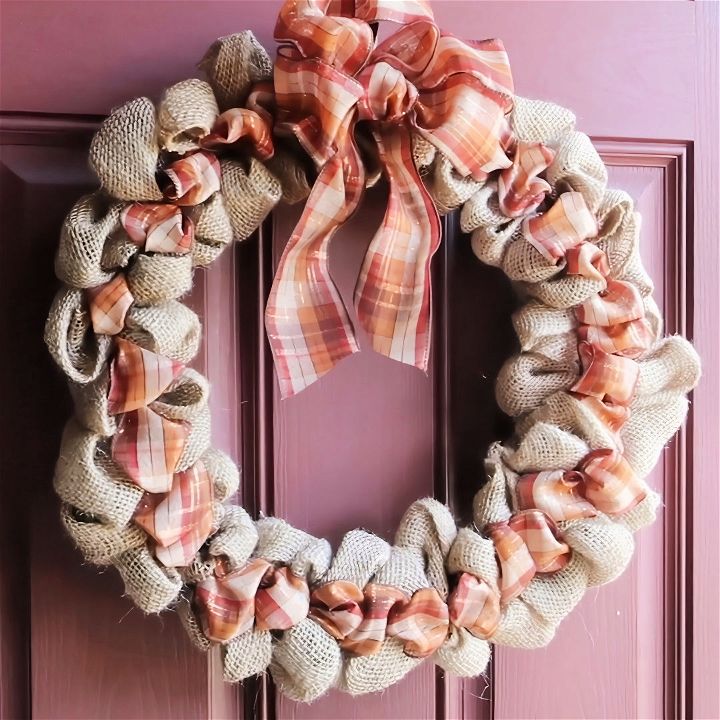
After weaving the burlap around the entire frame, secure the end of the ribbon with floral wire. Adjust the loops to make the wreath look full and even. You can add decorations like artificial flowers, ribbons, or seasonal ornaments to personalize your wreath. Crafting a burlap wreath allows for creativity and adds a charming touch to any decor. If you're interested in more detailed steps and tips, read on!
Materials You'll Need
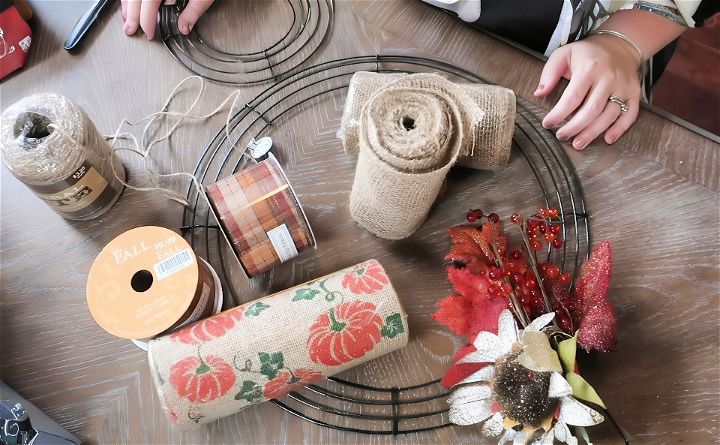
Before we get started, let's gather all the necessary materials. Here’s why each is important:
- Wire Frame: This forms the base of your wreath. I picked a medium-sized frame from Hobby Lobby, which costs around $2.99.
- Burlap Ribbon (6 inches wide): You'll need about 30 feet. Burlap forms the main part of the wreath, giving it a rustic, fall look. Get a flexible burlap that's easy to work with. I bought mine during a sale for 40% off.
- Accent Ribbon: To add some color or pattern, you’ll need about 15 feet of accent ribbon. I chose a plaid design to add a pop of fall color.
- Twine: For attaching the ribbons to the frame. It’s sturdy and blends well with burlap.
- Scissors: Essential for cutting burlap, twine, and ribbon.
- Little Accent Pieces: Optional, but adds a personal touch. I have some fall-themed accents like small ornaments and leaves.
Now that we have everything, let’s get started!
Step-by-Step Guide to Making a Fall Burlap Wreath
Learn how to make a fall burlap wreath with our easy, step-by-step guide. Perfect DIY project for autumn decor!
Step 1: Preparing the Twine
Start by cutting smaller pieces of twine. These will be used to tie the ribbons to the wire frame. They don’t need to be any specific length, but around 6 to 8 inches works well. Cut a generous number so they’re ready to grab as you go.
Step 2: Setting Up the Burlap Ribbon
Select one of your burlap rolls. It helps to use matching rolls to keep the wreath uniform. To start, cut a small hole near the edge of the burlap. This is where you'll tie the burlap to the wire frame.
Step 3: Tying the Burlap to the Frame
Decide where you want the top of your wreath to be. I just pick a spot arbitrarily because the wreath looks the same all around. Use a piece of twine to tie the burlap onto the frame securely.
Step 4: Adding the Accent Ribbon
Next, cut a small hole in the accent ribbon. Tie this to the frame’s center row using twine. I place my accent ribbon on the second row of the frame, creating a striking middle design.
Step 5: Starting the Loops
Now the fun part begins! Start creating loops with the burlap. Push a loop through the bottom row, pulling it through with your fingers. Make similar loops through the middle and top rows. The goal is to have loops of uniform size.
Step 6: Alternating with Accent Ribbon
Alternate between loops of burlap and accent ribbon. This alternating method holds everything in place and ensures your wreath stays intact. Push a loop of accent ribbon through the middle row, then move to the next section with burlap.
Step 7: Transitioning Rolls
When you run out of burlap from the first roll, don’t panic! Cut similar holes in the new burlap roll and secure it to the frame using twine, the same way you did at the beginning. Make sure to pull the loops tight to hide any transitions.
Step 8: Completing the Wreath
Continue making loops all the way around the frame. You'll likely need about three rolls of burlap to complete the wreath. Ensure each section is full, alternating between burlap and accent ribbon for a balanced look.
Step 9: Securing the End
Once you complete the final loop, cut a small hole in the last bit of burlap and tie it to the frame using twine. Secure it firmly to ensure the wreath holds together.
Step 10: Adding Accents (Optional)
Now, you can embellish your wreath with little fall-themed accents, such as small ornaments, artificial leaves, or berries. This step is optional but adds a personalized touch to your decoration.
Tips for a Better Wreath
- Consistent Loops: Keeping the loops uniform in size gives the wreath a more polished look.
- Bigger Loops for Fullness: If you want a fuller wreath, make larger loops on the outer rows and smaller loops on the inner rows.
- Hidden Transitions: When transitioning between rolls, try to do so behind an accent loop to keep it hidden.
- Extra Burlap: Always have a little extra burlap on hand. It’s better to have and not need than to need and not have.
Displaying Your Wreath
To hang your wreath, use a piece of twine through the top loop. Secure it with a simple knot, cut off any excess, and you have a sturdy way to hang your new fall decoration proudly on your door.
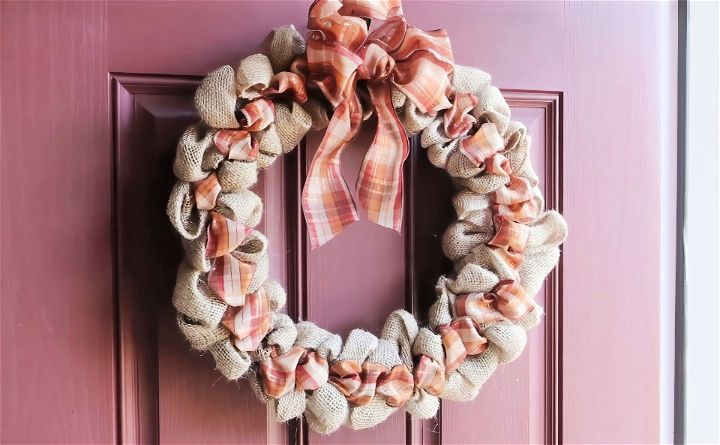
And there you have it – a beautiful, handmade fall burlap wreath! It’s cost-effective, easy to make, and adds a lovely seasonal touch to your home. If you have any questions or need certain steps clarified, feel free to ask. I hope this guide inspired you to create your own wreath and enjoy the process as much as I did.
FAQs About DIY Burlap Wreath
Discover answers to all your questions about DIY burlap wreaths, including materials, steps, and tips for crafting beautiful, custom wreaths.
Absolutely! Burlap wreaths are versatile and can be adorned with a variety of decorations. Consider adding seasonal flowers, bows, or themed ornaments to personalize your wreath. Attach these embellishments using wire or hot glue.
You can hang your burlap wreath by attaching a loop of ribbon or wire to the back of the wreath frame. Alternatively, you can use a wreath hanger that fits over your door.
To keep your burlap wreath looking its best, hang it in a dry place away from direct sunlight. If it gets dusty, gently shake it out or use a hairdryer on a cool setting to blow away the dust. Store your wreath in a cool, dry place when not in use.
Selecting the right burlap is crucial for your wreath’s appearance and durability. Look for burlap that is tightly woven to prevent fraying and ensure longevity. Burlap comes in various colors and patterns, so pick one that complements your decor or the season. If you’re planning to print or paint on your burlap, make sure it’s of a quality that won’t bleed or fade.
Yes, there are several techniques you can use to give your wreath different textures and styles. The bubble method creates a full and bubbly effect by pushing the burlap through the spaces between the wires of the wreath frame. The ruffle method gives a more elegant and ruffled look by folding the burlap in half, wrapping it around the wires, and pulling it through. Experiment with these methods to find the style that suits your taste best.
Conclusion:
Wrapping up, learning how to make a burlap wreath is a fun and rewarding project that adds a rustic charm to your home. With just a few materials and easy-to-follow steps, you can create a beautiful custom wreath. Whether for a special occasion or everyday decor, making a burlap wreath is a creative way to showcase your crafting skills. Start your project today and enjoy the handmade touch it brings to your space.
Related DIY Projects and Ideas:
Discover inspiring DIY projects and ideas for your home. Get creative, save money, and transform your space with our easy-to-follow guides.
- DIY 4th of July Wreath: Create a festive 4th of July wreath in minutes with these simple DIY ideas. Perfect for quick and patriotic home decor.
- DIY Fall Wreath: Warm up your door this season with a beautiful DIY fall wreath. Easy to make and perfect for autumn.
- Easy Wood Burning: Learn easy wood-burning techniques for beginners with this step-by-step guide and pattern. Perfect for creating unique wood crafts.
- DIY Faux Fireplace: Build a stylish faux fireplace on a budget with these creative DIY ideas. Perfect for adding warmth to any room.
- DIY Welcome Sign: Greet guests in style with a custom DIY welcome sign. Easy, stylish, and perfect for any home entrance.

