Wood burning is a fun and creative way to make beautiful art on various wooden objects. In this simple guide, you will learn the basics of wood burning for beginners. This includes understanding different tools, selecting the right wood, and learning basic techniques. Wood burning offers a unique blend of creativity and craftsmanship, making it a rewarding activity for anyone interested in working with their hands.
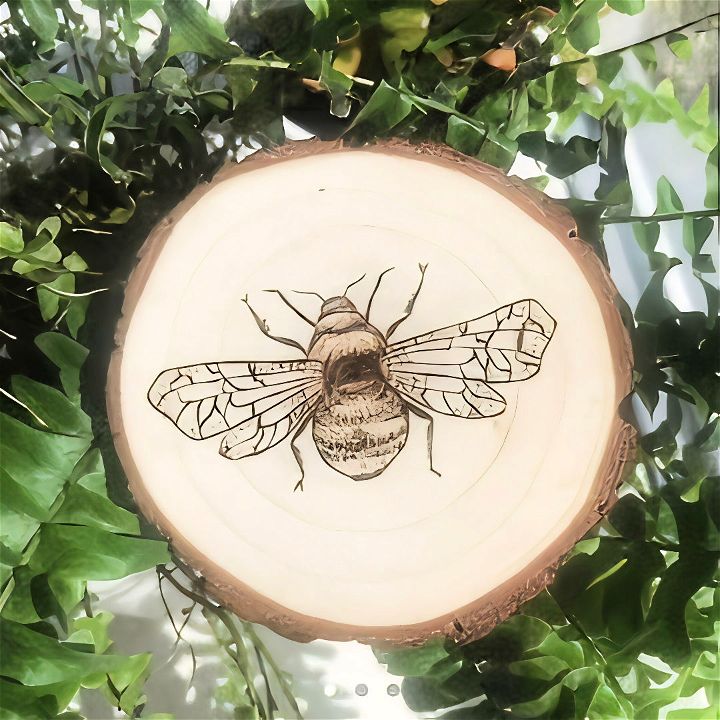
Starting with basic wood-burning techniques, you'll get to practice making simple lines and shapes. You'll also learn how to add shading and texture to your designs. This guide will show you how to manage your tools safely and effectively.
Getting Started with Pyrography: What You Need
Before we dive into the wood-burning tutorial, let's talk about the materials you'll need.
Materials List:
- Pyrography Pen: This tool is essential for any wood burning project. It comes with interchangeable tips that allow you to create various patterns and designs. I recommend starting with a pen that allows temperature adjustments.
- Wood Slices: Soft woods like basswood or pine are ideal for beginners as they burn more easily.
- Graphite Paper: This helps transfer your design onto the wood surface.
- Pencil: For drawing your initial design.
- Eraser: To clean up any leftover pencil marks.
- Fine Sandpaper: To smooth out the wood surface before burning.
- Safety Gear: Gloves and a mask are recommended to protect you from the fumes and heat.
Step by Step Instructions
Learn easy wood burning for beginners with step-by-step instructions. Perfect your pyrography skills with our detailed guide. Start creating art today!
Step 1: Sketch Your Design
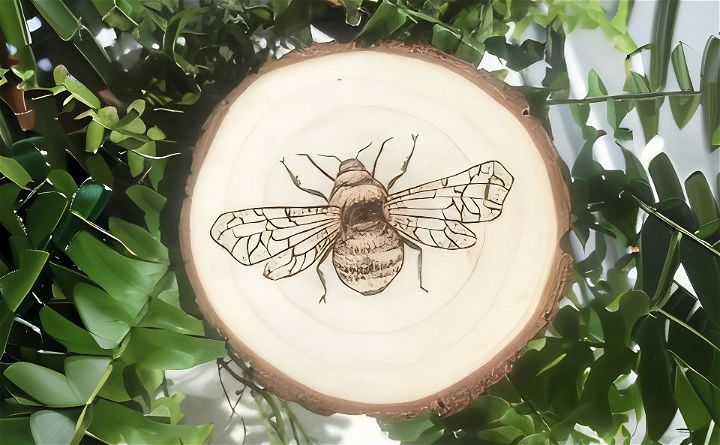
Start by sketching your design on paper. If you’re new to pyrography, choose something simple with minimal straight lines. Detailed designs, although beautiful, can be challenging for beginners. I opted for a bee design because of its flexibility; minor mistakes aren’t as noticeable, making it a forgiving design.
Step 2: Transfer the Design to Wood
Once you're happy with your sketch, use graphite paper to transfer the design onto your wood slice. Place the graphite paper between your sketch and the wood, then trace over your drawing with a pencil. This will leave a faint outline on the wood.
Step 3: Prepare Your Pyrography Pen
Set your pyrography pen to the correct temperature. I typically set mine to about 325 degrees Fahrenheit. The tip of the pen should be hot enough to make a mark, but not so hot that it leaves dark, burnt marks around your design. Patience is key—start with lower settings and gradually increase until you find the optimal temperature.
Step 4: Begin Burning Your Design
Start with the darkest areas of your design, as this allows you to adjust to the pen's pressure and temperature without worrying about mistakes. For the bee design, I began with the outlines, which are typically the darkest parts.
Tips for Effective Wood Burning:
- Use the Right Tip: For my bee coaster, I used a small, flat tip. This type of tip is versatile, allowing me to create fine dots or straight lines.
- Be Gentle: Pressing hard won't make the lines darker. Instead, leave the pen in one spot a little longer or go over the same line multiple times for a darker shade.
- Short Strokes: Use short strokes to ensure better control over the burning process. This is especially important for symmetrical parts like the bee's wings.
Step 5: Refine Your Design
As you move on to finer details like the bee's legs, apply very gentle pressure. For areas requiring texture, such as the wings, use short, light strokes and even tiny dots for added detail. If necessary, adjust the temperature by small increments to achieve the desired effect without over-burning the wood.
Step 6: Adjust and Perfect
Don't be afraid to adjust the temperature slightly as needed. If certain parts look too light, you can increase the heat slightly, but be cautious—as you gain experience, you'll get a better feel for these adjustments.
Step 7: Finish Up
Erase any leftover pencil marks and give your wood slice a gentle sanding if needed. The final product should be smooth to the touch and visually appealing.
What Not to Do: Learning from Mistakes
In contrast, I experimented with a tree design to show what happens with common mistakes. If your design requires precise lines, like a tree's trunk, avoid pressing too hard or setting the temperature too high. This can damage the nib of your pyrography pen and create unwanted smoky residue and yellowish burn marks around your lines.
- Avoid High Temperature: Extremely high temperatures burn deeper and leave unsightly marks around the design.
- Don’t Press Hard: Hard pressing can damage the wood and make the design uneven.
- Keep Movements Smooth: Rough or jagged movements result in messy lines.
Embrace the process and learn from each project. Pyrography is an art that evolves with practice. The more you burn, the better you'll understand your tools and material.
Pyrography has become one of my favorite hobbies and a rewarding way to express creativity. If you found this guide useful, feel free to follow my journey and see more of my work. I sell some of my pieces on Depop, and I also have tutorials on setting up an online art shop.
FAQs About DIY Wood Burning
Discover essential faqs about DIY wood burning, covering tools, safety tips, techniques, and project ideas for the perfect wood-burning experience.
Wood burning, also known as pyrography, is the art of decorating wood with burn marks using a heated object like a metal pen. It’s a popular craft that allows you to create intricate designs on wooden surfaces.
To begin wood burning, you’ll need a wood burning tool, which comes in two main types: solid-point burners and wire nib burners. Solid-point burners are more affordable, while wire nib burners offer more control and are easier for beginners. Additionally, you’ll need wood with a smooth grain and light color for better visibility of your designs.
Choose wood that is light in color, free of knots, and has a smooth grain. Light-colored woods like pine or fir make the burn marks more visible, and a smooth grain ensures even burning.
Yes, it’s highly recommended to practice on scrap pieces of wood. This will help you get used to the burning tool and understand how it interacts with the wood. Experiment with different pressures and strokes to find what works best for you.
Always work in a well-ventilated area and keep your work surface clear of flammable materials. Use pliers to change hot tips and never leave your burning tool unattended while it’s hot. Regular maintenance of your tool and following the manufacturer’s instructions will also ensure a safe wood burning experience.
Conclusion:
Wrapping up, this easy wood burning for beginners opens up a world of creative possibilities. It's a rewarding way to personalize gifts or add unique touches to your home. Start small with simple designs to build your skills. With patience and practice, you’ll be creating beautiful wood-burned pieces that you can be proud of.
Related DIY Projects and Ideas:
Discover DIY projects and ideas to spark creativity! Get step-by-step guides, tips, and inspiration for your next home improvement project.
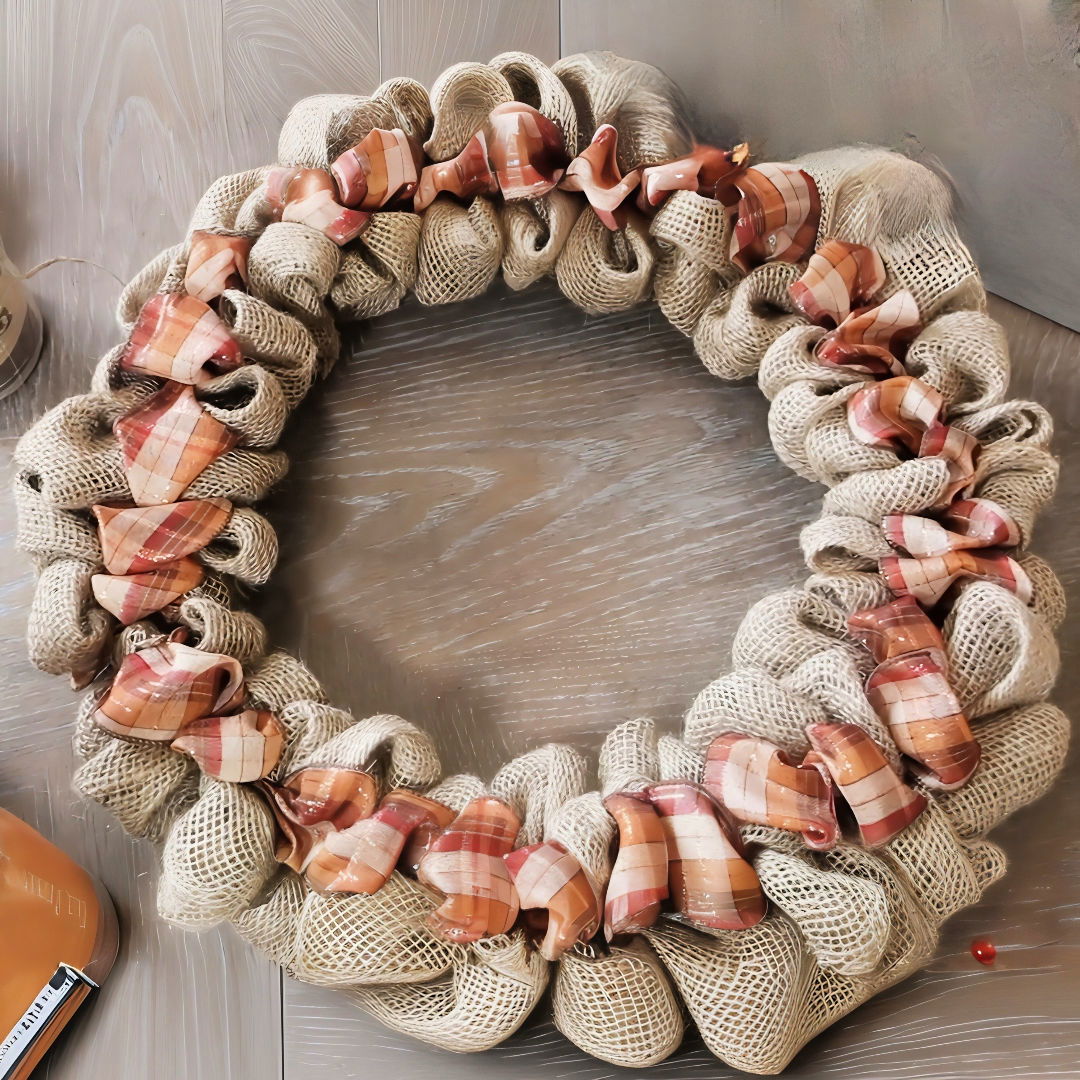
- Burlap Wreath: Learn how to make a burlap wreath at home with these simple steps for a rustic, charming door decoration.
- 4th of July Wreath: Create a festive DIY 4th of July wreath in minutes with our easy-to-follow guide for a patriotic touch to your celebrations.
- Fall Wreath: Warm up your door this season with an enchanting DIY fall wreath that brings autumn charm to your home in no time.
- Faux Fireplace: Transform your space on a budget with a lovely DIY faux fireplace. Easy, affordable steps to cozy up your room.
- Welcome Sign: Greet guests in style with an engaging DIY welcome sign. Discover creative ideas for a personalized, inviting entrance.

