If you're searching for a homemade DIY chalk paint recipe, you've come to the right place. Chalk paint is a popular choice for giving furniture and home decor a fresh, matte finish. With this easy-to-follow guide, you can make your chalk paint at home using just a few simple ingredients. This will not only save you money but also offer the flexibility to create custom colors that suit your taste.
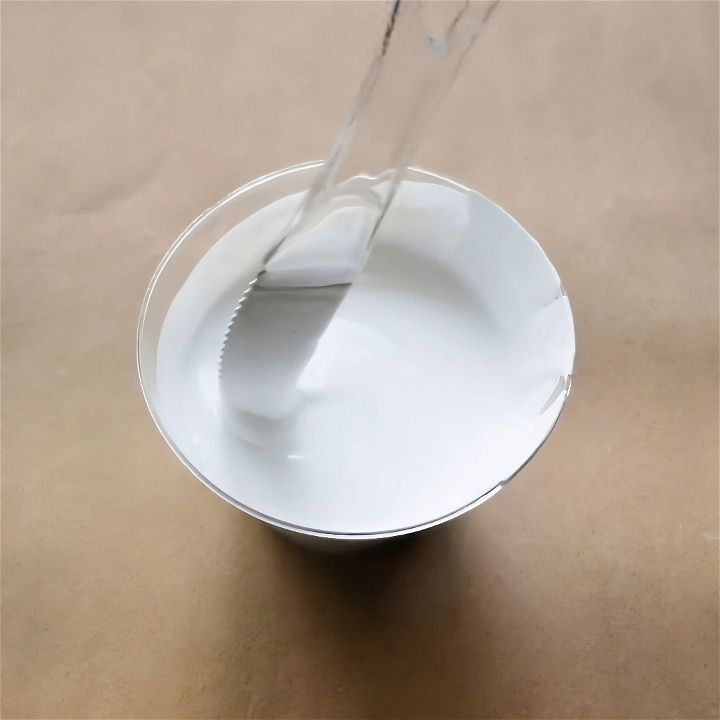
Making your own chalk paint is straightforward and quick. You'll need some basic materials like latex paint, plaster of Paris, and water. By mixing these ingredients correctly, you can achieve professional results at a fraction of the cost of store-bought chalk paint. With this recipe, you can easily transform your old furniture and enjoy the satisfying process of DIY projects.
Why Use Chalk Paint?
Chalk paint is perfect for giving furniture a rustic, chic look without the hassle of sanding or priming. It adheres to almost any surface and provides a smooth, matte finish. Plus, it’s versatile enough to use on various projects, from dressers to picture frames. By making your own, you can customize the color and texture to your liking.
Materials Needed
Here’s what you’ll need:
1. Plaster of Paris
Why it's needed:
Plaster of Paris acts as a binder, giving the paint its chalky texture and allowing it to adhere well to surfaces without the need for extensive prep work.
2. Water
Why it's needed:
Water is used to dissolve the Plaster of Paris, creating a smooth paste that can be easily mixed with the paint.
3. Flat Latex Paint
Why it's needed:
Flat latex paint is the base of your chalk paint. It provides the pigment and body while the flat finish mimics the appearance of traditional chalk paint.
Essential Tools
- Measuring Cups and Spoons: For precise measurement of ingredients.
- Mixing Bowl: To blend the ingredients.
- Stirring Stick: To ensure the mixture is well-combined.
- Container: For holding the chalk paint.
Step-by-Step Guide to Making Chalk Paint
Make your own DIY chalk paint with our easy, step-by-step guide. Learn how to mix plaster and paint, plus get tips and troubleshoot common issues.
Step 1: Gather Your Ingredients
To begin, make sure you have the following:
- 1/3 cup of Plaster of Paris
- 1/3 cup of Water
- 1 cup of Flat Latex Paint
Given that this recipe produces enough paint to cover a three-drawer dresser, you might want to adjust quantities based on the size of your project.
Step 2: Mix Plaster of Paris and Water
Start by mixing the Plaster of Paris with water. Here's how:
- Measure out 1/3 cup of Plaster of Paris and pour it into your mixing bowl.
- Add 1/3 cup of water.
- Stir thoroughly until it forms a smooth, lump-free paste.
Step 3: Add the Paint
Next, incorporate the flat latex paint:
- Measure 1 cup of flat latex paint.
- Gradually add the paint to the Plaster of Paris mixture.
- Stir continuously to ensure a uniform consistency.
Step 4: Adjusting the Recipe for Smaller Projects
If you don’t need a large amount, here’s a halved recipe:
- Plaster of Paris: 2 tablespoons plus 2 teaspoons
- Water: 2 tablespoons plus 2 teaspoons
- Flat Latex Paint: 1/2 cup
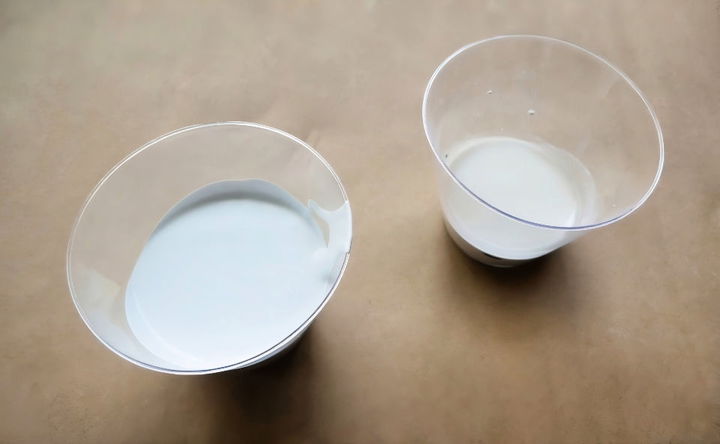
Tip: Avoid using kitchen measuring cups with paint. Measure water into a throwaway container, mark the level, and use this for your paint and Plaster of Paris.
Using Your DIY Chalk Paint
Now that your paint is ready, you can start your project! Whether it's a vintage dresser or a modern picture frame, your homemade chalk paint will lend it a beautiful, matte finish.
Helpful Tips:
- Surface Prep: Clean your project surface to remove dirt and grime.
- Application: Use a quality brush to apply the paint in even strokes.
- Finishing: Once dry, you can distress the edges with sandpaper for a more rustic look and seal with wax for durability.
Troubleshooting Common Issues DIY Chalk Paint
Troubleshooting common issues with DIY chalk paint: fix lumpy paint, too-thick layers, and uneven finishes easily with our expert tips.
1. Lumpy Paint
Solution: Make sure to thoroughly mix the Plaster of Paris and water before adding the paint.
2. Paint Too Thick
Solution: Gradually add a tiny bit more water until you reach the desired consistency.
3. Uneven Finish
Solution: Apply a second coat if necessary and lightly sand between coats for a smoother finish.
Making your own DIY chalk paint is not only cost-effective but also incredibly satisfying. By following these simple steps, you can transform any piece of furniture into a charming, farmhouse-style creation. Remember, the beauty of DIY is in the personalization and love you pour into each project.
Come back next week as we dive into a new tutorial on a fun, plant-related project using our homemade chalk paint. If you enjoyed this guide and want more tips on living simply and creating beautiful things, don't forget to hit the subscribe button. See you next time, happy painting!
FAQs About DIY Chalk Paint
Learn the essentials with faqs about DIY chalk paint! Discover tips, techniques, and expert answers for your next chalk paint project.
DIY chalk paint is a type of paint that you can make at home using a few simple ingredients. It’s popular for giving furniture a matte, chalky finish without the need for extensive prep work like sanding or priming. You can use it to create an antique look, or to add a personal touch to your home decor projects.
Yes, you can use any water-based paint for making chalk paint. This includes latex, acrylic, and even craft paints. The key is to use a flat or matte finish paint to get the authentic chalky look.
While one of the benefits of chalk paint is that it requires minimal prep work, it’s still a good idea to clean the surface of the furniture or item you’re painting. A simple wipe-down with warm water or a mild cleaning solution should suffice. If the surface is glossy or has a previous finish, a light sanding can help the paint adhere better.
After painting, it’s important to seal your project to protect the finish. You can use a soft wax designed for chalk paint, which will give it a velvety feel and protect it from stains and spills. Apply the wax with a brush or cloth, let it dry, and then buff it to a soft sheen.
DIY chalk paint can last for a considerable amount of time if stored properly. After mixing your chalk paint, if you have leftovers, make sure to seal the container tightly to prevent air from drying out the paint. Stored this way, homemade chalk paint can last for up to a year. However, it’s always a good idea to give it a good stir before using it again, as the ingredients may settle over time. If you notice any foul odor or mold, it’s best to dispose of the paint and make a fresh batch.
Conclusion:
Wrapping up, this easy DIY chalk paint recipe gives you the perfect affordable and customizable solution for your creative projects. Follow these simple steps to transform any piece of furniture or decor into a beautiful, vintage masterpiece.

