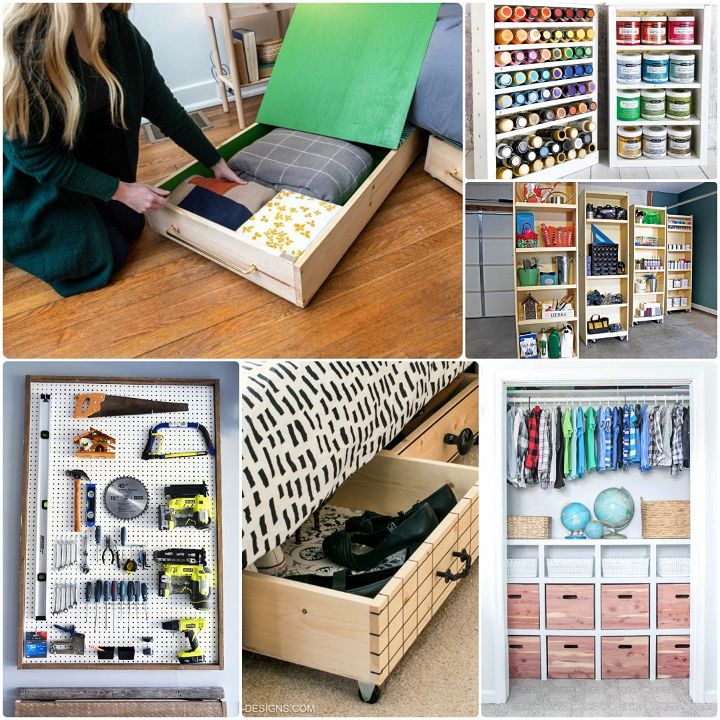
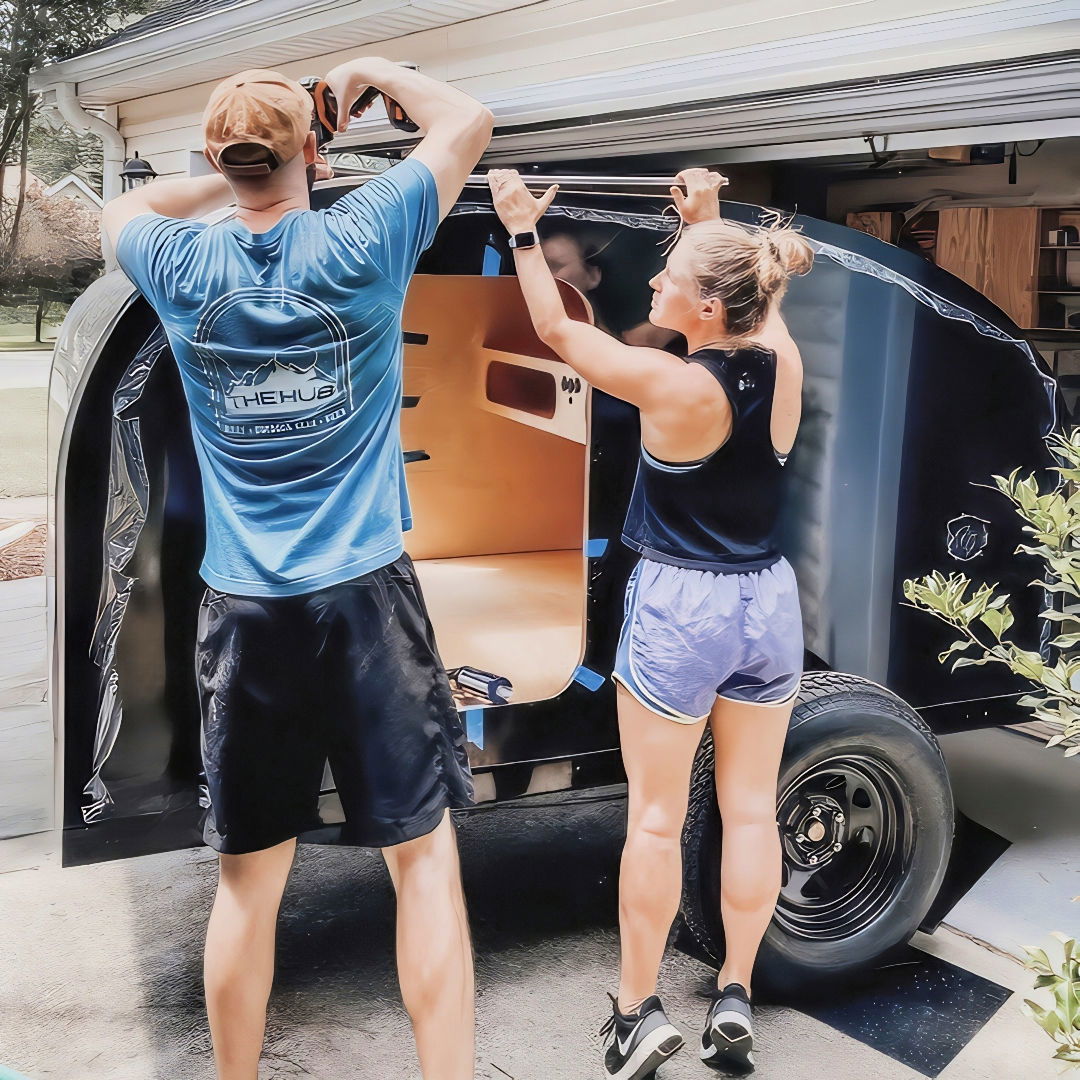
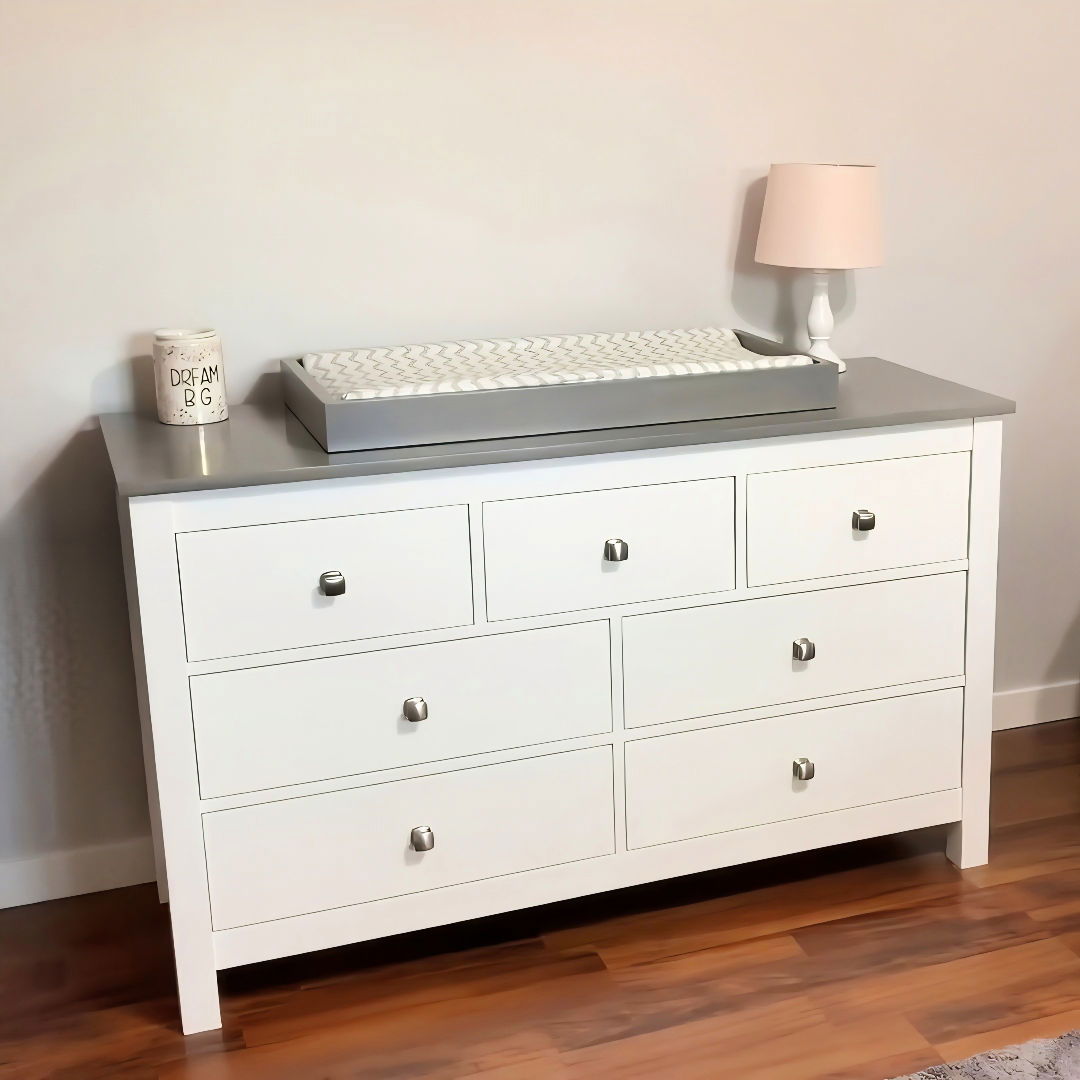
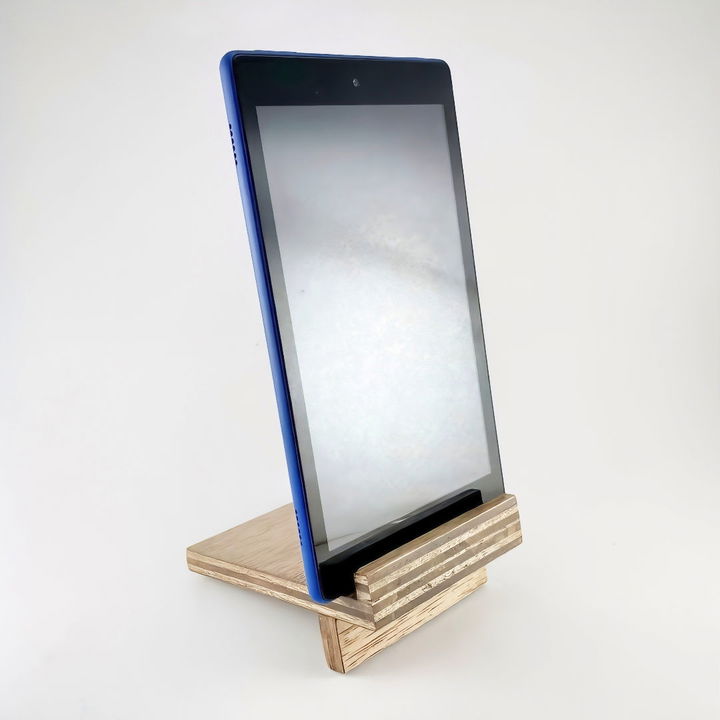
Building DIY drawers is a practical and satisfying project you can easily tackle at home. Start by gathering essential materials like wood, screws, and a reliable ruler. Precision is key, so take time to measure carefully before cutting. Assemble the pieces step-by-step, ensuring that everything is aligned correctly. Sand the edges to remove any splinters. This process not only teaches basic carpentry skills but also allows you to customize storage solutions for your needs.
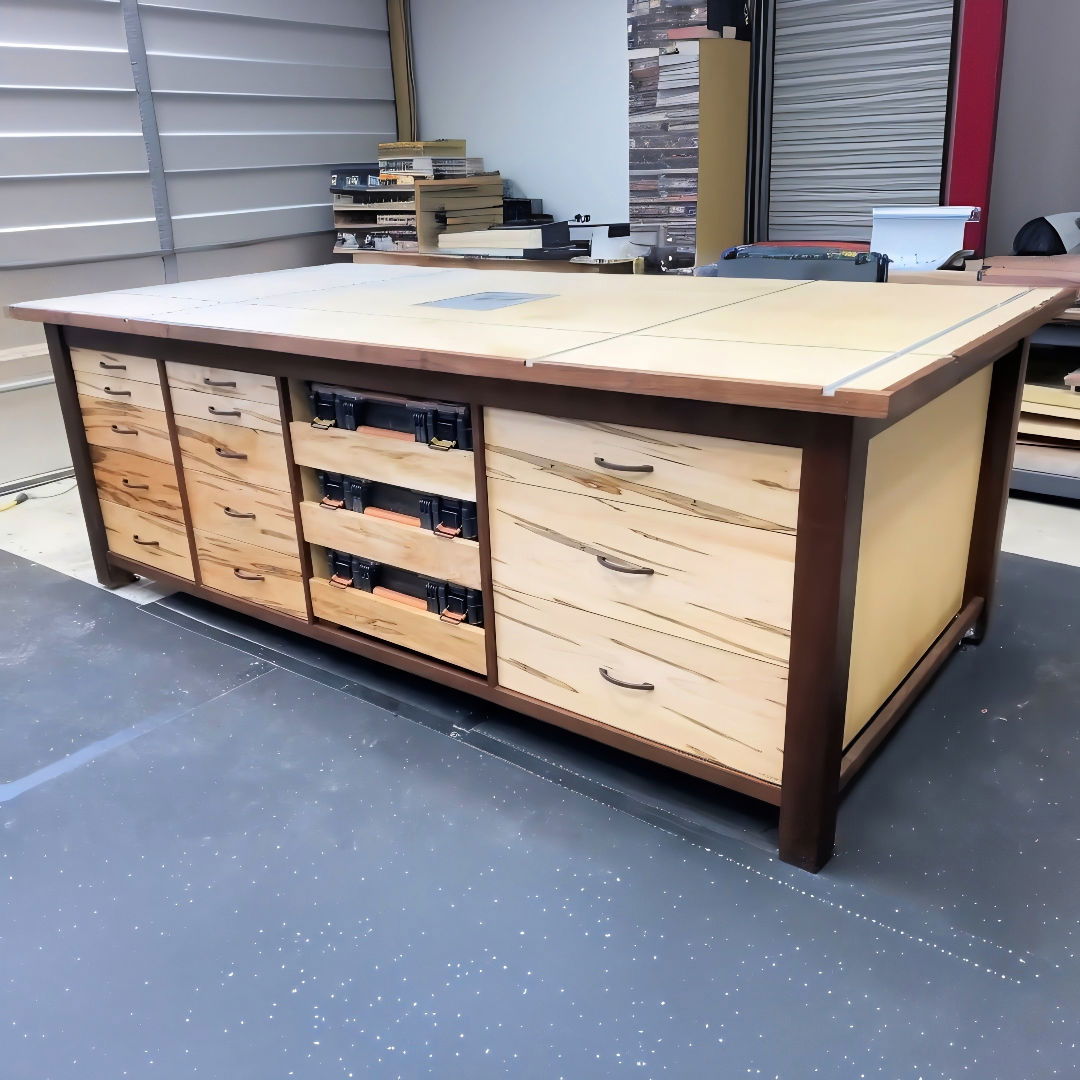
To make the process smoother, follow a detailed guide with clear instructions and images. You will find that making your own DIY drawer can be a rewarding endeavor, giving you a sense of accomplishment and functional storage. Pay attention to each step to avoid mistakes and achieve a professional finish.
Materials You'll Need
Before we start building, it’s essential to gather the following materials:
- Plywood (1/2 inch and 1/4 inch thickness) - Used for the drawer sides and bottom.
- Wood glue - Ensures strong joints.
- Brad nails and Brad nailer - Helps to hold parts together while glue dries.
- Table saw - For precise cuts.
- Miter saw - For cutting parts to length.
- Pocket hole jig and screws - For the "better" drawer method.
- Dado stack or standard table saw blade - For cutting grooves.
- Clamps - To hold pieces firmly while assembling.
- Kreg drawer slide jigs - For easy drawer slide installation.
- Screwdriver/drill - For assembling and installing drawer slides.
- Calipers - For precise measurements.
- Straight edge and measuring tape - Ensures accurate cutting and alignment.
- 1/4 inch dowel rod - For spacing.
- CA glue and activator - For quick bonding of drawer fronts.
Let’s dive into each method and the process step by step.
Good Method: Basic Butt Joint Drawer
Learn how to make a DIY basic butt joint drawer: cut parts, create a dado groove, assemble, and secure with brad nails.
Step 1: Cutting Parts to Size
I started by cutting my pieces of plywood to the dimensions I needed for my drawer. For this drawer, I wanted it to be 15 1/2 inches deep and 16 5/8 inches wide. You'll need to adjust these measurements based on your requirements.
Step 2: Create a Dado Groove
Using a dado stack on my table saw, I cut a 1/4 inch dado groove at the bottom of the side pieces to accommodate the drawer bottom. Test fit your 1/4 inch plywood in this groove to make sure it fits well.
Step 3: Assemble the Drawer
I applied plenty of glue into the dado groove and on the ends of the plywood where the butt joints are located. Then, I assembled the drawer like a puzzle. It’s critical to use enough glue since it ensures the strength of your drawer.
Step 4: Securing with Brad Nails
Once the drawer is assembled, I used Brad nails to hold everything in place while the glue dries. Make sure everything is flush and square. This method works well for simple, functional drawers.
Better Method: Pocket Hole Drawer Assembly
Discover the better method for DIY pocket hole drawer assembly: step-by-step guide from cutting pieces to using a pocket hole jig and assembly with pocket screws.
Step 1: Cut Your Pieces
As before, cut your plywood to size. In this method, the assembly includes pocket holes for added strength.
Step 2: Use Pocket Hole Jig
For attaching the sides, I used a Massca M2 pocket hole jig set to 1/2 inch. I drilled two pocket holes on each side of the front and back pieces. This method creates a stronger joint compared to the basic butt joint.
Step 3: Assembly with Pocket Screw
Next, I cut a 1/4 inch dado across the length of all pieces as previously described and assembled the drawer using pocket screws and glue. This method ensures a more robust construction.
Best Method: Quarter, Quarter, Quarter (Half, Half, Half)
Learn the best method DIY quarter, quarter, quarter (half, half, half) with steps including precision cutting, making dado and rabbet cuts, and assembly.
Step 1: Precision Cutting
This method is precise but time-consuming. I calculated that for 1/2 inch material, I'd need to make 1/4 inch cuts.
Step 2: Making Dado and Rabbet Cuts
First, I set my dado stack to make a 1/4 inch groove, 1/4 inch from the edge. For the second piece, I cut a 1/4 inch rabbet on each end. It’s crucial to be meticulous with measurements for a perfect fit.
Step 3: Assembly
Insert the bottom plywood into the dado, apply glue, and piece everything together. Use clamps or Brad nails to hold the assembly while the glue dries. This method results in a durable and aesthetically pleasing drawer.
Installing the Drawer Slides
Learn how to install drawer slides with our step-by-step guide: Position the slides, mount them, and insert the drawer effortlessly!
Step 1: Positioning the Slides
Identify where you want your drawer slides and use the Kreg drawer slide jigs to hold them in place. This tool makes installation straightforward and ensures your slides are level and square.
Step 2: Mounting Drawer Slides
Align your slides with your predetermined spacing and screw them into place. Make sure each slide is installed at the same height for smooth operation.
Step 3: Insert the Drawer
Carefully insert the drawer into the slides. You’ll feel some resistance; a gentle push will set it in place.
Adding Drawer Fronts and Handles
Learn how to add drawer fronts and handles in 3 easy steps: cut and align, attach drawer fronts, and install handles.
Step 1: Cut and Align
Cut your drawer fronts slightly smaller than the actual openings to allow for a reveal. Use shims to ensure even spacing.
Step 2: Attach Drawer Fronts
Apply CA glue on the sides of the drawer front and press it against the drawer. After allowing the glue to set, secure the front with screws from inside the drawer.
Step 3: Install Handles
Use painter’s tape to mark the drill points accurately. Drill holes and attach your handles, ensuring they are level across all drawers.
Final Touches
After assembling all your drawers and installing the fronts and handles, give everything a final check for alignment and function. Clean up your workspace and you'll have a beautifully functional set of drawers.
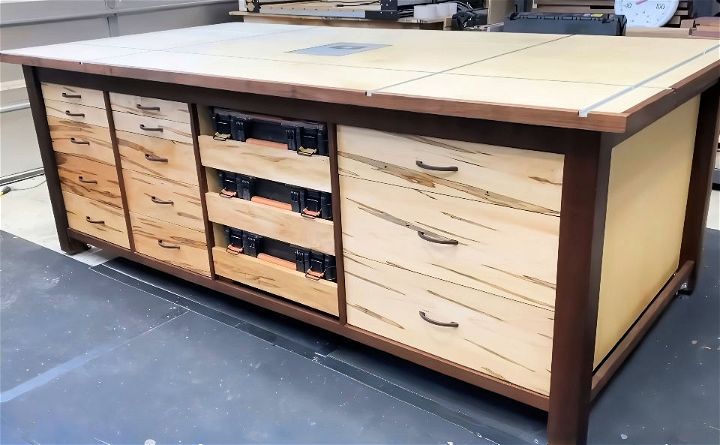
Building drawers using the good, better, and best methods offered me tremendous insight into woodworking. Each method has its own merits, and understanding these gives you the flexibility to choose based on your requirements and skill level. Happy building, and I can't wait to share more of my woodworking adventures with you!
FAQs About DIY Drawers
Explore the top faqs about DIY drawers and get expert tips on materials, tools, and assembly to make your project a success.
There are three main types of drawer construction: nailed-bottom, recessed-bottom, and captured-bottom. Nailed-bottom is the simplest and quickest method but offers the least durability. Recessed-bottom provides moderate strength and is a bit heavier. Captured-bottom is the sturdiest and best for heavy-duty use but is also the most complex to build.
To determine the dimensions of your drawer, measure the width of the drawer opening and subtract the thickness of the drawer slides from this measurement. This will give you the width of your drawer. The depth will be determined by the size of the cabinet or furniture piece you are adding the drawer to.
Yes, building drawers can be a beginner-friendly project. Start with a simple nailed-bottom construction and use pre-cut wood to make the process easier. There are many tutorials available that can guide you through the process step-by-step.
To ensure a perfect fit, measure carefully and make sure everything is square and aligned. For smooth sliding, choose quality drawer slides and install them according to the manufacturer’s instructions. It’s also important to make sure the drawer is not too tight in the opening.
For finishing the inside of a drawer, you have several options. You can leave the wood bare, especially if it’s a high-quality wood with a nice grain. Alternatively, you can apply a clear finish like polyurethane or shellac to protect the wood and make it easier to clean. If you prefer a color, you can paint the inside, but make sure to use a durable paint that can withstand wear and tear. For a more decorative touch, consider lining the bottom with adhesive paper or fabric.
Conclusion:
In conclusion, building easy DIY drawers can be a fun and rewarding project. By following the steps outlined in how to make a drawer, you can organize your space effectively and add a personal touch to your home. Whether you need extra storage or want to enhance your carpentry skills, making drawers yourself can be both practical and satisfying. Get started today and enjoy the benefits of your beautiful, functional handmade drawers.

