Making your own DIY flagpole can be a fulfilling and practical project. Whether for displaying your nation's flag or a favorite team banner, a homemade flagpole allows for personalization and pride. This guide will walk you through the process, from selecting materials to securing your flag in your yard. By the end, you'll have a sturdy and reliable structure ready to showcase your flag.
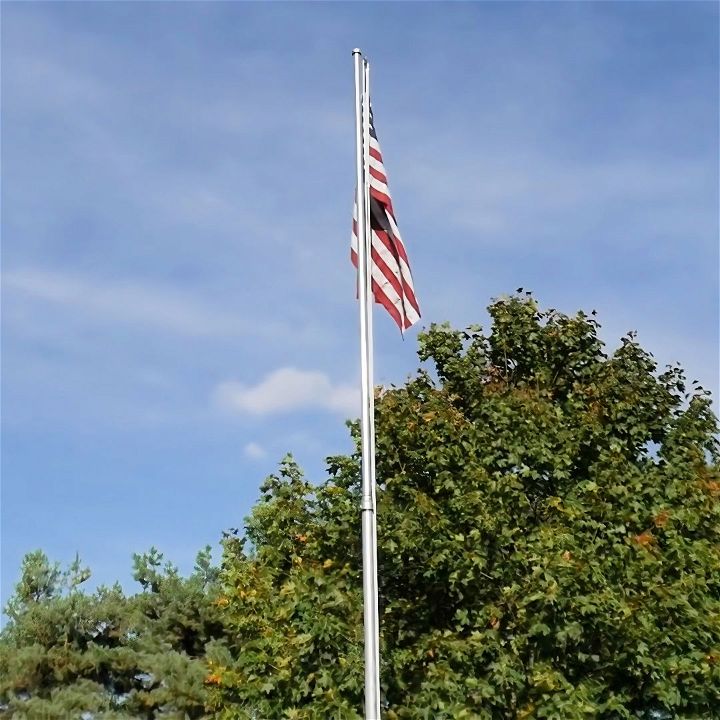
Before starting, gather all necessary tools and materials. This includes a durable pole, cement mix, and essential hardware for securing the flag. Having everything ready will make the assembly smoother and more efficient. As you build, follow the steps carefully and pay attention to details to ensure safety and durability. Ready to get started? Move on to the next section for a detailed, step-by-step guide.
Materials You’ll Need
Each material listed is critical for the stability and longevity of your flagpole. Here’s why each one is necessary:
- Galvanized Pipes: These resist rust and can withstand harsh weather.
- Concrete Mix: To ensure that the base stays firm.
- Union and Reducer: These help connect different sections of the pole.
- Eye Hook and Pulley: For raising and lowering the flag.
- Cleat and D-rings: To secure the flag to the pole.
Shopping List:
- 5 feet of 2-inch galvanized pipe
- 10 feet of 2-inch galvanized pipe
- 10 feet of 1.5-inch galvanized pipe
- 1 Union fitting
- 1 Reducer fitting (2 inch to 1.5 inch)
- 1.5-inch cap
- Eye hook
- Pulley
- Cleat
- D-rings
- Concrete mix (Get the one that’s suitable for your soil type)
- Pipe wrench
- Drill
- Self-tapping screws
Step by Step Instructions
Learn how to build a sturdy DIY Flagpole with our step-by-step instructions: digging, preparing, assembling, adding components, and raising the flag!
Step 1: Digging the Hole
First, you need to dig a hole deep enough to hold the 5-foot pipe securely. The hole should be at least 42 inches deep.
- Choose the Location: Ensure the location is clear of underground utilities.
- Start Digging: Dig a 42-inch-deep hole using a shovel or post-hole digger.
Tip: If you have access to a tractor with an auger, you could use that for quicker digging.
Step 2: Preparing the Base
You’ll want the base to be sturdy because this supports the entire structure.
- Mix the Concrete: Follow the manufacturer’s instructions for mixing the concrete.
- Place the Pipe in the Hole: Insert the 5-foot section of the 2-inch pipe.
- Pour the Concrete: Fill around the pipe with concrete, making sure the pipe stays level.
Let the concrete set overnight.
Step 3: Assembling the Flagpole
Once your base is solid, you can start piecing together the rest of the pole.
- Attach the Union to the Base Pipe: Use the pipe wrench to secure the union fitting to the base pipe.
- Add the Next Pipe Section: Attach the 10-foot 2-inch pipe to the union.
- Attach the Reducer: Secure the reducer to the top of the 10-foot section.
Step 4: Adding Final Components
To make sure your flag can be raised and lowered, you’ll need to add some final touches.
- Install the Eye Hook and Pulley: Affix the eye hook and pulley at the top using the drill and self-tapping screws.
- Attach the Cleat: Position the cleat about 60 inches above the ground, using self-tapping screws to hold it in place.
- Add the D-rings: Secure the D-rings to the flag and attach them to the rope.
Step 5: Raising the Flag
Finally, it’s time to raise your flag and admire your handiwork.
- Tie the Rope: Secure the flag to the rope using square knots.
- Raise the Flag: Slowly pull the rope to elevate the flag.
- Secure the Rope: Wrap the excess rope around the cleat to keep the flag in place.
And there you have it! A fully functional, robust flagpole for just around $130. This project only takes about two hours to complete, not counting the time required for the concrete to set. I’ve used this exact process at multiple locations, and these flagpoles have stood firm through strong winds and even a tornado.

FAQs About DIY Flagpole
Discover answers to common questions in our faqs about DIY flagpoles, helping you with installation, safety tips, materials, and maintenance.
For stability:
Choose a strong material like PVC or wood for the pole.
Make sure the base is secure. If using cement, sink the pole into a cement-filled bucket.
Use rebar or anchors to secure the pole in the ground for outdoor flagpoles.
Yes, you can make a portable flagpole by:
Using lightweight materials like PVC.
Creating a removable base that doesn’t use cement.
Designing the pole to be disassembled into smaller parts for easy transport.
The height of your DIY flagpole can vary based on your needs, but typically:
For home use, a height of four to seven feet is manageable.
For public display or larger areas, you might consider 15 to 20 feet tall spars.
Some creative ideas include:
A multifunctional flagpole that can also serve as a lamp post or birdhouse stand.
Decorative painting or wrapping the pole with colored tape or fabric.
Adding solar lights at the top or along the pole for nighttime visibility.
To attach the flag to your DIY flagpole:
Use windproof metal hooks or snap hooks to connect the flag’s grommets to the rope.
If using a PVC flagpole, you can also use a PVC tee and coupling to create a slot for the flag.
Ensure the rope is threaded through a flagpole truck pulley at the top for easy raising and lowering.
Secure the rope to a cleat mounted on the pole to keep the flag in place.
Conclusion:
Wrapping up, making your own DIY flagpole can be a fulfilling and exciting project. It allows you to showcase your creativity and patriotism. By following the steps and tips mentioned, you can build a sturdy and attractive flagpole for your home. This practical guide ensures you have all the necessary information to get started. Enjoy the process and take pride in your new flagpole.
Related DIY Projects and Ideas:
Explore various DIY projects and ideas to inspire creativity and transform your space with easy, step-by-step guides and innovative hacks.
- Building a DIY Deck: Learn how to build your own deck with this free DIY deck plan. Transform your outdoor space today!
- Build a Pond: Create a serene pond in your yard with this easy DIY pond idea. Perfect for adding a water feature to your garden.
- DIY Pergola: Build your dream outdoor space with this simple DIY pergola plan. Enhance your garden with a stylish pergola.
- DIY Outdoor Bench: Craft a simple yet elegant outdoor bench with this wonderful DIY bench. Ideal for your patio or garden.
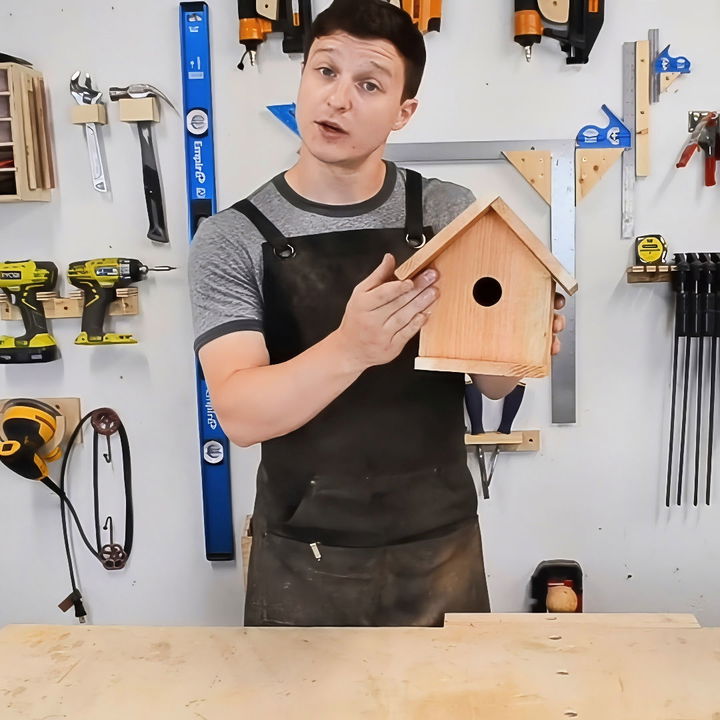
- Build a DIY Birdhouse: Attract birds to your garden with this free DIY birdhouse plan. Easy and fun project for all ages.


