Making your own DIY plant stand is an enjoyable way to showcase your plants while adding a personal touch to your home decor. With a few materials and some simple steps, you can build a plant stand that suits any room. This guide will help you understand the basic tools and materials required and provide easy-to-follow instructions that make the process straightforward.
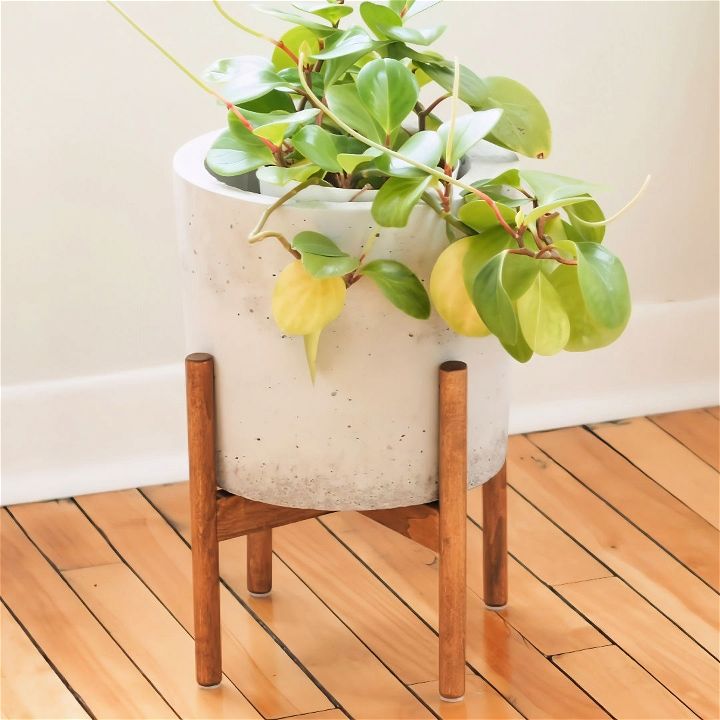
Building a DIY plant stand not only offers a sense of accomplishment but also allows for customization to fit your style and space. Follow our tips, from choosing the right wood to finishing your stand with a protective coat.
Materials Needed
Before we begin, let’s gather all the materials we need:
- 1 by 2 Poplar Board: This will be used for the support braces. Poplar is a good choice because it's robust and easy to work with.
- Concrete Planter: If you don't have one, you can use any planter that fits the stand dimensions.
- 3/4 inch Dowels: These will act as the legs of the stand.
- Dowel Pins: To secure the structure together.
- Combination Square: For precise measurements.
- Pencil and Ruler: Essential for marking measurements.
- Bandsaw or Handsaw: To cut out the notches in the wood.
- Drill Press with Forstner Bits: For making precise holes.
- Sander and Sandpaper: For smoothing the surfaces and rounding the dowels.
- Wood Glue and Clamps: For assembling the stand.
- Stain (Early American): To finish and protect the wood.
Step-by-Step Guide
Make a beautiful DIY plant stand with our step-by-step guide. Measure, cut, sand, and assemble for a perfect home project.
Step 1: Measure and Plan
First, I started by measuring my concrete planter. I needed to figure out the dimensions of the plant stand. This is crucial for a snug fit. For detailed dimensions and calculations, refer to the blog post linked in the description of my YouTube video.
Step 2: Cut the Poplar Board
I took my 1 by 2 poplar board and cut it in half. Next, I clamped both pieces together. I used my combination square to mark the center point of the cut. This step is important because we need to create precise notches.
Step 3: Mark the Notches
I needed a 3/4 by 3/4 notch in both boards. So, I measured 3/8 from the center point on each side and used my combination square to extend these marks. Then, I measured the depth of 3/4 inches – conveniently, my ruler was exactly this width.
Step 4: Cut the Notches
Using my bandsaw, I carefully cut out the notches. If you don’t have a bandsaw, a handsaw works perfectly fine. These notches are where the cross braces will interlock, forming the stand’s top structure.
Step 5: Drill Holes for Dowels
I moved to the drill press and lined up the 7/8 Forstner bit with my markings. This bit size matches the dowels. Drilling accurate holes ensures the dowels fit perfectly into the cross braces.
Step 6: Cut and Sand the Dowels
Using my miter saw, I cut the dowels into four equal lengths for the legs. I used a stop block to ensure all legs were uniform. After cutting, I used a sander to round off the edges and smooth the surface. Sanding also helps remove any markings left over from the cutting process.
Step 7: Create a Template for Dowel Pins
To ensure precise placement of the dowel pins, I made a small template from cardboard. This template helped mark exact spots where holes needed to be drilled in both the dowels and the cross braces.
Step 8: Drill Holes for Dowel Pins
Using a 1/4 inch Forstner bit, I drilled holes where I had marked using the template. These holes will hold the dowel pins, which secure the legs to the cross braces.
Step 9: Dry Fit and Adjust
Before applying glue, I did a dry fit to check alignment. The fit wasn’t perfect, but that's okay. Once the glue is in, using clamps will help force everything into proper alignment. The tight fit ensures sturdiness.
Step 10: Assemble the Plant Stand
I applied wood glue to the notches and the dowel holes and inserted the dowel pins. Then, I clamped everything together tightly. The assembly needed a bit of encouragement to fit together, indicating a snug and secure fit.
Step 11: Finish with Stain
Finally, I used my favorite wood stain, “Early American,” to give the plant stand a beautiful finish. The stain not only adds color but also protects the wood. After applying the stain, I let it dry completely.
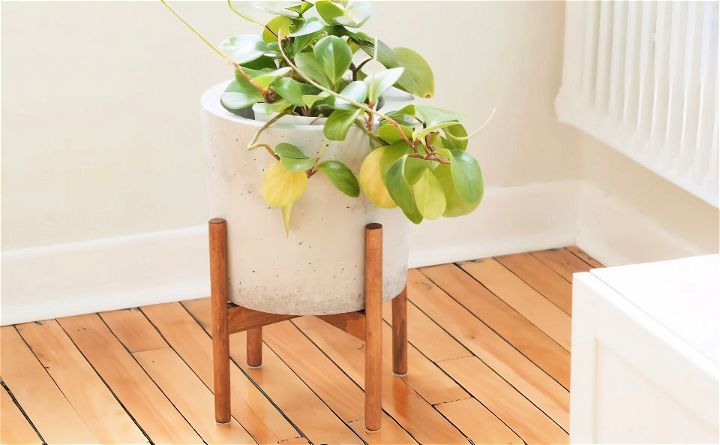
Here's your beautiful, sturdy DIY wood plant stand. It may seem challenging, but step-by-step, it's manageable and rewarding. You'll get a functional piece and the joy of building it yourself. If you found this guide helpful, check out my channel for more DIY videos.
FAQs About DIY Plant Stand
Explore our faqs about DIY plant stands to learn tips, materials, and step-by-step instructions for your next project. Perfect for home decor enthusiasts!
To ensure stability, choose a design that has a wide base relative to its height. For heavier plants, consider using heavier materials like wood or cement that can support the weight without tipping over. Additionally, you can secure the stand to a wall or add weight to the base for extra stability.
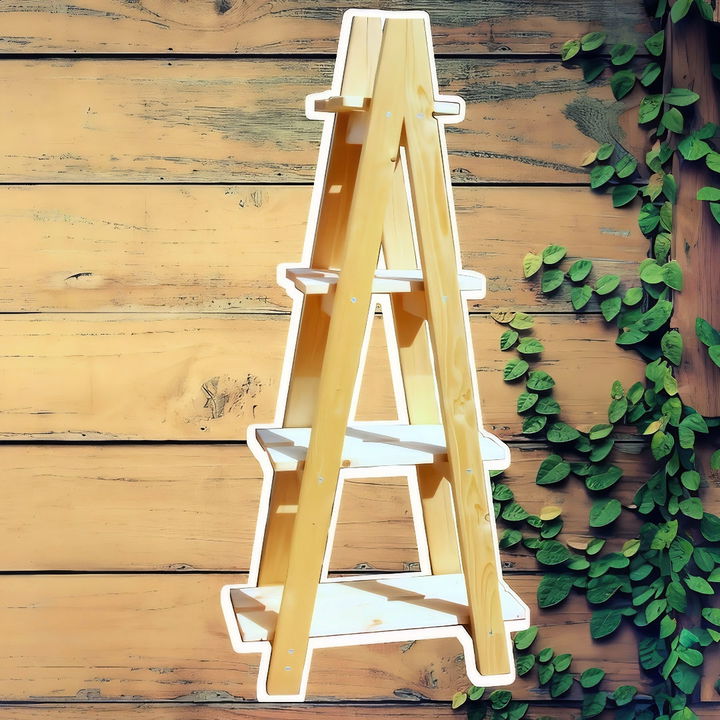
Yes, there are several creative ways to display multiple plants. A tiered plant stand allows you to arrange plants at different levels, creating a dynamic visual effect. Repurposing items like ladders or rolling shelves can also provide unique multi-level displays.
Absolutely! Upcycling items like old furniture, ladders, or even paint cans can add character to your plant display. For example, a wooden ladder can be transformed into a rustic plant stand that holds multiple pots. Be sure to clean and prepare the item to safely hold your plants.
For beginners, simple designs like a single wooden plank with legs or a repurposed stool can be great starting points. You can also consider turning a wire tomato cage into a plant stand by wrapping rope around it for a decorative touch. These projects require minimal tools and materials but can still provide a stylish display for your plants.
To protect your DIY plant stand from water damage, especially if it’s made of wood, you should seal it with a waterproof sealant. For metal stands, use a rust-resistant paint to prevent corrosion. Always ensure that your plant pots have trays underneath to catch excess water and avoid placing your stand in areas where it’s likely to be exposed to prolonged moisture.
Conclusion:
Wrapping up, making your own DIY plant stand can be both fun and rewarding. It adds a personal touch to your home decor. Plus, it's an excellent way to save money. This simple project allows you to showcase your green thumb. Don’t wait; get started on your DIY plant stand today!
Related DIY Projects and Ideas:
Discover creative DIY projects and ideas to transform your home. Get inspired with step-by-step guides and practical tips for every space.
- Hang a Door: Learn how to hang a door yourself with this detailed DIY guide.
- DIY Welding Table: Easy steps for beginners to create a sturdy welding table. Follow this guide for detailed plans and ideas.
- DIY Magnetic Board: Discover creative ideas to make your own magnetic board with these easy DIY instructions.
- Make a Stencil: Learn how to make stencils for all skill levels with these comprehensive DIY techniques.
- DIY Gun Rack: Follow this step-by-step guide to build your own gun rack.

