Making a DIY self-watering planter Is a great way to keep your plants healthy and hydrated with minimal effort. This simple yet effective gardening solution uses a reservoir to provide a steady supply of water to your plants. It helps reduce the need for frequent watering and lowers the risk of over or under-watering. Best of all, it’s an easy project that can be made with materials you probably already have at home.
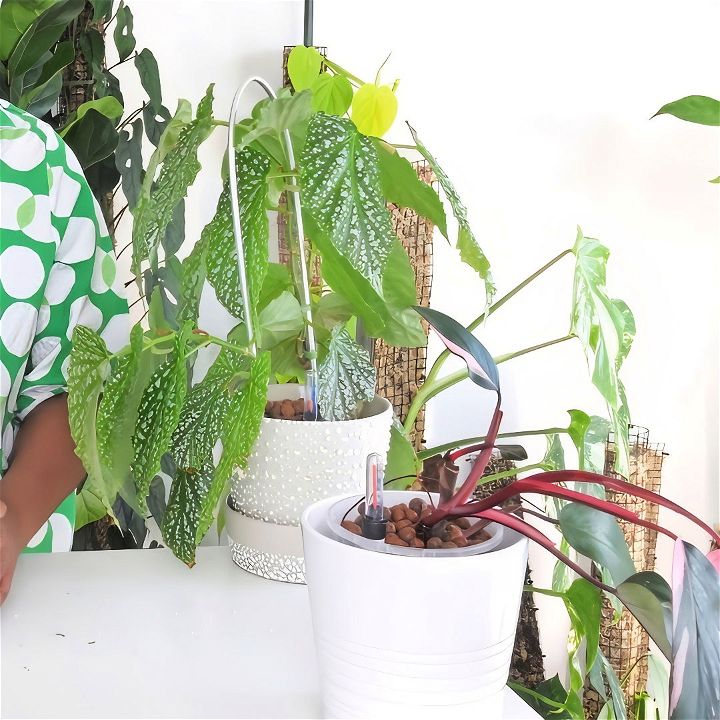
Making your own DIY self-watering planter can save time and ensure your plants thrive, even when you're busy or away. You’ll need a container, some string or wicking material, soil, and your plant. Follow a few simple steps to set it up, and watch your plants flourish with less maintenance required. This project is perfect for anyone who loves gardening but wishes it was a bit easier.
Materials Needed
Before we dive into the steps, let's go over the materials and why they're important:
- Nursery Pots: These will hold your plants. Clear pots are useful for visibility but any color will do.
- Outer Cache Pot: Holds the water reservoir. It can be plastic or ceramic but must be glazed inside.
- Microfiber Cloth: This will wick water from the reservoir to your plant.
- Water Level Indicator: This tells you when to refill the reservoir.
- Ruler, Marker, and Scissors: For measuring and cutting.
- Additional Nursery Pots: To create risers for your system.
Let's get into the step-by-step guide:
Step by Step Instructions
Learn how to make a DIY self-watering planter with our step-by-step instructions. Perfect for keeping your plants hydrated effortlessly!
Step 1: Cut the Microfiber Cloth into Strips
Use your scissors to cut your microfiber cloth into thin strips. These strips will draw water from the reservoir into your plants. Depending on your pot size, cut the strips to appropriate thickness.
Tip: Microfiber cloths are highly recommended because they are reliable for this purpose.
Step 2: Measure and Fit the Pot
Place your nursery pot into the cache pot. Use your ruler to measure the distance between the top of the nursery pot and the top of the cache pot. This measurement is crucial because it dictates how high the riser should be.
Step 3: Create the Riser
Take one of your additional nursery pots and mark the previously measured distance (for me, it was 1.8 centimeters) from the bottom. Use scissors or a knife to cut it at the marked height. This piece will act as the riser to elevate your nursery pot inside the cache pot.
Safety Note: Be careful when using a knife. Use adult supervision if necessary.
Step 4: Insert the Riser
Place the cut nursery pot (the riser) at the bottom of the cache pot. Ensure it sits flat and is stable. This riser will elevate your main nursery pot to the correct height, ensuring proper water flow.
Step 5: Drill a Hole for the Water Indicator
Use scissors or soldering iron to make a hole in the side of the nursery pot for the water indicator. The hole should be large enough to fit the indicator snugly.
Step 6: Thread the Microfiber Cloth
Insert the microfiber cloth strip through the holes in the nursery pot. Have the cloth extend both into the reservoir and up into the pot to ensure effective wicking.
Option: You can make a small notch to hold the cloth in place. However, it might make removal for cleaning more difficult.
Step 7: Assemble and Check
Place the nursery pot with the microfiber cloth and water indicator onto the riser inside the cache pot. Make sure everything sits appropriately and the cloth touches the reservoir bottom.
Step 8: Add Potting Medium and Plant
Gently place some leca or soil into the nursery pot—about a third of the way up. Position your plant in the center and then fill the pot around the plant with more leca or soil.
Breakdown of Costs
To give you an idea of how affordable this project is, here’s a breakdown:
- Microfiber Cloth: $0.05 per strip (50 cents for a cloth that makes 10 strips)
- Nursery Pots: $0.72 for a 10 cm pot
- Water Indicator: $4.70 each
- Cache Pots (e.g., IKEA Muskot pots): $4 for a 12 cm pot
So, the total cost for a basic self-watering system can be as low as $6.63. Larger pots or higher-end materials like ceramic cache pots will increase the cost but offer a more stylish finish.
Example: Potting a Plant
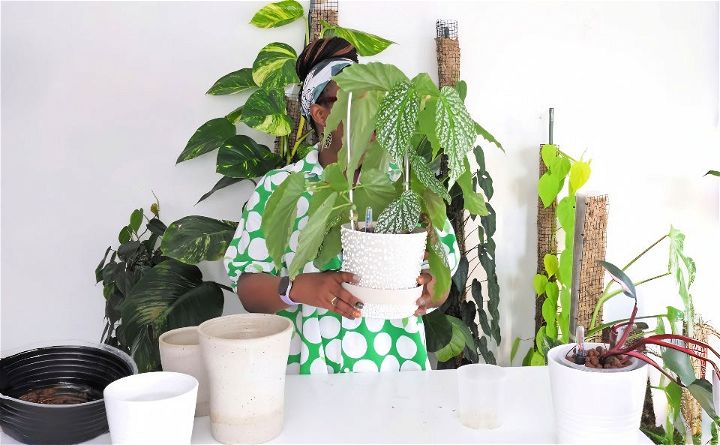
I recently potted a philodendron pink princess using this system:
- Open the self-watering device to place the microfiber cloth and water indicator.
- Fill the pot one-third with leca, then position the plant and fill around it.
- Place the assembly into the cache pot with the riser.
- Fill the reservoir, observing the water indicator to ensure it’s at the right level.
Advanced Tips for a Polished Look
If you want an even more elegant setup, consider using ceramic pots. They are more durable and aesthetically pleasing. For example, Angus and Celeste provide beautiful, thick ceramic pots that elevate any plant's look.
Making your self-watering planter is simple, cost-effective, and allows for personalization. Not only does it remove the guesswork out of watering, but it can also be a fun project that enhances your plant care routine.
FAQs About DIY Self-Watering Planter
Discover answers to common questions about DIY self-watering planters. Learn how to make and maintain these efficient, hassle-free gardening solutions.
A DIY self-watering planter is a container that waters the plants it holds automatically. It typically consists of a reservoir filled with water and a wicking system that draws water up into the soil as needed. This ensures that the plants receive a consistent amount of moisture without the need for daily watering.
Self-watering planters offer several advantages:
Consistent moisture: They provide a steady supply of water directly to the roots, promoting healthy plant growth.
Water efficiency: These planters minimize water evaporation and runoff, making them more water-efficient.
Time-saving: They reduce the frequency of watering, which is especially helpful during hot weather or if you’re away from home.
Weed reduction: The top layer of soil remains dry, discouraging weed growth.
Yes, you can create a self-watering planter using common household items like plastic containers, water bottles, and fabric strips. The process involves creating a water reservoir at the bottom of the container and using a wicking material to draw water up to the plant’s roots.
The frequency of refilling the water reservoir depends on factors such as the size of the planter, the type of plants, and the climate. Generally, you might need to refill the reservoir once a week during peak summer months. However, it’s best to check the water level regularly and refill as needed.
Most plants thrive in self-watering planters, particularly those that prefer consistent moisture levels. However, some plants that require dry conditions or are prone to root rot may not be suitable for
this type of planter. It’s important to research the specific water needs of your plants before using a self-watering system.
Conclusion:
In conclusion, making a DIY self-watering planter is an enjoyable and practical project. By following our simple steps, you can ensure your plants stay hydrated without daily maintenance. This eco-friendly solution is perfect for busy gardeners and will help you create a thriving garden with ease.
Related DIY Projects and Ideas:
Discover endless inspiration with our related DIY projects and ideas. Perfect for crafters of all levels. Find your next creative project today!
- DIY Tufted Headboard: Enhance your bed design with a DIY tufted headboard. A step-by-step guide is included.
- DIY Bathroom Remodel: Transform your bathroom from drab to fab with our step-by-step guide on DIY bathroom remodeling from demo to dream bath.
- DIY Upholstered Headboard: Upgrade your bedroom with this simple DIY upholstered headboard tutorial.
- DIY Wood Countertops: Learn how to build your own wood countertops with this comprehensive DIY guide.
- How to Hang a Door (DIY): Master the process of hanging a door with our detailed DIY instructions.

