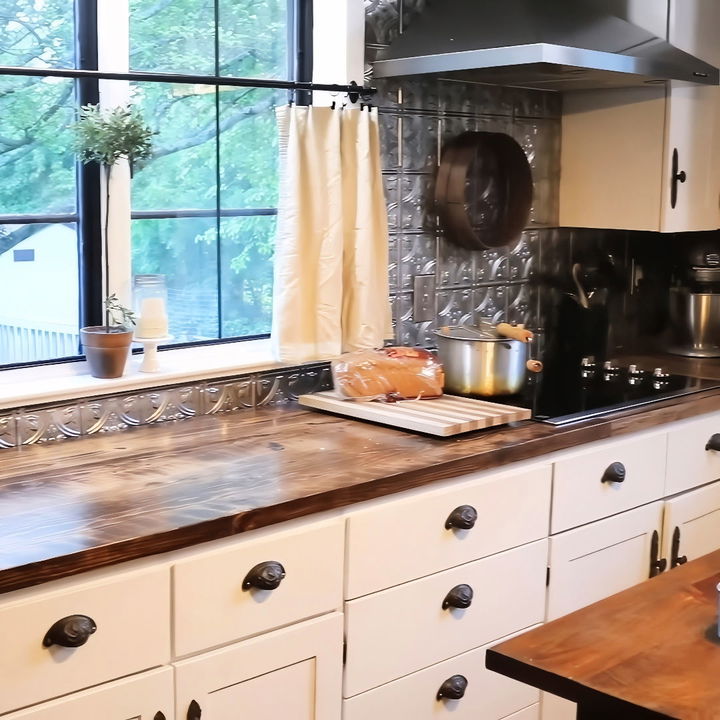
Building your own DIY wood countertops can be a rewarding project. You'll find that wood countertops offer a warm, natural look that adds charm to any kitchen. Wood is not only beautiful but durable, making it a great material for countertops. With the right tools and materials, you can make a stunning, customized countertop that suits your style and needs.
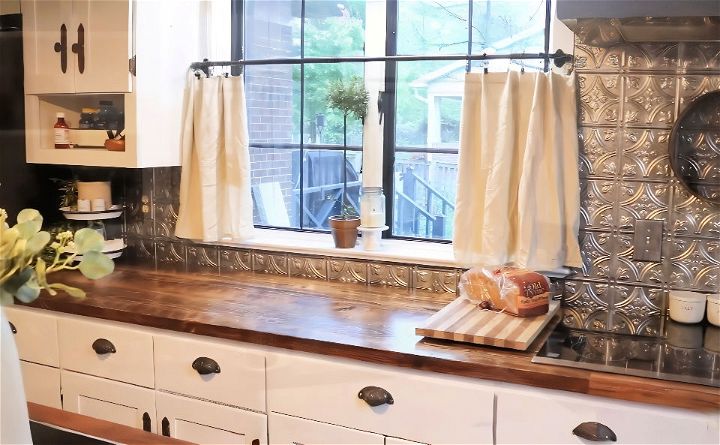
Opting for DIY wood countertops allows you to control the cost and quality. You can choose from various types of wood, finishes, and styles to match your space perfectly. Whether you're upgrading your kitchen or starting fresh, wood countertops provide an affordable and stylish option. Keep reading to learn more about the steps and materials needed to build your own amazing wood countertops!
Materials You'll Need
- 2x10 Lumber Planks: These will be cut down to form the individual pieces of your countertop. Choose straight, high-quality pieces to avoid issues with bowing or gaps.
- Table Saw: Essential for cutting down the lumber to the desired dimensions.
- Planer: To smooth the planks and remove saw marks.
- Hand Plane: For additional smoothing and leveling of the boards.
- Wood Glue: To glue the planks together securely.
- Bar Clamps: Necessary for clamping the glued boards together.
- Sandpaper: Various grits for smoothing the surface.
- Pre-Stain Conditioner: Helps the wood absorb the stain evenly.
- Stain: Choose a high-quality stain to enhance the wood’s natural beauty.
- Polycrylic Finish: For a durable, clear protective finish.
- Epoxy Resin (optional): To fill in wood knots and defects for a smooth finish.
- Painter's Tape: To prevent splintering when cutting.
Step by Step Instructions
Discover easy step-by-step instructions for DIY wood countertops and transform your kitchen with this beginner-friendly guide.
Step 1: Preparing the Lumber
Firstly, head to your local hardware store and pick up 2x10 lumber planks. These will be the foundation of your countertop. I chose 2x10 lumber because, when trimmed down, it leaves me with pieces approximately 8.5 to 9 inches wide — perfect for a butcher block.
Cutting the Planks
Measure and cut the lumber a bit longer than your desired final dimensions. This extra length allows for any necessary adjustments later. Use your table saw to trim off the round edges that come with store-bought lumber. These round edges prevent chipping but aren’t needed for our project and can create gaps when the boards are glued together.
Planing the Wood
After cutting, pass each piece through a planer to smooth one side. This step is crucial for creating a flat, even surface when you glue the boards together. I focused on one side, repeating the planing process to remove as many saw marks as possible.
Step 2: Assembling the Countertop
Addressing Bowed Boards
Some boards may have a slight bow. Use a hand plane to level these out. This was a time-consuming step for me, but it ensured that the boards fit together without gaps.
Gluing the Boards
With the boards prepped, lay them out and start applying wood glue to the edges. I faced a challenge with my clamps; they were only 24 inches long, but my countertop was 25 inches wide. My solution was to glue two boards together first and clamp them vertically. I then screwed these first two boards together from the back to create a stable base and repeated the process with the remaining boards.
Clamping and Drying
Clamp the boards together tightly and let the glue dry completely. This step is crucial for a strong, seamless bond. Once dried, remove any excess glue with a low surface plane.
Step 3: Sanding and Finishing
Sanding
Sanding is vital for a smooth, professional finish. Start with a lower grit sandpaper and gradually move to a finer grit. This process took a significant amount of time, especially as I had three sections to work on.
Applying Pre-Stain Conditioner
Before staining, apply a pre-stain conditioner. This helps the wood absorb the stain more evenly, reducing blotchiness. Wipe off any excess conditioner that doesn’t soak into the wood.
Staining the Wood
Apply your chosen stain. I used Rust-Oleum stain, which I found superior to other brands in a previous test. Follow the stain application with a consistent wiping to remove any excess.
Step 4: Installation
Preparing the Space
Remove any existing countertops, sinks, and stoves. This might involve some demolition, but it's necessary to fit your new countertop correctly.
Fitting the Countertop
Lay the assembled countertop sections in place. I had to trim some parts to fit perfectly, using a ruler and painter's tape to mark and prevent splintering. Measure twice and cut once to ensure accuracy.
Securing the Countertop
Once in place, secure the countertop from below using screws.
Applying Polycrylic Finish
Apply several coats of polycrylic for a durable finish. I ended up applying about eight coats, with light sanding between each coat. This water-based finish doesn’t yellow over time, maintaining the wood’s natural look.
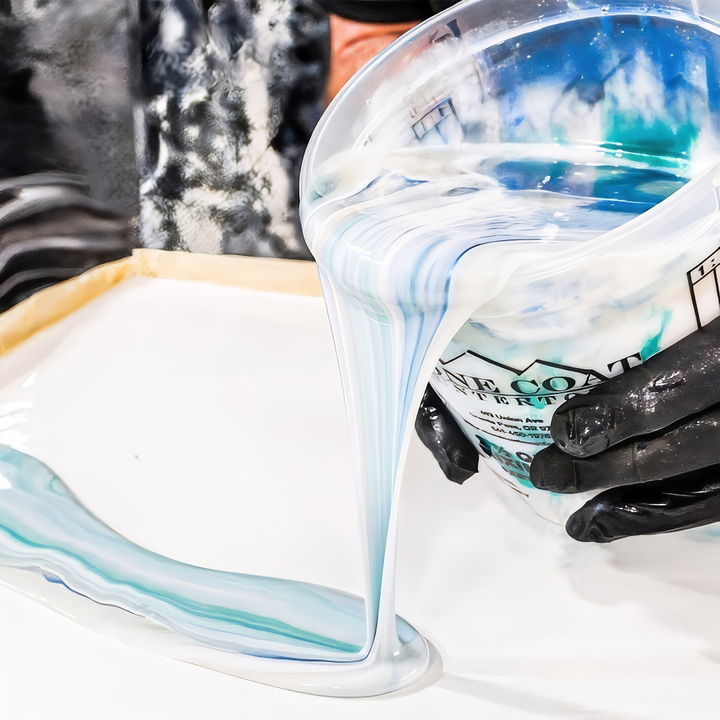
Filling Knots with Epoxy
If your wood has knots or defects, consider filling them with epoxy resin for a smoother surface.
Step 5: Final Touches
Installing Fixtures
After the finish is fully dried, install any necessary fixtures, including your sink and stove. I installed an 8-inch deep farmhouse sink, which added a beautiful, modern touch to my kitchen.
Enjoy Your New Countertop
Once everything is in place, step back and admire your work. The transformation will be well worth the effort.
Building a DIY butcher block countertop is a rewarding project that adds a unique touch to your kitchen. You'll achieve a durable and beautiful countertop by following these steps and using quality materials. Don’t forget to share your results and any tips you've learned along the way.
FAQs About DIY Wood Countertop
Discover everything you need to know about DIY wood countertops in our comprehensive FAQ guide. Perfect for your next home improvement project!
Wood countertops offer a combination of affordability, practicality, and durability, provided they are maintained properly. They can suit various styles, from farmhouse to contemporary, and add warmth to your space.
Regular sealing is crucial to protect wood countertops from moisture and warping. You can use polyurethane for a seal that lasts a few years or oils like mineral or tung oil, which need reapplication every few months.
Yes, with the right tools and a bit of woodworking knowledge, you can install a wood countertop yourself. There are many DIY plans available that guide you through the process, whether you’re creating a butcher block or a faux reclaimed wood countertop.
Hardwoods like maple and oak are popular for their durability. For finishes, polyurethane provides a durable seal, while oils like mineral or tung oil offer a more natural look but require more frequent maintenance.
Light scratches can be sanded out, and the area resealed. Deeper cuts may require wood putty or a professional’s touch to repair. Regular maintenance and careful use can minimize damage.
Conclusion:
In conclusion, these DIY wood countertops offer a cost-effective and customizable solution for your kitchen or bathroom. With the right tools and guidance, you can create a beautiful and durable countertop that fits your style. Start your DIY woodworking project today and enjoy the satisfaction of crafting your own functional piece.
Related DIY Projects and Ideas:
Discover inspiring DIY projects and creative ideas. Perfect for home improvement, crafts, and budget-friendly makeovers. Get started today!
- DIY Upholstered Headboard: Upgrade your bedroom with a stylish DIY upholstered headboard. Follow our easy tutorial to create a luxurious focal point.
- DIY Tufted Headboard: Enhance your bed design with an amazing DIY tufted headboard. Discover simple steps to achieve a chic and comfortable look.
- DIY Bathroom Remodel: Transform your space with our guide on DIY bathroom remodel. From demo to dream bath, find step-by-step instructions.
- How to Hang a Door: Learn how to hang a door with our comprehensive DIY guide. Perfect for home improvement projects.
- DIY Self-Watering Planter: Create a DIY self-watering planter to keep your plants healthy and thriving with minimal effort.

