Building a homemade DIY hot tub on a budget is simpler than you might think. By using affordable materials and following clear steps, you can have your own relaxing space without spending a fortune. You just need a few basic tools and a bit of time. Everything from selecting the right tub to ensuring proper water circulation can be easily accomplished with straightforward instructions.
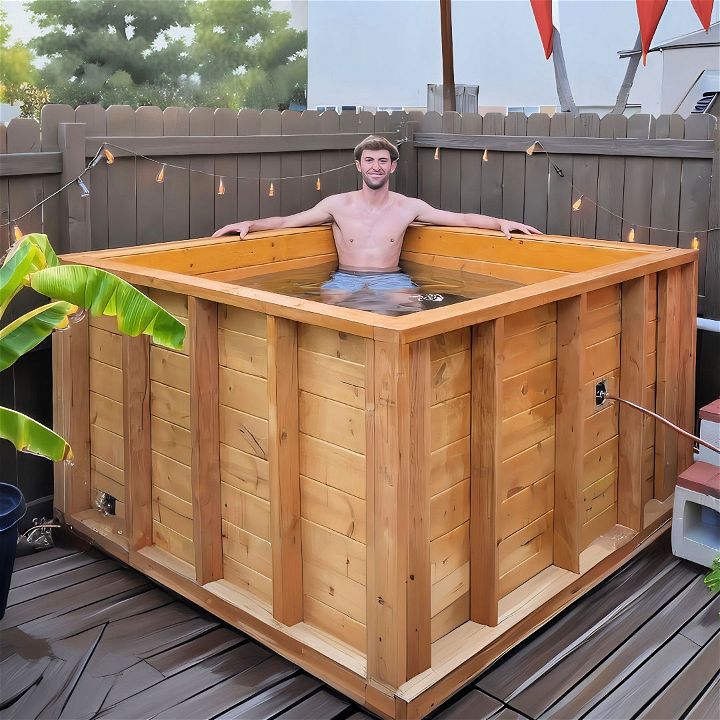
This guide lays out a step-by-step process, helping you understand each phase of building and maintaining your hot tub. It covers sourcing inexpensive materials, construction tips, and maintenance practices. Additionally, safety tips are included to ensure your DIY hot tub is both relaxing and secure. Ready to learn more about making your own budget-friendly DIY hot tub? Read on to discover the next steps and helpful insights.
Materials Needed
Lumber and Wood
- 2x4s: Perfect for creating the frame and overall structure.
- Tongue and Groove (T&G) boards: Essential for creating watertight walls.
- Pressure-treated 4x4s: These were used at the bottom of the tub to lift it off the ground and prevent rot.
- Cedar (optional): Recommended for durability, though I opted for pine to save costs.
Hardware
- Screws and glue: Needed to fasten and seal parts together. I used waterproof Tight Bond Number 3 glue.
- Big clamps: Crucial for holding planks together as the glue dries.
- Silicone sealant: Used for sealing seams to make the tub watertight.
Other Materials
- Copper pipe: For heating the tub using a fire.
- Firewood: To fuel the fire for heating the water.
- Waterproof stain and flex seal: To protect the wood from water damage.
Step-by-Step Construction Process
Learn the DIY hot tub step-by-step process: from gathering materials to filling the tub. perfect guide for building your own relaxing spa at home!
Step 1: Gathering Materials
The first trip to Home Depot was overwhelming. I picked up 2x4s, T&G boards, pressure-treated 4x4s, screws, glue, and clamps. For anyone looking to replicate this, cedar is ideal but more expensive.
Step 2: Building the Panels
With the materials at hand, it was time to start building the panels. Here’s how I did it:
- Laying Out the Boards: I used eight T&G boards for each wall.
- Gluing the Seams: I applied Tight Bond Number 3 glue to the seams.
- Clamping: I clamped the boards together to ensure a watertight seal.
- Repeating: I repeated the process for all four walls and allowed them to dry overnight.
Tip: If you have limited clamps, prioritize a few panels at a time to maximize your resources.Step 3: Assembling the Structure
Next, I moved to assembling the structure:
- Framing the Bottom: I screwed the 4x4s together to form a base.
- Attaching the Panels: I screwed the panels to the 4x4s.
- Fortifying the Structure: Additional 2x4s were used to strengthen the walls and secure joints.
Step 4: Sealing the Tub
With the basic structure in place, sealing off any potential leaks was crucial.
- Applying Silicone: I filled all seams with silicone to ensure they were watertight.
- Staining and Sealing: I stained the wood with a waterproof stain and used flex seal on critical joints.
Pro Tip: Allow ample time for the sealant and stain to dry completely before filling the tub with water.Step 5: Building the Fire Heating System
Heating the water was the next essential component.
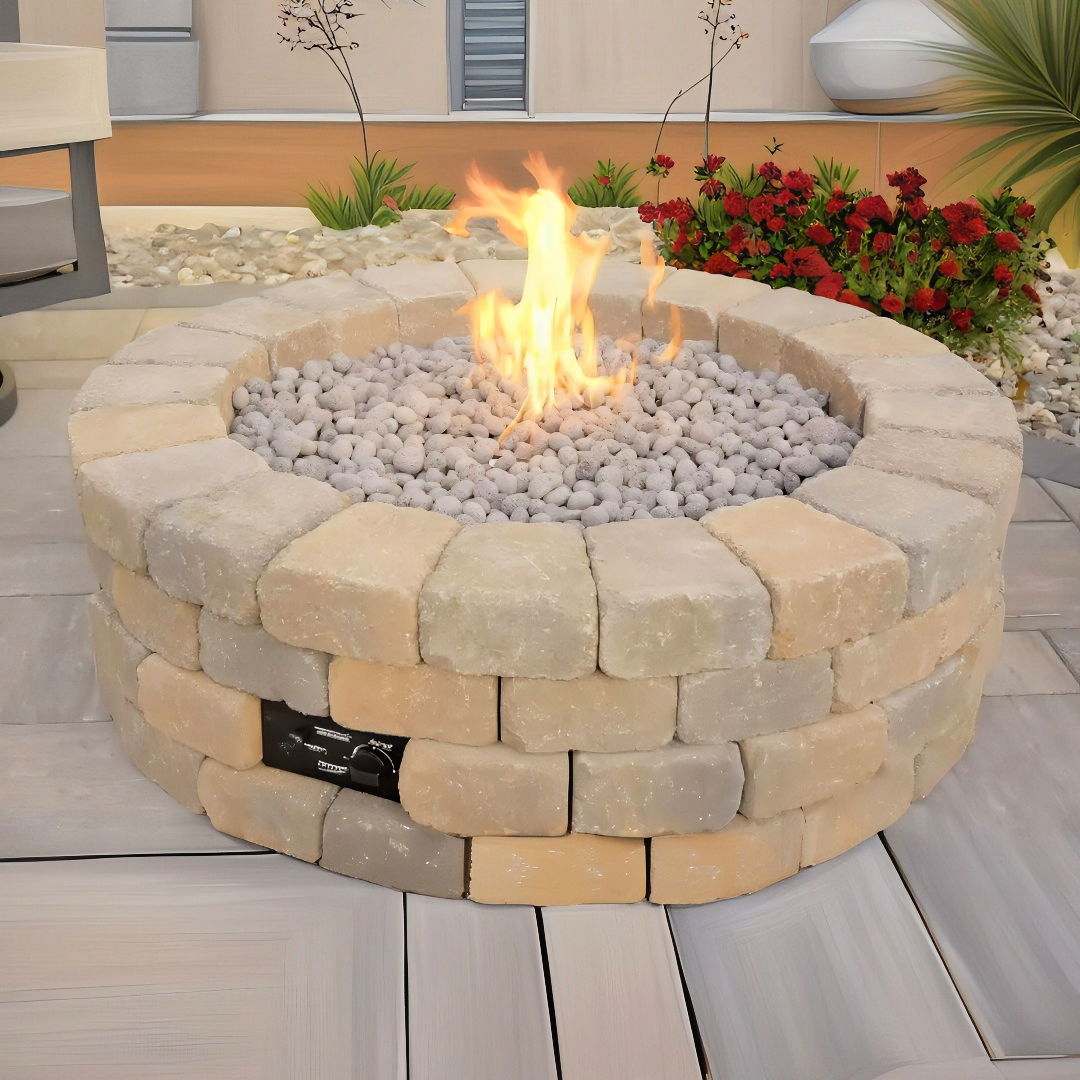
- Copper Tubing Layout: I arranged copper tubing inside a fire pit made from cinder blocks.
- Connecting Tubing: I connected the tubing to the tub, ensuring that the water would flow through it to heat up.
Step 6: Adding Final Touches
Before the moment of truth, a few final touches were needed.
- Seats: Constructing simple wooden benches for comfort inside the tub.
- Final Sealant: I applied another layer of flex seal to any seams that looked like potential leak points.
Pro Tip: Test fit the benches before final installation to ensure they sit comfortably.Step 7: Filling the Tub
Finally, it was time to fill the hot tub with water and test my work. I used a standard garden hose and watched eagerly.
Note: Keep an eye on the water level and look for leaks as it fills.The Moment of Truth
The hot tub filled up, and much to my relief, it mostly held water. A few minor leaks appeared, but these were quickly fixed with more silicone and flex seal. The copper pipe system effectively heated the water, although it took several hours to get warm.
Final Tips
- Preparation: Ensure all materials and tools are easily accessible before starting.
- Patience: Allow glue, silicone, and stain to dry thoroughly between steps.
- Safety First: When dealing with fire and water, always prioritize safety.
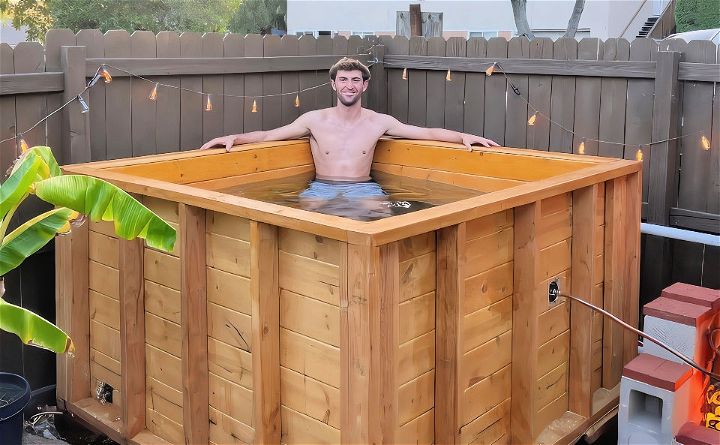
Though it required some adjustments and took longer than expected to heat up, the wood-fired hot tub works. It offers a unique, rustic experience that’s incredibly rewarding. If you’re up for a challenging DIY project, this is a fantastic weekend endeavor. With the right materials, patience, and a bit of determination, you too can enjoy a cozy, wood-fired hot tub in your backyard.
FAQs About DIY Hot Tub
Explore the faqs about DIY hot tub for insights on installation, maintenance, and cost, helping you create the perfect relaxation spot at home.
The size of your DIY hot tub should be based on the available space, your budget, and the number of people you want to accommodate. Measure the area where you plan to install the hot tub and decide whether you want a cozy tub for two or a larger one for family and friends. Remember, the bigger the tub, the more materials and water heating you’ll need.
Yes, you can! There are many DIY hot tub plans available that cater to different skill levels. Some plans are designed for beginners and use simple construction methods and materials. If you’re not confident in your skills, consider a plan that repurposes a stock tank or a pre-made kit that requires minimal assembly.
Heating and filtration are crucial for a clean and warm hot tub experience. You can choose from various heating options like electric heaters, gas heaters, wood-fired heaters, or even solar heating. For filtration, ensure you have a proper pump and filter system to keep the water clean. It’s also important to regularly treat the water with the appropriate chemicals to maintain hygiene.
Maintaining your DIY hot tub involves regular cleaning, monitoring water chemistry, and ensuring the heating and filtration systems are functioning properly. Clean the tub’s surface, check the pH and sanitizer levels weekly, and replace the water every three to four months. During winter, take extra precautions to prevent freezing if your hot tub is outdoors.
Ensuring the structural integrity of your DIY hot tub is vital for safety and longevity. If you’re using wood, choose quality lumber and seal it properly to prevent water damage. For concrete tubs, apply a waterproof membrane and consider reinforcing with rebar. Always build on a solid, level foundation, such as a concrete pad, to support the weight of the tub when filled with water. Additionally, follow any building codes or regulations in your area to ensure that your hot tub is constructed safely.
Conclusion:
In conclusion, building a DIY hot tub can be an enjoyable and rewarding project. It offers the chance to create a personal relaxation haven tailored to your specific needs. This guide breaks down the steps and tips needed for constructing your hot tub, ensuring you can start with confidence. Investing your time and effort in this project will provide countless hours of relaxation and satisfaction.

