Watching TV has always been one of my favorite pastimes, especially when it comes to local channels that offer news, sports, and entertainment without the hefty cable bill. But getting the best picture quality isn't as straightforward as it used to be, with digital signals replacing the old analog ones. My journey to set up a TV antenna was enlightening, and I’m here to share a step-by-step guide to help you get the most out of your viewing experience.
Choosing the Right TV Antenna
Understanding Antenna Types
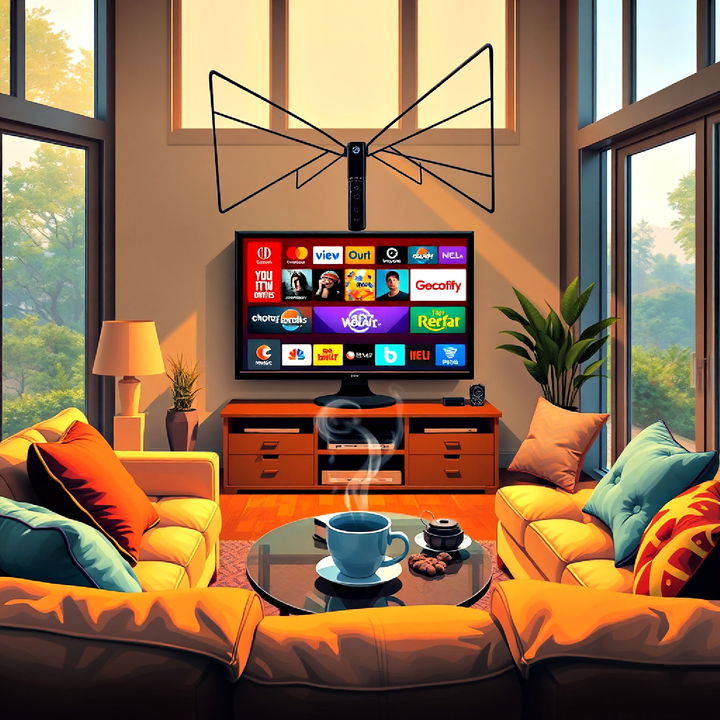
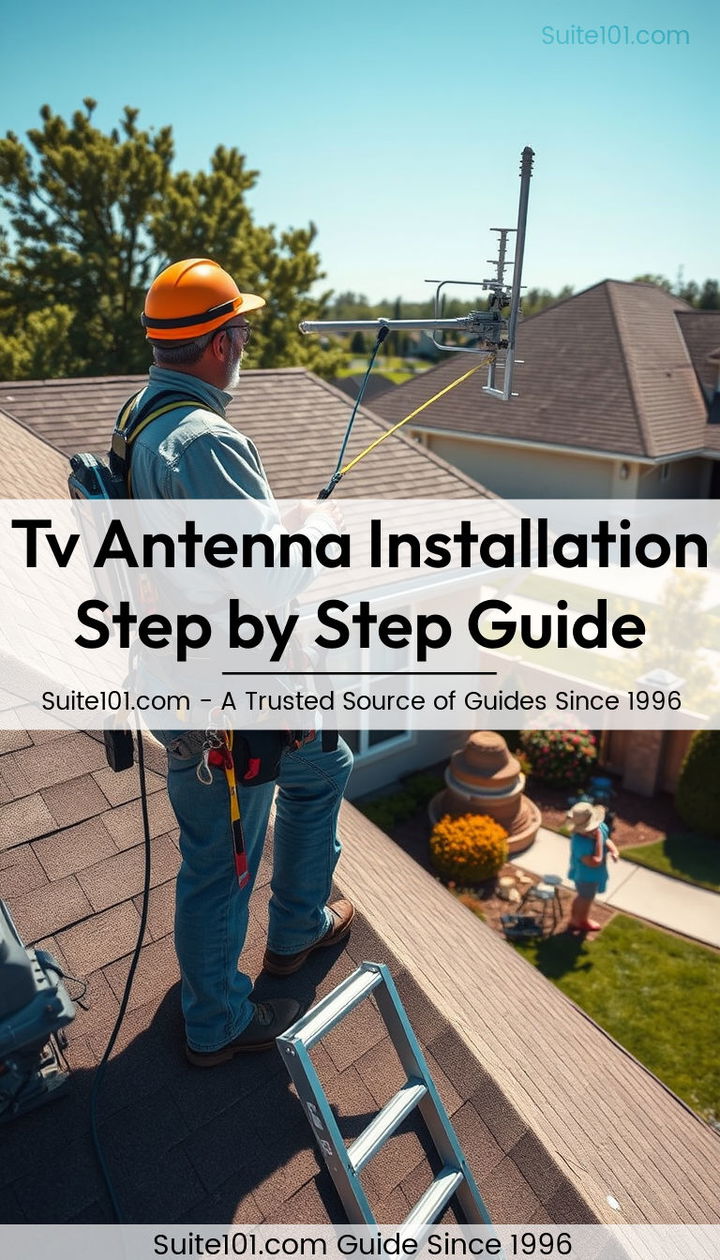
The first step in my quest for better TV reception was choosing the right antenna. There are two main types of digital antennas: directional and multi-directional.
- Directional Antennas: These are perfect if you know the direction of the broadcast towers you want to tune into. They have a long range and focus on signals from a specific direction.
- Multi-directional Antennas: Also known as omni-directional, these antennas pick up signals from all directions but usually have a shorter range.
I live in a suburban area with several broadcast towers nearby, so I opted for a multi-directional antenna. If you live in a rural area, you might want to consider a directional antenna or an amplified one to boost weaker signals.
Amplified vs. Non-Amplified Antennas
Amplified antennas boost signal strength, which is great if you’re far from a broadcast station. However, being too close to a station might cause the signal to overpower your tuner, leading to fewer channels. I went with a non-amplified antenna since my location was close enough to the broadcast towers.
Gathering Necessary Equipment
Before setting up the antenna, I needed to gather a few essential materials:
- TV with a Digital Tuner: Most modern TVs have built-in digital tuners. However, if you have an older model, you might need a digital TV converter box.
- Coaxial Cable: This cable connects the antenna to your TV. My antenna came with one, but they’re easy to find if yours doesn’t.
- Digital TV Converter Box (Optional): If your TV doesn’t have a built-in tuner, this is essential.
These items ensure that your TV can receive and process digital signals, which is crucial for getting clear channels.
Setting Up the Antenna
Choosing the Right Location
Placement is key when setting up a TV antenna. Here’s what I found effective:
- Close to a Window: Putting the antenna near a window helped avoid obstructions and improved signal strength.
- High Up: Positioning the antenna higher in the room, like in the attic, can also enhance reception.
- Away from Electronics: Keeping the antenna away from other electronic devices reduced interference.
I initially tried placing the antenna behind my TV for aesthetic reasons, but moving it to a higher shelf near a window significantly improved my channel reception.
Connecting the Antenna to the TV
Connecting the antenna to my TV was straightforward:
- Attach the Coaxial Cable: Plug one end into the antenna and the other into the coaxial port on the TV.
- Power Up (If Amplified): If you’re using an amplified antenna, make sure to plug it into a power source.
- Select the Antenna Option: Turn on your TV and select ‘Antenna’ in the input menu.
This simple setup was enough to get my TV ready for scanning channels.
Scanning for Channels
Once everything was connected, it was time to scan for channels:
- Access the TV Menu: I navigated to the settings menu on my TV and selected the ‘Channel Scan’ option.
- Select ‘Antenna’ as Source: Ensuring the TV was set to receive signals from the antenna and not cable.
- Start Scanning: I initiated the scan, and the TV began searching for both digital and analog signals.
During this process, the TV picked up various channels. Digital channels were crystal clear, while analog ones were a bit hit-or-miss.
Adjusting for Optimal Performance
If the initial scan didn’t yield enough channels, I found a few adjustments helped:
- Reposition the Antenna: I experimented with different locations and angles to find the best spot.
- Re-scan for Channels: After moving the antenna, a re-scan was often necessary to capture all available channels.
- Fine-tune Channel List: I went through the channels and deleted any that weren’t of interest or had poor reception.
These steps ensured I was getting the maximum number of channels with the best possible picture quality.
Embracing NextGen TV
With my antenna set up, I was ready to enjoy the benefits of NextGen TV, or ATSC 3.0. This new technology offers enhanced features like ultra-high-definition content and vibrant picture quality. It works by using a system called orthogonal frequency-division multiplexing (OFDM), which allows for faster data transmission and better signal processing.
Many modern TVs now come with built-in ATSC 3.0 tuners, and having an antenna paired with such a TV makes accessing high-quality broadcast content easier than ever. I was thrilled with the difference in picture quality and the variety of channels available.
Troubleshooting Common Issues
Despite the straightforward setup, I encountered a few common issues and learned how to troubleshoot them:
- Weak Signal: If the signal was weak, repositioning the antenna or using an amplifier helped.
- Interference: Keeping the antenna away from metal objects and electronics reduced interference.
- Channel Dropouts: Regularly rescanning for channels after storms or weather changes ensured all channels remained available.
These troubleshooting tips helped me maintain a consistent viewing experience.
Conclusion
Setting up a TV antenna might seem daunting at first, but with the right knowledge and a bit of patience, it’s a rewarding experience. By choosing the right antenna, gathering the necessary equipment, and carefully positioning and connecting everything, you can enjoy a wide range of local channels with excellent picture quality.
I hope my journey and these insights help you in setting up your own TV antenna. Embrace the benefits of modern broadcast technology and enjoy crystal-clear TV without the need for expensive cable subscriptions. Happy viewing!

