Making a DIY changing table is a practical and rewarding project that you can accomplish with basic tools and materials. This guide will walk you through each step of the building process. We’ll provide clear instructions to help you craft a safe and sturdy changing table that fits your needs perfectly. Following this guide, you’ll have a functional piece of furniture that's also budget-friendly.
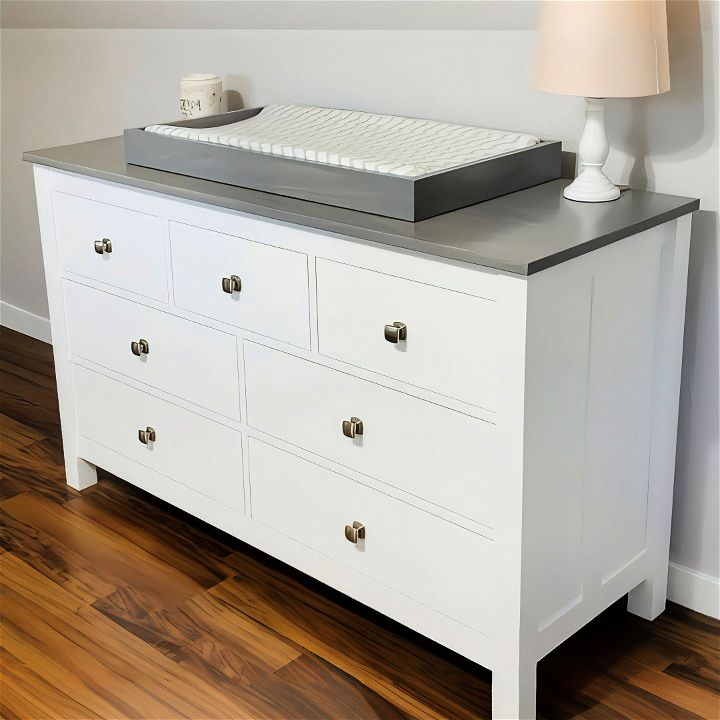
Building your own DIY changing table means you can customize it to suit your space and style. From selecting the wood to assembling the parts, every step is covered. This project is not only cost-effective but also allows you to create a unique piece tailored to your baby’s needs. Equipped with this guide, you’re set to build a personalized changing table, adding a special touch to your nursery.
Materials and Tools Needed
Materials
- Rough Sawn Poplar: Chosen for its durability and workability.
- MDF Panels: Used for the sides that need to be painted.
- Shellac-based Primer: Helps seal MDF panels and prepare for painting.
- Wood Glue: Essential for bonding wood pieces together.
- Pocket Hole Screws: For joining pieces discreetly and securely.
- Brad Nails: Fast for securing pieces temporarily.
- Biscuit Joints and Biscuits: Helps with alignment and adds slight strength.
- General Finishes' Snow-White Milk Paint: For a durable, attractive finish.
- General Finishes' High Performance Satin: Protects the stained wood top.
- Coastal Gray Minwax Stain: Provides a beautiful finish for the poplar wood top.
- Quarter-inch Plywood: For the back panel and drawer bottoms.
- Three-quarter-inch Plywood: For drawer sides.
- Soft-close Drawer Slides: Ensures nobody gets their fingers pinched.
- Various Screws and Hardware: For assembling, reinforcing, and adding drawer pulls.
Tools
- Table Saw: For cutting the wood to size.
- Planer and Jointer: To ensure the wood pieces are perfectly flat and straight.
- Router and Router Table: For creating grooves and rabbets.
- Clamps: Essential for holding pieces together while the glue dries.
- Drill and Drivers: For creating pocket holes and driving screws.
- Circular Saw Guide: To ensure straight cuts.
- Brad Nail Gun: For quick and efficient nailing.
- Sander: For preparing the wood for finishing.
- Spray Painter: For a smooth, even finish.
- Measuring Tape and Squares: For precise measurements and ensuring everything is square.
- Felt Pads and Mending Brackets: For attaching the removable frame without damaging the dresser.
Step-by-Step Process
Learn the step-by-step process to build your own DIY changing table, from preparing lumber to finishing touches.
Step 1: Preparing the Lumber
I started with a stack of rough-sawn poplar from my local hardwood dealer, which had been drying in my workshop. Getting lumber down to a great moisture level is crucial for preventing future warping. First, I measured and laid out most of my cuts, then broke the boards down to rough dimensions.
Step 2: Crafting the Legs
The legs are a critical structural component, so I laminated three boards together to achieve the necessary thickness. After ripping them slightly wider than needed, I jointed one face flat and planned the opposite face to ensure both were even. Once glued and clamped, I allowed them to dry overnight.
Step 3: Milling and Assembling the Framework
With the legs drying, I milled up the rest of the pieces. Though advanced tools are beneficial, you can also use pre-dimensioned lumber. After the legs were ready, I precisely cut and joined them, ensuring they were perfectly square and all of equal length using a stop block.
Step 4: Constructing the Sides
For the sides, I laid out the top and bottom rails and a center stile, using painters tape to remember orientation. I routed tongues on the ends of all pieces and grooves where needed. These joints ensure solid assembly.
Step 5: Working with Panels
Next, I cut MDF panels for the sides, rout rabbets on all edges, and slid them into place. MDF panels receive a coat of shellac-based primer to seal them because they tend to absorb paint unevenly. This primer helps in achieving an even finish later.
Step 6: Assembly
With everything cut, I started the assembly by drilling pocket holes at strategic locations. These invisible joinery techniques ensure the dresser's sturdiness while maintaining a clean look. First, I assembled the sides with the front and back rails, ensuring each piece was perfectly square.
Step 7: Adding Drawer Dividers and Bottoms
Creating evenly spaced dividers is crucial for fitting drawers later. Using spacers helped maintain consistent gaps. For the base, I used plywood set in rabbets, reinforced with glue and brad nails.
Step 8: Gluing and Finishing the Top
The top was made by gluing boards together, reinforced with biscuits for alignment. After the glue dried, I trimmed it to size with a circular saw and sanded it smooth before applying a coastal gray stain. A couple of coats of general finish ensure it’s not only beautiful but also durable.
Step 9: Building and Installing Drawers
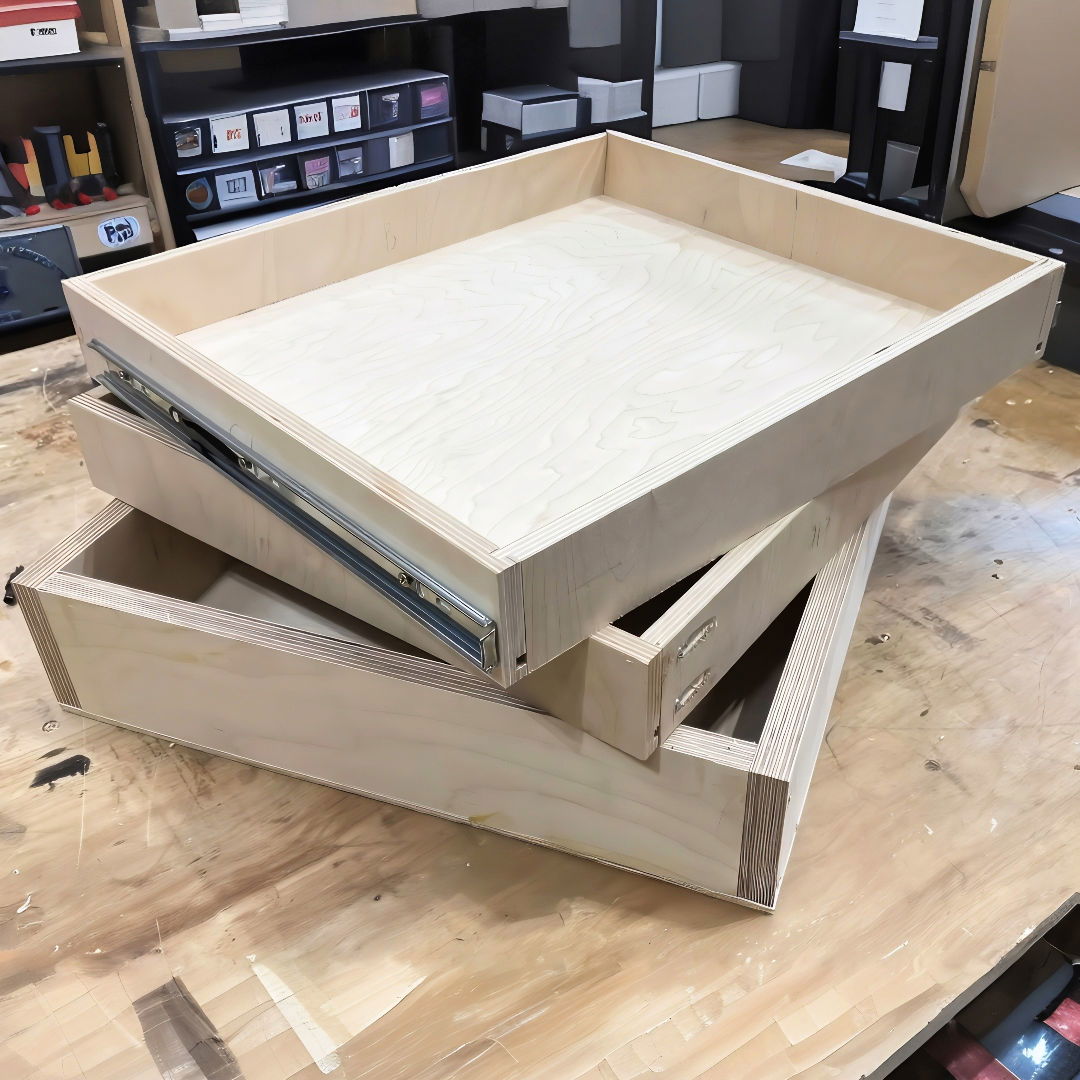
Drawer construction involves cutting sides and fronts from plywood, routing grooves for the bottoms, and joining with pocket holes. To install the slides, precise alignment is crucial. I used spacers to ensure consistent fit and smooth operation.
Step 10: Finishing Touches
Final steps involve filling pocket holes with plugs, adding the false drawer fronts using a playing cards trick for even spacing, and attaching the drawer pulls. Lastly, I installed the back panel and changed pad frame using screws and felt pads to prevent scratches.
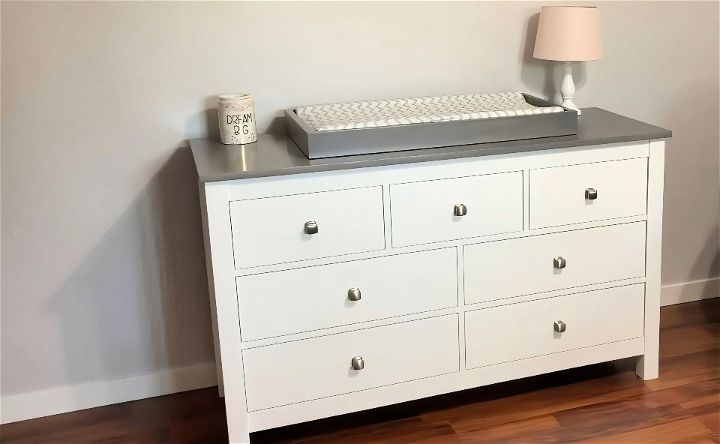
By carefully following these steps, I built a multifunctional dresser that is not only practical but also elegant. This project incorporated best practices for woodworking and finishing, highlighting the value of patience and precision.
FAQs About DIY Changing Table
Discover answers to common questions about DIY changing tables, including safety tips, materials, and design ideas. Find out more!
A DIY changing table is a custom-built piece of furniture designed to provide a comfortable and safe space for changing a baby’s diapers. It’s typically made at home to fit personal preferences and space requirements, often featuring storage for diapers, wipes, and other essentials.
The size of your changing table should be based on the available space in your home and the height of the person who will use it most often. A standard changing pad is usually around 16 inches by 32 inches, so ensure your table can accommodate this or any other size pad you choose.
Absolutely! One of the benefits of a DIY changing table is the ability to customize it. You can add extra shelves, drawers, or compartments for storage, choose a specific paint color or finish, and even add decorative elements to match your nursery’s theme.
Building a changing table can be a simple or complex project, depending on the design. There are many plans available that cater to different skill levels. With the right tools and instructions, most people can create a functional and stylish changing table over a weekend.
Safety is the most critical aspect of a DIY changing table. To ensure safety, make sure the table is sturdy and does not wobble. Use quality materials and secure all joints with appropriate hardware. The table should have raised edges or barriers to prevent the baby from rolling off. Additionally, ensure that all surfaces are smooth and free of splinters or sharp edges. Regularly inspect the table for any loose parts or damage.
Conclusion:
Wrapping up, making your own DIY changing table is not only a fun and rewarding project but also a practical solution for your nursery. By following the steps outlined, you can personalize it to suit your needs and preferences. Enjoy the process and the satisfaction that comes with making something special for your baby.
Related DIY Projects and Ideas:
Explore exciting DIY projects and creative ideas for your next home improvement, crafting, or decor venture. Get inspired and start creating today!
- DIY Console Table: Maximize space and style with an amazing DIY console table. Perfect entryway solution with these easy plans.
- DIY Coffee Bar: Build your DIY coffee bar with these beginner-friendly ideas. Create a cozy corner for your coffee needs.
- DIY Bed Frame: Create a stunning DIY bed frame on a budget. Affordable and stylish designs to transform your bedroom.
- DIY Upholstered Headboard: Upgrade your bedroom with a remarkable DIY upholstered headboard. Easy steps to add a touch of luxury.
- DIY Floor Lamp: Personalize your space with a unique DIY floor lamp. Discover unique design ideas and instructions.

