Making a DIY gun rack can be a fun and practical project. With the right materials and a simple guide, you can safely store your firearms and keep them well-organized. This project doesn't require advanced carpentry skills, making it accessible to most people. You'll save money and have a custom piece that perfectly fits your needs.
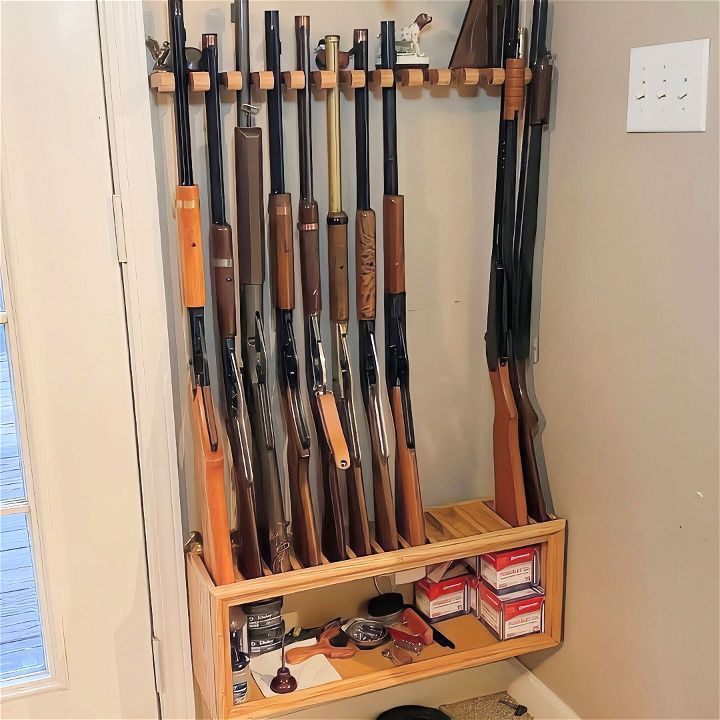
Building your own homemade DIY gun racks allows for personalization. You can choose the size, style, and wood type that best matches your space. Additionally, it ensures your firearms are stored securely and within reach. By following clear steps, you can achieve a sturdy and attractive storage solution. Ready to get started? Let's dive into the materials and steps you'll need for your DIY gun rack project.
Materials Needed
Before we dive into the steps, let's take a look at what you'll need to get started:
Materials:
- Oak Lumber (7 1/4 x 3/4 inch): This type of wood is sturdy, making it ideal for supporting multiple rifles.
- Brass Screws and Hardware: They add a polished look and are durable for long-term use.
- Felt (optional): To prevent any scratches on your rifles.
- French Cleat: For a clean and sturdy wall installation.
Tools:
- Table Saw: For cutting the oak lumber to your desired length.
- Pneumatic Miter Saw: For precise angled cuts.
- Sander: To smooth out rough edges.
- Drill: For making holes and attaching the hardware.
- Router: To give the edges a finished look.
Additional Supplies:
- Tung Oil: It brings out the natural beauty of the wood without staining.
- Measuring Tape and Pencil: For accurate measurements.
Step by Step Instructions
Learn how to build a DIY gun rack with our easy, step-by-step guide. From prepping wood to mounting, follow these instructions to make your own.
Step 1: Preparing the Wood
First, I started with oak lumber, sized at 7 1/4 inches by 3/4 inch. This is the type of wood often used for stair treads, which ensures it's strong enough to hold your rifles.
Cutting the Wood:
- Use the table saw to cut the wood to your desired length for the top and bottom pieces of the rack.
- Additionally, cut sections for the sides of the box and the individual spacers for each rifle slot.
Step 2: Cutting at 45 Degrees
Next, I cut the top and bottom pieces at 45-degree angles using a table saw. This will help in forming a clean, square box.
Step 3: Creating the Barrel Holes
Drilling Holes:
- Take the top piece where the rifle barrels will stick through.
- Drill evenly spaced holes accordingly. I opted for 13 slots to hold 13 rifles.
This is where precision matters, so measure carefully to ensure each hole aligns perfectly.
Step 4: Making Spacers
With the leftover wood, I created spacers for each rifle.
Cutting the Spacers:
- Rip the piece of board down to half an inch thick and 3/4 inch tall.
- Cut them into 5-inch long sections.
These spacers help keep each rifle separated and secure.
Step 5: Assembling the Rack
Now comes the exciting part—assembling the box.
Forming the Box:
- Attach the side panels to the top and bottom pieces using brass screws.
- Make sure to drill pilot holes first to avoid splitting the wood.
Attaching Spacers:
- Place the spacers evenly inside the box.
- Secure them with screws or glue, depending on your preference.
Step 6: Sanding and Finishing
Sanding:
- Sand down all edges and surfaces to ensure they are smooth.
- If desired, use a router to give the edges a more finished look.
Applying Tung Oil:
- Use a cloth to apply a thin layer of tung oil. This will enhance the wood's natural appearance while providing a bit of protection.
Step 7: Mounting the Rack
Installing the French Cleat:
- Attach one half of the French cleat to the back of the rack and the other half to the wall where you plan to mount the rack.
- This type of mounting ensures a clean, sturdy installation with no visible hardware.
Final Touches:
- Optionally, line the drilled holes and spacers with felt to prevent any scratches on your rifles.
- Double-check everything is secure before mounting your rifles.
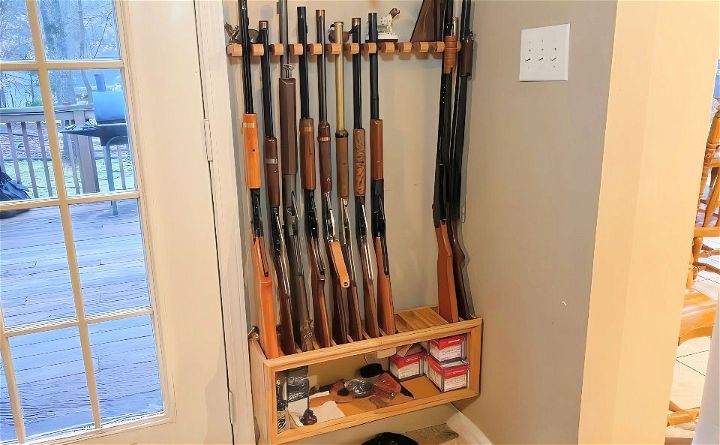
And there you have it! You've built a stylish, practical vertical gun rack that not only looks great but also keeps your rifles organized and accessible. This DIY project was truly satisfying, and I hope you found this guide helpful.
FAQs About DIY Gun Rack
Get answers to common questions about DIY gun rack projects. Learn about materials, safety tips, and step-by-step instructions.
The size of your gun rack should be based on the number and types of firearms you own. Measure the space where you plan to mount the rack to ensure a good fit.
Yes, always wear safety gear like goggles and gloves when handling tools. Make sure the rack is securely mounted to the wall to prevent accidents.
Absolutely! Feel free to customize the design to match your décor or personal taste. You can also add padding to protect your firearms from scratches.
Use sturdy screws and wall anchors for a secure mount. It’s best to attach the rack to wall studs for added stability.
Yes, you can create a portable gun rack by adding features like wheels or handles for easy mobility. Just ensure that the firearms are stored securely during transport to prevent any accidents.
Conclusion:
In conclusion, building your own DIY gun rack can be a rewarding project. It allows you to customize the rack according to your specific needs and preferences. Plus, it adds a personal touch to your storage solutions. By following this tutorial, you're not only creating a functional piece but also enhancing your craftsmanship skills. Remember, safety is crucial, so ensure your rack is sturdy and correctly installed. This project is ideal for those seeking a practical and fulfilling woodworking task.
Related DIY Projects and Ideas:
Discover inspiring DIY projects and ideas to transform your home. Easy-to-follow tutorials and creative tips for every skill level.
- DIY Disc Golf Basket: Construct your own disc golf basket with our comprehensive DIY guide. Enjoy playing disc golf in your backyard.
- DIY Ballet Barre: Build a professional ballet barre at home with our easy-to-follow DIY guide. Perfect for aspiring dancers to practice anytime.
- DIY Chicken Feeder: Craft a functional DIY chicken feeder for your flock with this detailed guide. Ensure your chickens are well-fed and happy.
- DIY Cat Bed: Create a cozy DIY cat bed with these simple instructions. Your feline friend will love their new handmade haven.
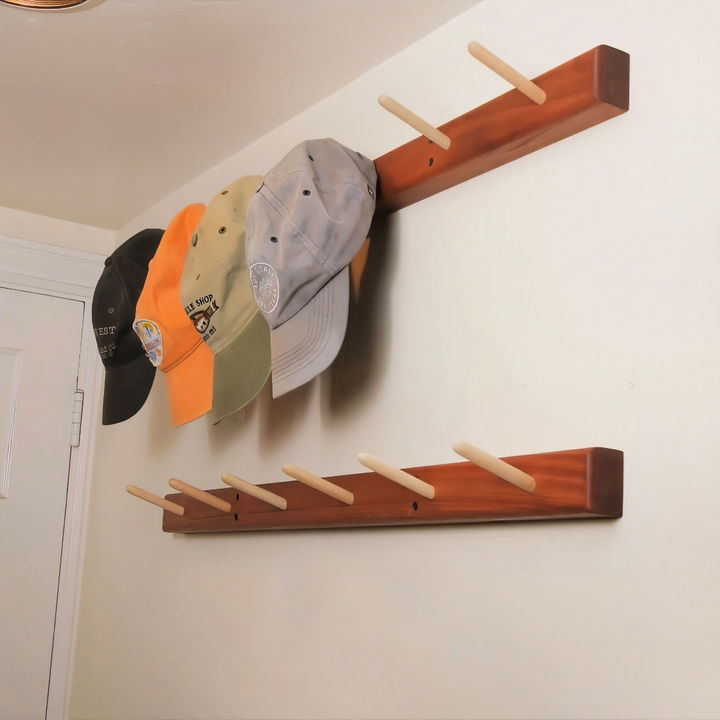
- DIY Hat Rack: Organize your hats stylishly with our step-by-step DIY hat rack tutorial. Perfect for any home decor.

