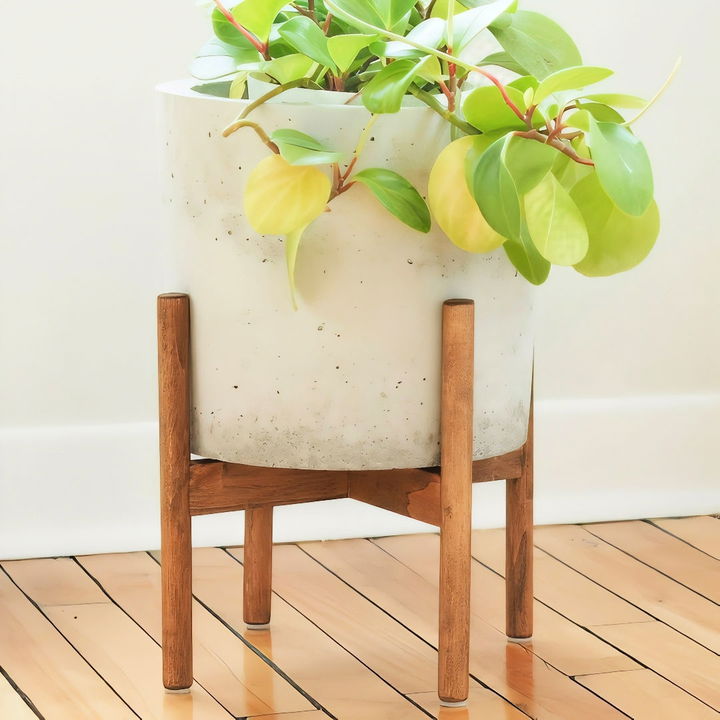
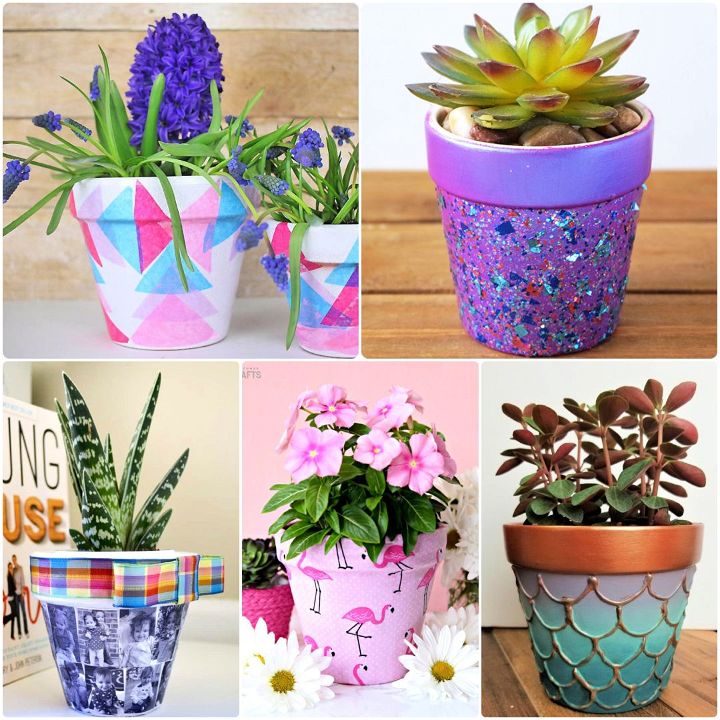
Making a DIY macrame plant hanger can be a delightful and rewarding project. Start by gathering your supplies: rope, a wooden ring, and scissors. Macrame involves knotting cords in patterns to create beautiful designs. Following a pattern, you can create a functional and stylish hanger for your plants. It’s a wonderful way to add a handcrafted touch to your home decor.
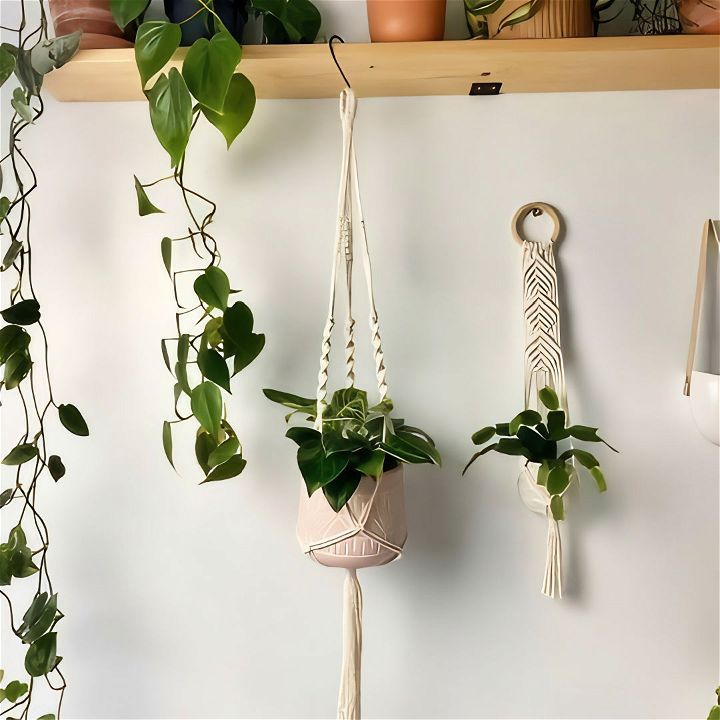
Macrame plant hangers can be made in various styles to suit your taste and decor. You can choose from different knots and patterns to customize your hanger. This craft not only enhances your space but also makes for great handmade gifts. Ready to learn more? Let’s explore the next steps and get detailed instructions on creating your macrame plant hanger.
What You'll Need
Let’s start by gathering the materials. Each item listed is essential for the project:
- Macrame Cord: You will need six pieces of 280 cm, two pieces of 50 cm, and one piece of 100 cm. The cord is the backbone of your macrame plant hanger.
- Measuring Tape: This is crucial to ensure all sections of the hanger are uniform in length.
- Scissors: For trimming cord ends and tidying up your final piece.
- A Heavy Object or Clamp: To secure your work as you create knots, making the process much easier.
Step-by-Step Instructions
Learn how to make a DIY macrame plant hanger with step-by-step instructions. Perfect for beginners! Prepare, knot, and secure the base with ease.
1. Prepare Your Cords
Start by taking your six pieces of 280 cm cords and splitting them in half. Find the midpoint of these cords and take your 100 cm piece. Position the 100 cm piece two inches above the midpoint and place it behind your six cords. This setup is necessary for creating the loop and securing the cords.
2. Make the Loop Using Square Knots
To create the loop for hanging, you will need to tie a series of square knots. Here’s how:
- Take the right cord of your 100 cm piece, place it behind the cords on the left.
- Bring the left cord behind the six main cords and through the loop on the right.
- Pull tight.
- Reverse the process: take the left cord, place it over and behind the center cords, and through the loop on the left.
Repeat this until you’ve used up almost all of your 100 cm cord. This will form the hanging loop. You can adjust the square knots to ensure both sides are equal in length.
3. Make a Wrapping Knot
Take one of your 50 cm cords to create a wrapping knot below the loop. This knot will secure all your cords neatly and give your hanger a firm foundation:
- Start with a small tail at the top.
- Form a long U-shape and wrap the longer tail around the cords securely about five or six times.
- Pass the long tail through the loop and pull the small top tail to secure. Trim the excess cords.
4. Divide and Knot the Cords
Split your cords into three groups of four. Set aside two groups temporarily and focus on one:
- Measure about 12 cm down from your wrapping knot.
- Tie six square knots.
Repeat this process with the other two groups, ensuring the knots are positioned at the same height.
5. Create Spiral Knots
Now, measure about 8 cm below your last set of square knots and use the longest two cords to create spiral knots:
- Take the right cord over the two center cords (the shortest) to the left side, behind, and through the loop.
- Repeat this process continuously, forming a spiral pattern.
Once each spiral measures about 10 cm, secure it with a standard knot. Repeat this for all groups.
6. Form the Plant Holder
To create the base where your plant will sit:
- Hang your plant hanger and let all groups of cords lay flat.
- Take two cords from adjacent groups and tie a square knot 12 cm below the spiral knots.
- Repeat for all groups, ensuring uniform distance.
Form a second row of knots about 5-6 cm below the first row by combining cords from adjacent square knots.
7. Secure the Base with a Wrapping Knot
Gather all cords, measure about 5-6 cm below the second row of square knots, and use your last 50 cm cord to create a wrapping knot. Trim any excess cord neatly.
Final Touches
Trim the ends of your cords to the desired length, generally around 15 cm below the wrapping knot, but feel free to adjust based on your preferences. Insert your plant into the hanger, and voila! You have a beautiful macrame plant hanger ready to adorn your space.
Additional Tips
- Choose the Right Plant: Plants with dangling foliage, like spider plants, look particularly stunning in macrame hangers.
- Master the Knots: If you're new to macrame, practice your square and spiral knots beforehand to build confidence.
- Be Patient: It might take a bit of time to get the hang of the knots, but the end result is worth it!
By following these steps, you’ll not only create something beautiful but also gain valuable skills in macrame.
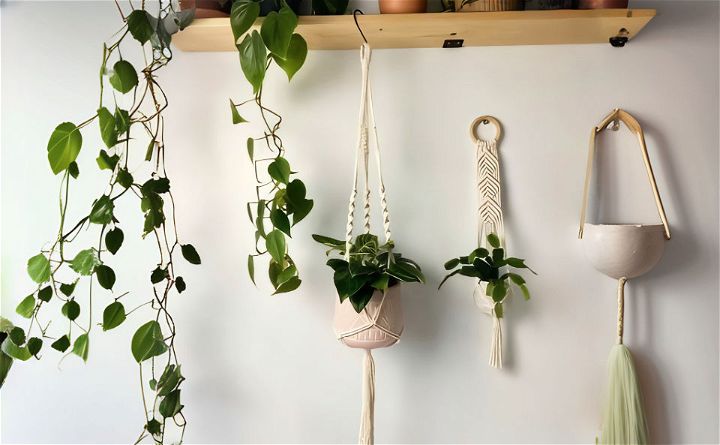
FAQs About DIY Macrame Plant Hanger
Get answers to your questions about DIY macrame plant hangers. Discover tips, techniques, and materials needed to create beautiful macrame projects.
When selecting a macrame cord, consider the following:
Material: Cotton rope is preferred for its softness and flexibility.
Thickness: A 4mm diameter is commonly used for its strength and ease of handling.
Color: Natural or dyed, depending on your personal style.
Certainly! The basic knots include:
Square knot: A foundational knot used to create the main structure.
Larks head knot: Typically used to attach the cord to the ring at the start.
Gathering knot: Used to neatly gather all the cords together at the end of your hanger.
The cost can vary, but here’s a rough breakdown:
Macrame cord: Between $6-$10 for enough cord to make multiple hangers.
Metal Ring: Around $5-$7.
Total: Expect to spend around $5-$10 per hanger, not including the plant and pot.
Caring for your macrame plant hanger involves:
Cleaning: Gently dust or hand wash with mild soap and water.
Maintenance: Regularly check for any loose knots and tighten them.
Placement: Keep it away from prolonged direct sunlight to prevent fading.
The time it takes to create a macrame plant hanger can vary based on your skill level and the complexity of the design. For beginners, a simple design might take:
1 to 2 hours: If you’re new to macrame and working with basic knots.
2 to 3 hours: For more intricate designs with additional elements like beads or multiple knot types.
Conclusion:
Wrapping up, this simple DIY macrame plant hanger offers an enjoyable and fulfilling way to add charm to your home. With just a few materials and some basic knots, you can create a beautiful, handcrafted piece that showcases your style. Get started today and see how a DIY macrame plant hanger can brighten up your living space.
Related DIY Projects and Ideas:
Explore innovative DIY projects and ideas. Get inspired with creative tips, tutorials, and fun crafts for all skill levels.
- DIY Welcome Sign: Create a warm greeting with this stylish DIY welcome sign idea. Perfect for adding a personal touch to your entryway.
- DIY Faux Fireplace: Add charm to a budget with this DIY faux fireplace idea. Perfect for cozy home decor without the expense.
- DIY Succulent Planter: Craft a stunning DIY succulent planter in 13 easy steps with pictures. Perfect for adding greenery to your space.
- DIY Console Table: Maximize space and style with this free DIY console table plan. Perfect for functional and chic home decor.
- DIY Tufted Headboard: Upgrade your bedroom with a DIY tufted headboard. Add elegance and comfort with this easy project.


