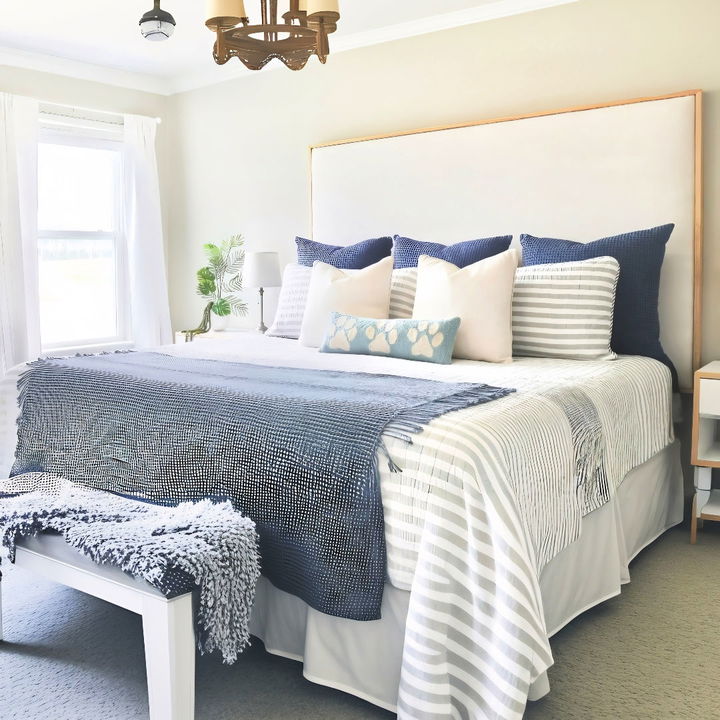
Making a DIY tufted headboard can be a fun and rewarding project for your home. You’ll only need a few materials, such as fabric, buttons, foam, and a wooden board. By following step-by-step instructions, you can add a touch of elegance and comfort to your bedroom. This custom piece will perfectly match your style and decor.
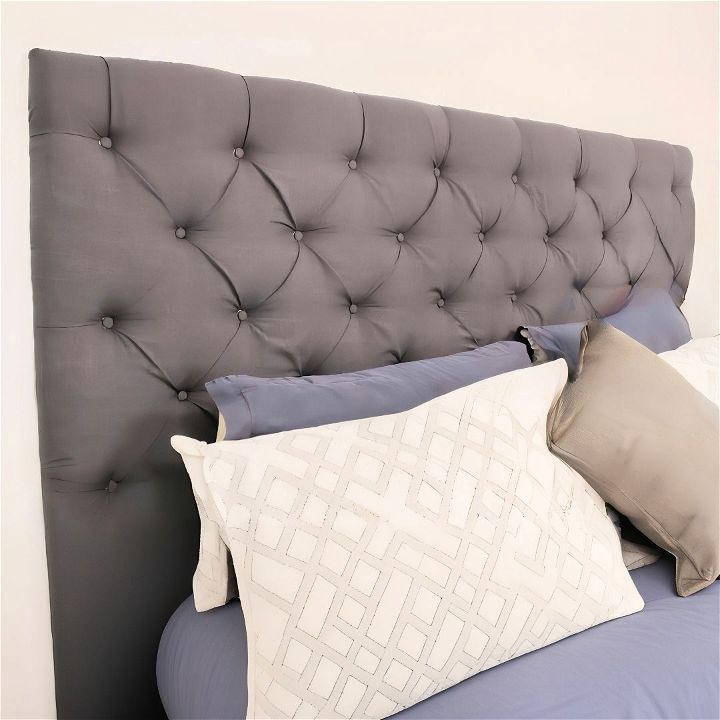
This guide will help you craft a personalized headboard without requiring professional skills. With just a few tools and a bit of patience, you’ll have a stylish focal point in your bedroom.
Ready to start your project? Continue reading to discover the materials you'll need and the detailed steps for building your very own DIY tufted headboard.
Materials You’ll Need
Before starting, gather all the materials:
- Plywood (Half-Inch Thick) - Forms the base of the headboard.
- Foam Mattress Toppers (1.25 Inch Thick) - Provides cushioning.
- Quilt Batting - Smooths the surface and prevents damage to fabric.
- Fabric - The outer material that covers the headboard.
- Scissors and Straight Edge - Necessary for cutting and measuring.
- Tape Measure and Fine Tip Permanent Marker - For precise measurements and markings.
- Staple Gun with Staples - To secure the batting and fabric.
- Three-Quarter Inch Roofing Nails and Washers - Holds the tufting in place.
- Hammer - To drive in the nails.
- Fabric Button Making Kit and Clear Industrial-Strength Adhesive - For covering the nails.
- Wire Cutting Pliers - To trim excess material.
- Stud Finder and Drill Driver - For mounting the headboard on the wall.
- Heavy-Duty Picture Hanging Cleat - Ensures the headboard stays secure.
Step by Step Instructions
Learn how to make a stunning DIY tufted headboard with our step-by-step instructions. Perfect for bedroom decor enthusiasts!
Step 1: Prepping the Plywood
To start, I took the half-inch plywood and had it cut to match the width of Amy’s king-size bed. This was crucial to ensure the headboard covered the entire back of the bed evenly.
Step 2: Cutting the Foam
Next, we cut the foam mattress toppers to fit the plywood. To get that deep, plush look, I decided to double up the foam. A solid piece of three-inch foam would have cost a fortune, but the mattress toppers were a budget-friendly alternative.
Step 3: Laying Out the Tuffs
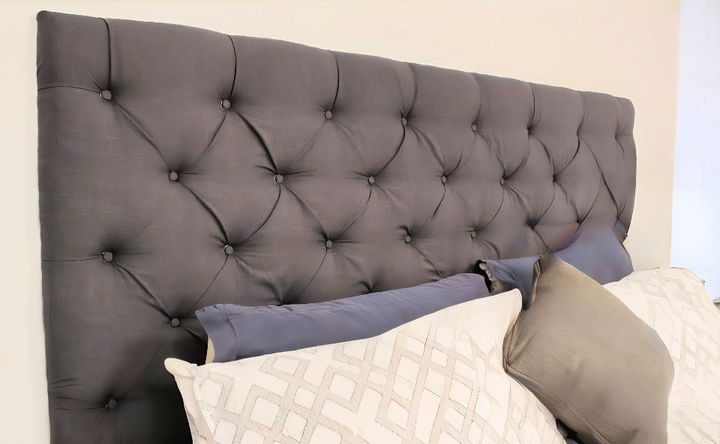
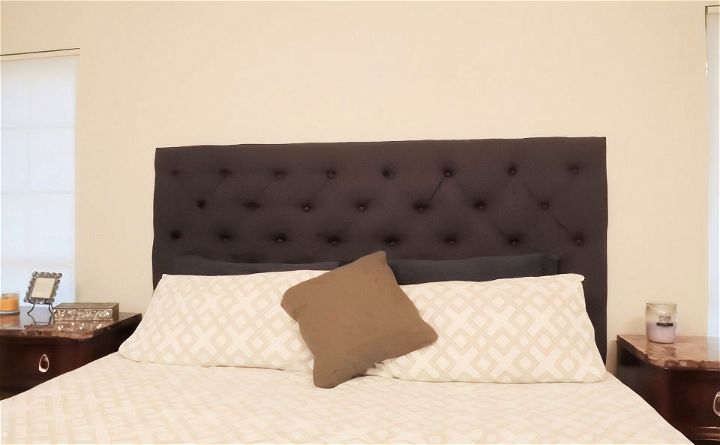
Deciding on the tufting pattern was a critical part of the project. After some discussion, we settled on five rows alternating between seven and eight buttons. Using a tape measure and straight edge, we marked out these positions on the plywood, ensuring they were evenly spaced.
Step 4: Making Holes for the Buttons
To allow the buttons to sit deeper, we cut tiny squares at each marked point. This step is simple but essential as it facilitates that luxurious, tufted appearance.
Step 5: Attaching the Batting
Once the holes were all set, we laid the quilt batting over the foam. This material not only smooths everything out but also prevents the edges of the plywood from damaging the outer fabric. We stapled the batting securely to the back of the plywood, leaving no loose ends.
Step 6: Poking Holes Through the Batting
Every hole we marked out on the plywood needed to be transferred to the batting. Using a simple technique, we poked through each spot with our fingers, ensuring the holes were in the right places.
Step 7: Attaching the Fabric
Here’s where the fun began. We laid the fabric out and used the nails and washers to make the tufted effect. Taking care to skip every other row initially helped in making clean, uniform folds. This step required some patience, but the results were worth it.
Step 8: Attaching Buttons
Finally, it was time to cover those nails with buttons. Using a fabric button making kit, we crafted about 40 buttons. Each button was attached securely with a dab of clear industrial-strength adhesive. This not only made the headboard look polished but also ensured no nails were exposed.
Step 9: Securing the Fabric Edges
Turning the headboard onto its side, Amy and I worked together to staple the fabric tautly along the edges. I left the corners for last, carefully folding and securing them to maintain a smooth appearance.
Step 10: Mounting the Headboard
With the tufting complete, we were ready to mount the headboard. Using a stud finder, we located the studs on the wall and attached the heavy-duty picture hanging cleat. After confirming the measurements, we mounted the opposite side of the cleat to the headboard.
Step 11: The Grand Reveal
After all the hard work, it was finally time to install the headboard on the wall. The moment of truth arrived as we lifted it into place. It looked absolutely stunning, instantly transforming Amy's bedroom into a cozy sanctuary.
Not only did this project add a beautiful element to Amy’s room, but it also proved that with a bit of creativity and effort, you can achieve professional results on a budget. Making the tufted headboard was a delightful experience that brought us closer as friends and taught us both new skills.
FAQs About DIY Tufted Headboard
Discover all you need in our faqs about DIY tufted headboard, covering materials, steps, and tips for making your own stylish and cozy headboard.
The size of your headboard should correspond to your bed size. Standard widths are:
41 inches for twin beds
56 inches for full beds
62 inches for queen beds
80 inches for king beds The height can range from 10 to 70 inches above the mattress, depending on whether you want a minimal or maximalist look.
Yes, making a tufted headboard is a manageable project even for beginners. It requires basic tools and materials, and you can complete it in a few hours. Detailed instructions and visual illustrations are available to guide you through the process.
When selecting fabric for your headboard, opt for upholstery fabric which is durable and suitable for furniture. Natural fibers like cotton and linen are great choices. The fabric should be thick and at least 54 inches wide to accommodate the width of most headboards.
To achieve a professional look:
Ensure even spacing between your tufts by measuring carefully before drilling holes.
Use a button cover kit to make custom buttons that match your fabric.
When tufting, pull the buttons tightly and evenly to avoid uneven tufts.
Trim any excess fabric at the back of the headboard for a neat finish.
You can personalize your headboard by:
Experimenting with different shapes such as curved, rectangular, or wingback designs.
Trying various patterns with the buttons, like diamonds or squares.
Using contrasting colors or textures for the buttons to add visual interest.
Adding nailhead trim around the edges for a sophisticated touch.
Conclusion:
Wrapping up, making a DIY tufted headboard adds a personal touch to your bedroom and offers a rewarding project. The process isn't just practical; it's also a fun way to express your creativity. Follow the steps, use quality materials, and let your imagination guide you to a beautiful result. Enjoy the satisfaction of a customized and stylish headboard that you made yourself!
Related DIY Projects and Ideas:
Discover inspiring related DIY projects and ideas to transform your home with creative, easy, and budget-friendly solutions. Perfect for every skill level!
- DIY Macrame Plant Hanger: Enhance your decor with a simple DIY macrame plant hanger. Easy patterns to add a touch of greenery.
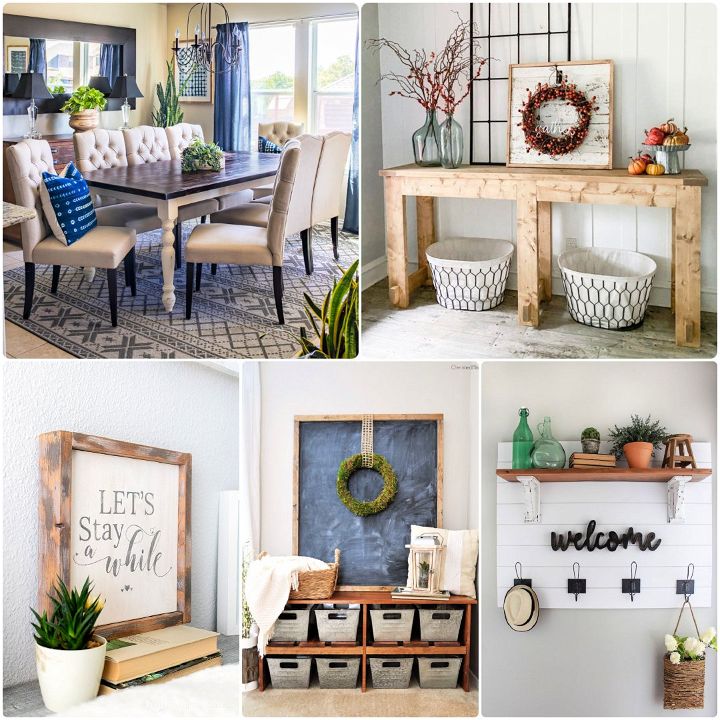
- DIY Welcome Sign: Greet guests in style with these creative DIY welcome sign ideas. Transform your entryway effortlessly.
- DIY Succulent Planter: Follow 13 easy steps to make your own stunning DIY succulent planter. Perfect for any space.
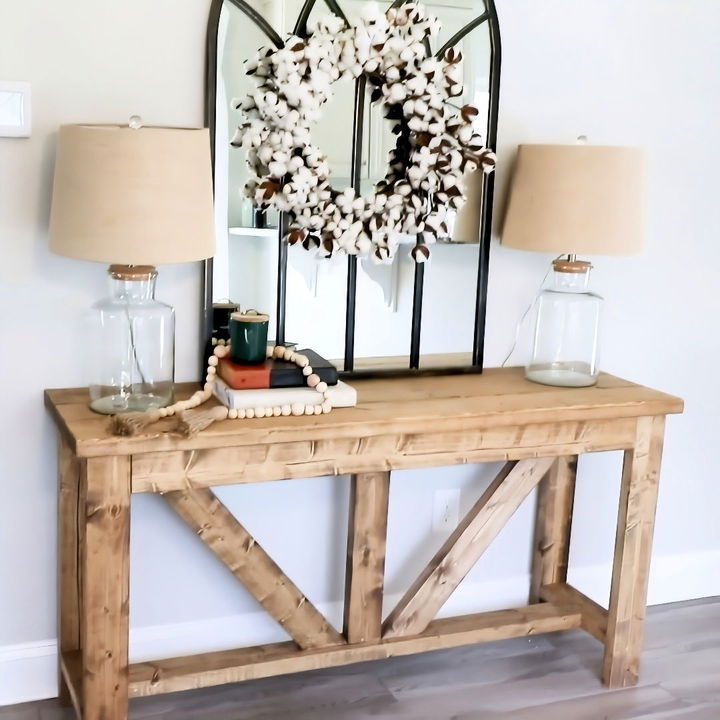
- DIY Console Table: Maximize space and style with a DIY console table. Ideal for entryways and small spaces.
- DIY Faux Fireplace: Create a cozy ambiance with a budget-friendly DIY faux fireplace. Perfect for adding warmth and charm to any room.

