Making a DIY welcome sign is a fun and simple project that can add a personal touch to your home. You can customize it with your favorite colors and patterns. You'll need basic supplies such as wood, paint, brushes, and stencils. Additionally, you can choose to personalize it with your family name or a warm greeting. This project suits both individual and family efforts, making it a great activity to do with loved ones.
A DIY welcome sign doesn't require you to be an expert. Even beginners can create a beautiful sign by following step-by-step instructions. This guide will provide all the necessary tips and tricks to make your sign look professional. From preparing your materials to adding finishing touches, each step is clearly detailed.
Materials You Will Need
Before we begin, let’s gather all the essential materials:
- Computer & Internet: To browse and purchase a template, and to customize your design.
- Design Template: Usually from a platform like Etsy.
- Printer or Printing Service: For printing your design.
- Foam Board: If you need to mount your sign.
- Glue Dots or Double-Sided Tape: For attaching your sign to the foam board if needed.
Each of these materials is crucial for creating a high-quality, professional-looking welcome sign that will wow your guests.
Step by Step Instructions
Make your own DIY welcome sign with our easy, step-by-step instructions. Perfect for beginners and a great addition to your home decor!
Step 1: Choose and Customize Your Design Template
Finding a Template
The first step in creating a beautiful welcome sign is selecting a design template. I recommend visiting Etsy for this purpose. Open your browser and head to Etsy.
- Search for Welcome Sign Templates: In the search bar, type “welcome sign template.” You’ll see a variety of options pop up, ranging from wedding welcome signs to baby shower signs.
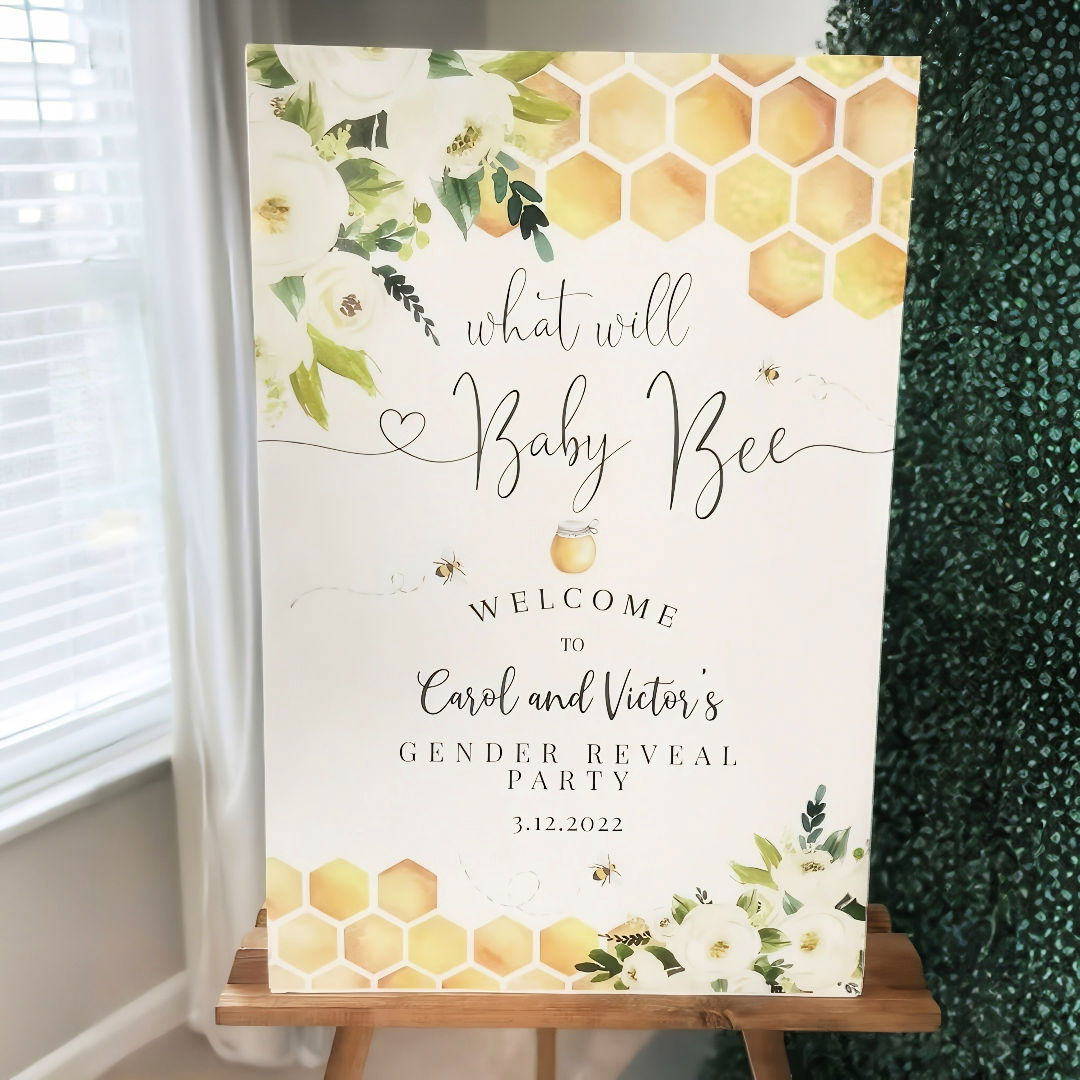
- Select a Template: Click on a template that catches your eye. For this tutorial, let’s pick a “Baby Shower Welcome Sign.”
- Check the Sizes Available: Scroll down to see the available sizes. Typically, I like printing my signs in 20x30 inches or 24x36 inches.
- Customize Your Design: Most templates allow you to customize the text, names, dates, and other details. Add the specifics of your event to make it unique. For instance, replace “Maureen” with “James Brown” and set the date to your event date.
Acquiring the Template
Once you’ve customized your template:
- Add to Cart: Select the appropriate size (e.g., 24x36 inches) and click “Add to cart.”
- Checkout and Purchase: Proceed with the checkout process.
After purchasing, you will receive an email with instructions on how to download and further customize your template. Alternatively, you can access your purchases directly in your Etsy profile.
Step 2: Customize Your Template Online
To finalize your design:
- Download the Template Instructions: Follow the link provided in the email or from your Etsy purchases.
- Log into the Design Platform: Enter your order ID and set up an account to begin customizing the template directly on the website.
- Edit Your Design: Here, you can change text, fonts, and other editable content. Make sure the design is exactly how you want it.
Once you are satisfied with your customization, click “Save changes” and download your design file. I recommend downloading it as a JPEG or PNG file.
Step 3: Printing Your Welcome Sign
You have two main options for printing your sign: as a poster or directly on foam board.
Printing at Walmart
I usually print my signs at Walmart, as they offer a convenient and cost-effective service.
- Visit Walmart’s Photo Center: Go to Walmart’s website and navigate to their photo services section.
- Select Poster Prints: Choose the size you customized (e.g., 20x30 inches).
- Upload Your Design: Click on “Upload your design” and add your customized welcome sign.
- Choose Paper Type: Opt for either glossy or matte. Note that glossy prints may only be available for home delivery.
- Order and Checkout: Complete the checkout process. For same-day or in-store pickup, matte is usually the best choice.
Printing on Foam Board
If you prefer not to deal with mounting the sign yourself, you can print it directly on a foam board.
- Choose Foam Board Printing: In Walmart's photo center, find the option for printing on foam board.
- Upload Your Design: Similar to poster printing, upload your welcome sign design.
- Select Size and Type: Choose the same size and proceed to checkout.
Step 4: Final Assembly and Presentation
If you printed a poster, you’ll need to mount it on a foam board.
- Prepare the Foam Board: Get a foam board from your local Dollar Tree or Walmart.
- Apply Glue Dots or Double-Sided Tape: Place the adhesive on the edges and middle of the foam board.
- Carefully Attach the Sign: Align your poster correctly and press it onto the foam board. Make sure it is smooth and bubble-free.
Step 5: Display Your Welcome Sign
Once assembled, your welcome sign is ready to be displayed at your event. Place it at the entrance to greet your guests with a warm and personalized touch.
Tips for Best Results
- Double-Check All Details: Ensure all names, dates, and other details are correct before finalizing your design.
- High-Resolution Images: Use high-quality images for clear and sharp prints.
- Careful Handling: Be gentle when attaching the poster to the foam board to avoid wrinkles or damage.
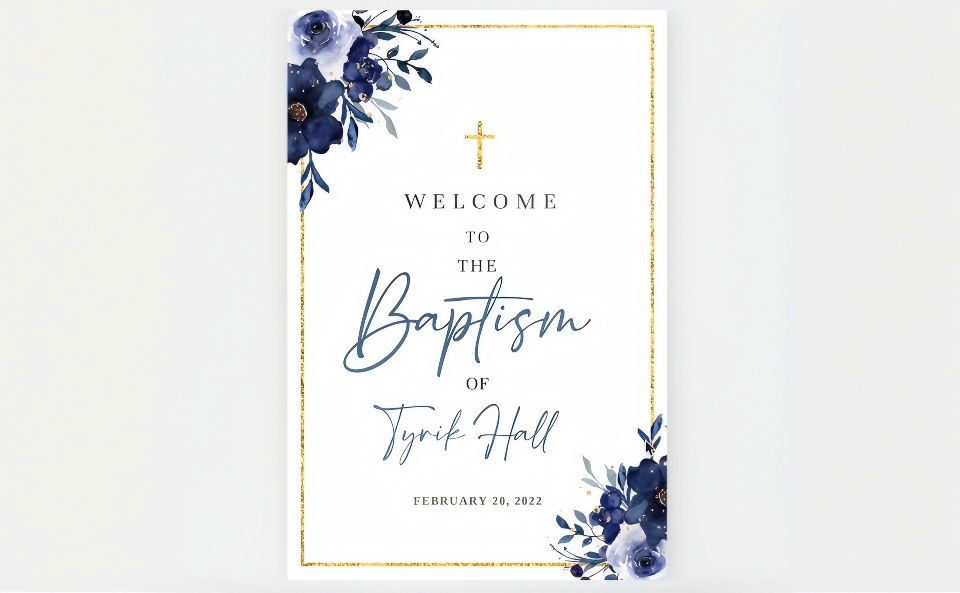
Creating a personalized welcome sign for your event is a wonderful way to add a special touch. By following these steps, you can craft a beautiful sign that reflects the unique spirit of your celebration.
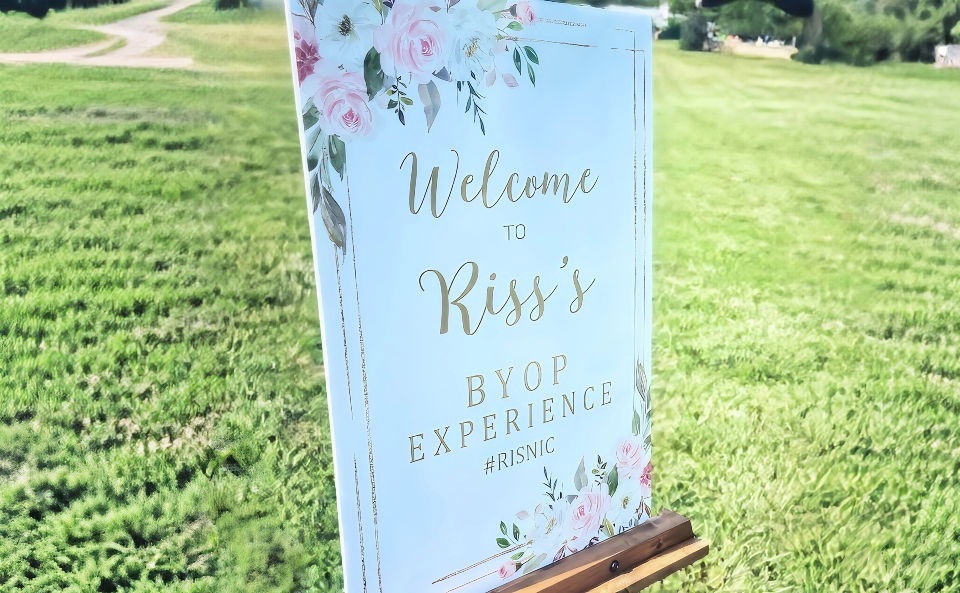
FAQs About DIY Welcome Sign
Discover the faqs about DIY welcome signs including tips, materials, and step-by-step instructions for creating personalized decor for your home.
Personalizing your sign is all about creativity. Here are some ideas:
Use chalk-finish paint for a rustic look.
Add vinyl lettering for a clean and modern appearance.
Incorporate interchangeable elements to celebrate different seasons or occasions.
Embellish with personal touches like your house number or family name.
Absolutely! You don’t need to be an expert to make a charming welcome sign. Here are some tips:
Choose pre-cut wood or pre-made canvases to save time.
Use stencils for even and professional-looking letters.
Opt for self-adhesive decorations to avoid using tools.
Consider embroidering your sign if you’re comfortable with sewing.
Get inspired with these creative suggestions:
Turn an old door into a sign with chalkboard paint.
Create a mailbox sign with bright, contrasting colors.
Design a family sign that features your surname or an important date.
Make a happy hour sign for a fun twist on the traditional welcome sign.
To ensure your sign withstands the elements, follow these steps:
Apply a weather-resistant sealant over the entire sign.
If using paper elements, place them behind a pane of glass or plastic.
Choose weather-proof materials like vinyl lettering for outdoor use.
Regularly check your sign for wear and touch up as needed.
Selecting the perfect spot for your welcome sign is crucial. Here are some considerations:
Visibility: Place it where it’s easily seen by guests, like near the front door or driveway entrance.
Protection: If outdoors, ensure it’s sheltered from direct rain or harsh sunlight.
Background: Consider the backdrop. A contrasting wall color can make your sign pop.
Traffic: High-traffic areas ensure more eyes on your sign, making it more welcoming.
Conclusion:
Wrapping up, making your own DIY welcome sign is a fun and rewarding project that adds a personal touch to your home's entrance. With materials from around the house or a trip to the craft store, you can craft a unique sign that reflects your style. Following the steps outlined in this guide ensures an easy and enjoyable experience. DIY Welcome Signs not only enhance curb appeal but also showcase your creativity to visitors. Try this simple and engaging project to give your home a warm, inviting atmosphere.
Related DIY Projects and Ideas:
Discover the best related DIY projects and ideas to unleash your creativity and transform your home with easy, inspiring projects!
- DIY Faux Fireplace: Transform your space with a stylish faux fireplace on a budget. Learn how with these DIY ideas!
- DIY Macrame Plant Hanger: Create a chic plant hanger with this simple macrame pattern. Perfect for adding a touch of green to your home!
- DIY Succulent Planter: Follow these 13 easy steps to make your own beautiful succulent planter with detailed pictures.
- DIY Console Table: Maximize your space and style with a DIY console table. Perfect for any entryway or living area.
- DIY Tufted Headboard: Upgrade your bedroom with a stylish tufted headboard you can make yourself.

