Building a DIY pergola is a fantastic way to enhance your outdoor space, providing both style and function. A pergola can offer shade, add an aesthetic touch to your garden, and build a comfortable area for relaxation or entertaining. With some basic tools and materials, along with a bit of planning, crafting your own pergola can be a rewarding project that boosts your yard's appeal.
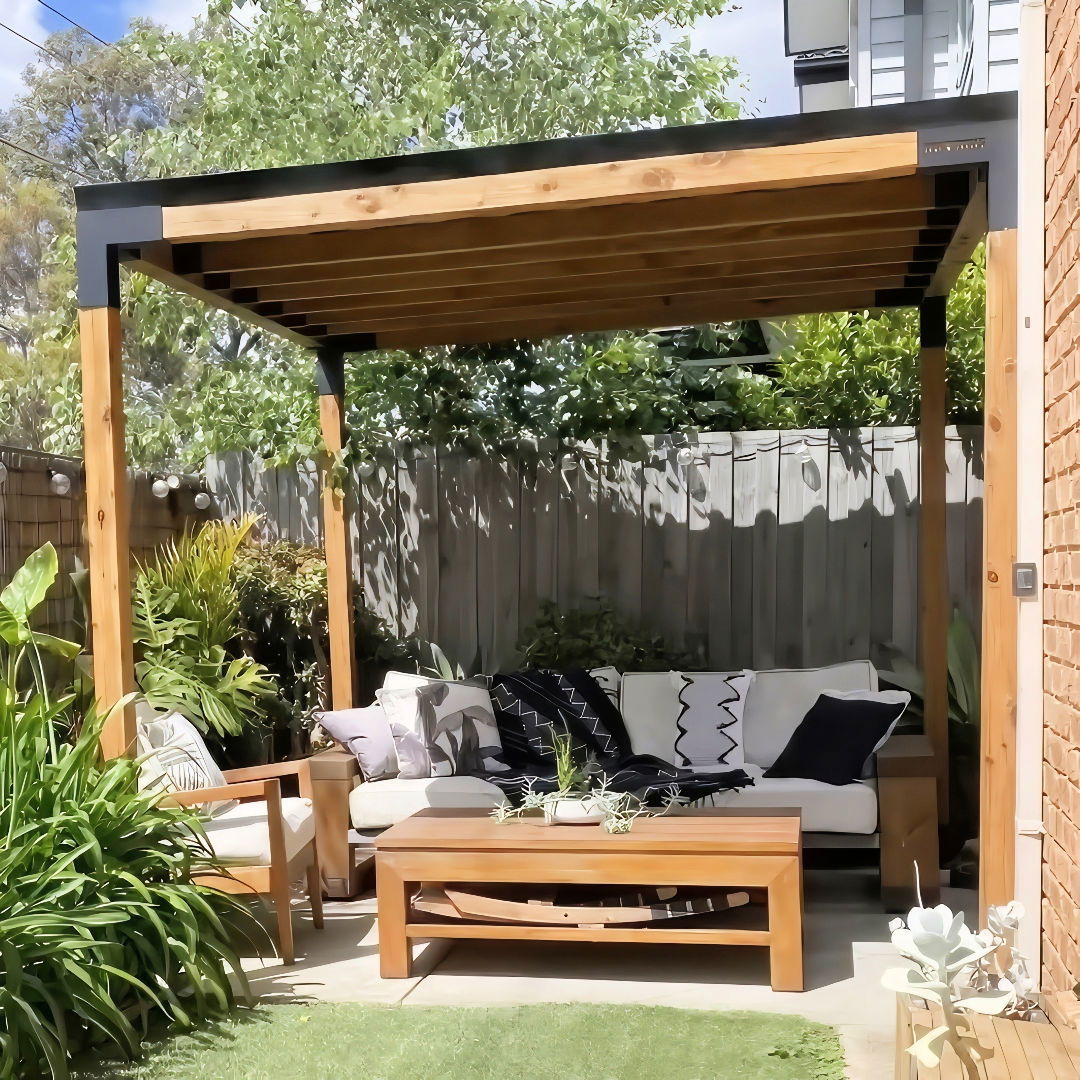
Whether you're planning to build a small pergola to cover a patio or a larger structure as a focal point in your garden, this guide will help you get started. From selecting the right materials to understanding the construction process, you'll find all the essential information here. Keep reading to explore detailed steps and expert tips for making your own pergola.
Getting Started: Gathering Materials
Before diving into the construction, I made a checklist of all the materials needed:
- Pressure-treated Wood: Essential for durability and resisting decay.
- Deck Screws and Carriage Bolts: To secure structures firmly.
- Concrete: For a stable foundation.
- Paint or Stain: For finishing touches and added protection.
- Tools: Circular saw, drill, tape measure, level, hammer, post hole digger.
Each material plays a crucial role. Pressure-treated wood ensures longevity, while concrete provides stability. Tools like the circular saw and drill are vital for cutting and assembling parts accurately.
Step by Step Instructions
Learn how to build a DIY pergola with our step-by-step guide. From designing to finishing touches, follow these easy instructions for a perfect pergola!
Step 1: Designing the Pergola
I started by sketching out a simple design. A 10x10 structure seemed perfect for my space. I marked the dimensions on the ground using stakes and string, ensuring the layout matched my backyard’s aesthetics.
Step 2: Setting the Foundation
The foundation is the backbone of this structure:
- Digging Holes: Using a post hole digger, I created holes 3 feet deep at each corner.
- Pour Concrete: I mixed concrete following the instructions and filled the holes to provide a stable base for the posts.
- Inserting Anchor Bolts: I placed anchor bolts into the wet concrete, making sure they were level and aligned.
Step 3: Erecting the Posts
With the concrete set:
- Cutting Posts: I used a circular saw to trim my 4x4 pressure-treated posts to the desired height.
- Standing the Posts: I then carefully positioned each post onto the anchor bolts, using a level to ensure they were perfectly vertical.
- Securing Posts: Finally, I fixed the posts to the anchor bolts with carriage bolts for added security.
Step 4: Building the Frame
Next, I assembled the frame:
- Cutting Beams: I cut the 2x6 beams to length.
- Attaching Beams: Using deck screws, I attached these beams horizontally to the top of the posts, making a solid frame.
- Adding Supports: I also added 2x4 diagonal supports at each corner to stabilize the structure.
Step 5: Installing Crossbeams and Slats
The crossbeams and slats give the pergola its shade:
- Measuring and Cutting: I measured and cut the 2x4 crossbeams and 1x3 slats.
- Spacing: Using a chalk line, I marked the spots where each crossbeam and slat would go.
- Securing: I then secured the crossbeams perpendicular to the main beams using deck screws and repeated the process with the slats on top of the crossbeams.
Step 6: Finishing Touches
To complete the pergola:
- Sanding: I sanded down rough edges using a sander.
- Staining/Painting: I applied a weather-resistant stain to protect the wood and enhance its appearance.
- Decorating: Finally, I added string lights and hanging plants to make a charming atmosphere.
Tips and Tricks: My Learnings
Throughout this project, I learned several valuable lessons:
- Precision is Key: Precise measurements ensure all parts fit perfectly.
- Quality Materials: Investing in good quality materials and tools makes a significant difference.
- Patience and Planning: Proper planning and patience go a long way in ensuring a smooth building process.
Benefits and Joys of a DIY Pergola
Building this pergola not only saved costs but also brought immense satisfaction.
- Personalized Space: I customized it to match my backyard decor.
- Enhanced Outdoor Living: It quickly became the favorite spot for my family to relax and unwind.
- Skill Development: This project honed my woodworking skills and boosted my confidence for future DIY endeavors.
Building a pergola may seem daunting, but with the right materials and a bit of perseverance, it’s entirely doable and highly rewarding. Gather your tools, follow these simple steps, and soon, you’ll have a beautiful, personalized pergola that enhances your outdoor space.
FAQs About DIY Pergola
Explore faqs about DIY pergola: get answers to common questions on building, materials, costs, and tips for your perfect backyard retreat!
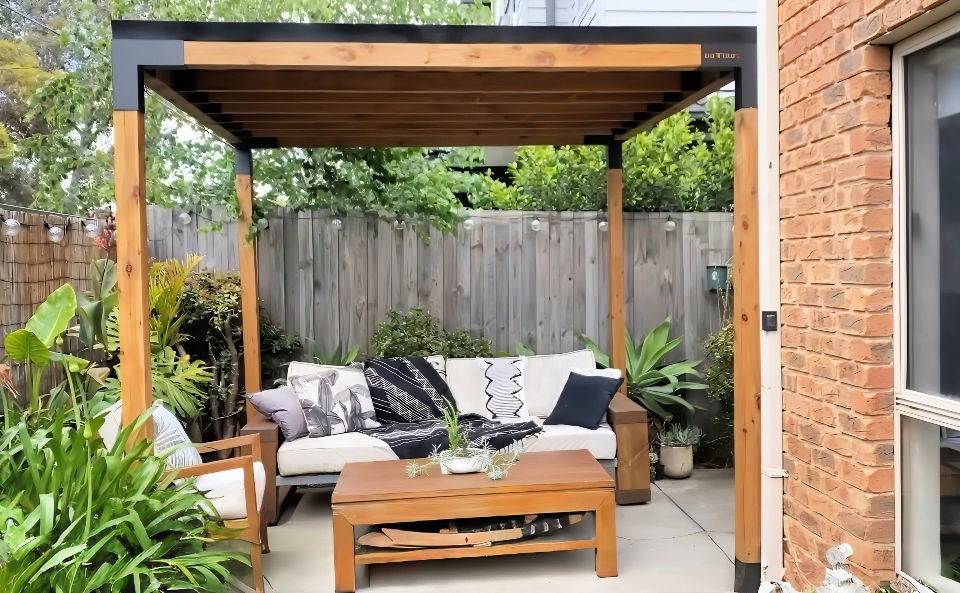
A DIY pergola is an outdoor structure that you can build yourself. It consists of vertical posts supporting cross-beams and a sturdy open lattice. Building a pergola can enhance your outdoor living space by providing shade, beauty, and a place for plants to climb.
Select a spot in your yard that gets the right amount of sunlight for your needs. Consider the direction of the sun and wind patterns. Make sure the ground is level and that you have enough space for the pergola’s footprint. It’s also important to check for any underground utilities before you start digging.
Yes, you can build a pergola on an existing patio or deck. Ensure that the structure is strong enough to support the pergola. You may need to reinforce the patio or deck with additional support beams or footings.
Regular maintenance will keep your pergola looking great and ensure its longevity. This includes staining or painting the wood to protect it from the elements, checking for any loose screws or damaged wood, and trimming any climbing plants to prevent overgrowth.
To ensure your pergola is structurally sound, use pressure-treated lumber for all parts that will be in contact with the ground. When setting the posts, use concrete footings to anchor them securely. Make sure all beams and rafters are properly aligned and spaced. For added stability, consider using corner braces and secure all connections with galvanized screws and bolts rather than nails for better durability.
Conclusion:
In conclusion, building a DIY pergola is an excellent way to enhance your outdoor space. This project is approachable for any skill level, making it a fun and rewarding endeavor. With the right materials and a clear plan, building your own backyard oasis becomes a straightforward task. Enjoy your new pergola and the transformation it brings to your garden.
Related DIY Projects and Ideas:
Explore various DIY projects and ideas to boost your creativity and home improvement skills. Discover simple, step-by-step guides now!
- How to Build a Pond in Your Yard: Transform your yard with this DIY pond. Create a serene water feature easily.
- How to Build a DIY Birdhouse: Build a beautiful DIY birdhouse with our free plan. Attract feathered friends to your garden.
- Easy DIY Flagpole: Create a DIY flagpole for your yard with these straightforward plans. Show your pride easily.
- Building a DIY Deck: Learn how to build a DIY deck with our free plans. Enhance your outdoor space effortlessly.
- Simple DIY Outdoor Bench: Craft a simple DIY outdoor bench with these easy-to-follow plans. Perfect for any garden.

