Making a DIY snow globe is a wonderful craft project that brings a touch of magic to any setting. This guide will walk you through the steps to make your own snow globe using simple, everyday materials. You’ll learn how to assemble the globe, add your favorite decorations, and fill it with liquid and glitter for that charming snow-like effect. Whether it’s for a gift or seasonal decoration, making a DIY snow globe is both enjoyable and rewarding.
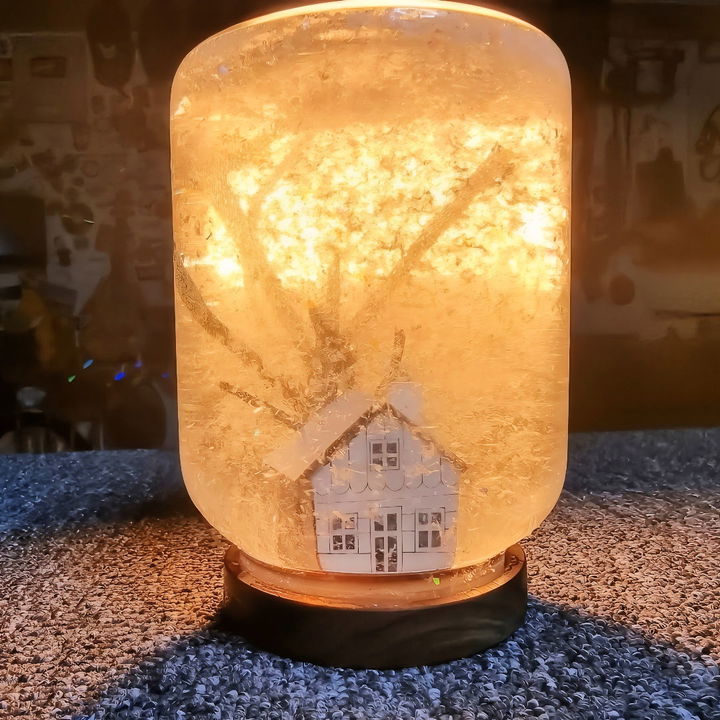
Are you curious about the materials and steps involved? The following sections provide a detailed list of everything you’ll need, along with step-by-step instructions to ensure your snow globe turns out perfectly. Dive in to discover tips and tricks to customize your globe and make a truly unique keepsake. Let’s get started and make your own enchanting snow globe today!
Materials You Will Need
Before we start, let’s gather all the materials required for this project. Each item has a specific purpose, ensuring your snow globe looks magical and festive.
- Fake Snow and Artificial Snow (Various Colors): This will make the beautiful, snowy effect inside your snow globe.
- A Small Decorative Tree: This will be one of the key elements inside your globe, adding a festive touch.
- A Tiny House Decoration: This adds character and a focal point to your scene.
- A Clear Glass Jar (Like a Cookie Jar): This will serve as the globe itself. You can find these at local craft stores or use an old jar you have at home.
- Vegetable Glycerine: This magical ingredient thickens the water, ensuring the snow falls slowly.
- Water: To fill up the globe and make the snow float majestically.
- Waterproof Glue or Epoxy: This will secure your decorations inside the globe.
Alright, let’s get started!
Step-by-Step for DIY Snow Globe
Discover how to make a DIY snow globe with our step-by-step guide. Perfect for holiday crafts, this tutorial covers everything from preparation to finishing touches.
Step 1: Preparing Your Jar
First, make sure the jar you are using is clean and dry. This ensures that your snow globe looks clear and beautiful without any foggy spots or residue.
Tip: You can use an old cookie jar or a mason jar. Just ensure it has a tight-fitting lid.
Step 2: Securing the Decorations
Take your waterproof glue or epoxy and apply it to the bottom of your small decorative tree and house. Carefully place them inside the jar lid and press down firmly. Let them sit for a few minutes to ensure they are securely attached.
Why is this important? Ensuring the decorations are firmly glued will prevent them from floating or moving around when you add the liquid.
Step 3: Mixing the Magic Potion
In a bowl or measuring cup, mix water with a few drops of vegetable glycerine. The glycerine plays a crucial role in making the snow fall slowly, making that enchanting snow globe effect.
Pro Tip: The more glycerine you use, the slower the snow will fall. I found that one to two teaspoons per cup of water gives the best results.
Step 4: Adding the Snow
Now it’s time to add the fake snow to your jar. You can mix various colors to make a glittery, snowy effect. Pour in a generous amount, but remember – less is more! You don’t want to overfill it, as this could obscure your lovely decorations.
Step 5: Pouring in the Liquid
Carefully pour your water-glycerine mixture into the jar, leaving a little space at the top to avoid overflow when you add the lid.
Important: Be gentle while pouring to prevent disturbing the snow and decorations too much.
Step 6: Sealing the Globe
Take your lid with the glued decorations and carefully screw it onto the jar. Ensure it’s tightly closed to prevent any leaks.
Tip: If you’re worried about leaks, you can apply a bit of waterproof glue around the rim before sealing the lid.
Step 7: Shake and Enjoy!
Give your snow globe a gentle shake and watch as the snow falls gently around your winter scene. The vegetable glycerine ensures a slow, mesmerizing snowfall, making your snow globe look extra magical.
A Few Extra Tips for an Enhanced Experience
- Experiment with Different Decorations: Don’t limit yourself to trees and houses. You can use miniature figures, animals, or even little holiday trinkets.
- Add a Touch of Color: Use colored glitter for a more festive look.
- Personalize It: Add a small photo or a tiny handwritten message to make it a personal keepsake.
Celebrate the Festive Season with Your DIY Snow Globe
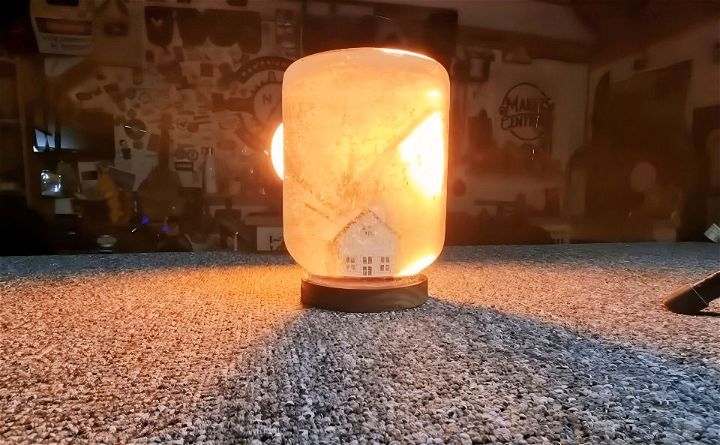
And there you have it, folks! Your very own Christmas snow globe, made in just five minutes. This project is not only super easy but also incredibly fun. It’s a perfect activity to do with your family, adding a dash of DIY joy during the holiday season.
Try making these snow globes as gifts or decorations around your home. Let your creativity run wild and experiment with different elements to make a truly unique snow globe.
FAQs About DIY Snow Globe
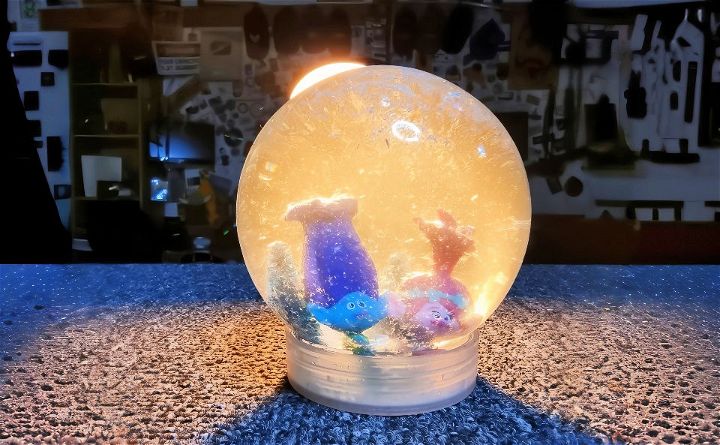
Discover answers to common questions about DIY snow globe creation, materials, techniques, and troubleshooting in this comprehensive faq guide.
Choose a figurine that is waterproof and fits comfortably inside your globe. It’s also important to ensure that the figurine’s material won’t degrade in water over time. If you’re unsure, apply a sealant to the figurine before placing it in the globe.
Glycerin is a thick liquid that, when added to water, makes a viscous solution. This helps the glitter or faux snow to fall slowly and gracefully, mimicking the effect of a real snow globe. Without glycerin, the glitter would fall too quickly.
To minimize air bubbles, fill the globe as much as possible with water before sealing it. When inserting the figurine and sealing the globe, do it slowly and rotate the lid to allow trapped air to escape. If bubbles persist, gently tap the globe to move them to the top.
Selecting the right glitter is crucial for the perfect snowfall effect. Fine glitter works best as it floats gently and doesn’t clump. Iridescent or silver glitter can mimic the look of snow, but feel free to experiment with different colors for a unique touch. Remember, too much glitter can make the water murky, so start with a small amount and add more if needed.
To prevent leaks, make sure to use a strong waterproof glue to seal the figurine and the lid. After assembling your snow globe, apply a thin layer of silicone or clear sealant around the rim before screwing the lid on tightly. It’s also a good idea to test your snow globe over a sink before displaying it. If you notice any leaks, apply additional sealant and allow it to dry completely.
Conclusion:
Wrapping up, making your own DIY snow globe is not only a fun and engaging activity but also a fantastic way to customize your holiday decor. By following these simple steps and gathering the right materials, you can craft a beautiful, personalized snow globe that reflects your unique style. Embrace the joy of crafting and bring a touch of winter magic into your home with your DIY snow globe.

