As someone who loves watching movies and sharing photos with family and friends, finding a way to mirror my iPhone to a TV without using Apple TV was essential. I discovered several methods that were both simple and effective. Here’s my journey and how you can do it too.
Getting Started: Understanding Why Mirroring is Useful
Before diving into the process, let’s understand why mirroring your iPhone to a TV is beneficial. Mirroring allows you to display your iPhone’s screen on a larger screen, making it easier to share content like videos, photos, or even play games. It’s great for presentations or just enjoying entertainment with friends and family.
The Basics: Materials You'll Need
Wireless Method: Screen Mirroring
- Compatible Smart TV: Your TV should support AirPlay 2. This feature allows wireless streaming from Apple devices.
- Wi-Fi Network: Ensure both your iPhone and TV are connected to the same network. This is crucial for the devices to communicate.
Wired Method: Using a Cable and Adapter
- Lightning Digital AV Adapter or USB-C Adapter: Depending on your iPhone model, you’ll need the correct adapter. This adapter connects your iPhone to an HDMI cable.
- HDMI Cable: A standard HDMI cable is used to connect the adapter to your TV. It provides a stable connection for mirroring.
- TV with HDMI Port: Most modern TVs have HDMI ports. Check your TV to confirm.
Wireless Mirroring: How I Did It
Step 1: Check Compatibility
The first thing I did was check if my smart TV was AirPlay 2 compatible. Most TVs manufactured in recent years have this feature. If you’re unsure, consult your TV’s manual or the manufacturer’s website.
Step 2: Connect to Wi-Fi
I ensured my iPhone and TV were connected to the same Wi-Fi network. This step is essential because AirPlay uses your home network to send content from your iPhone to the TV.
Step 3: Use Control Center
On my iPhone, I swiped down from the top-right corner to open the Control Center. Then, I tapped on the Screen Mirroring option.
Step 4: Select Your TV
A list of available devices appeared, and I selected my TV. If it's your first time connecting, your TV might display a passcode. I entered this passcode on my iPhone to establish the connection.
Step 5: Enjoy Your Content
Once connected, everything on my iPhone screen was mirrored on the TV. Whether it was photos, videos, or apps, I could see it all on the big screen. To stop mirroring, I simply went back to the Control Center and tapped Stop Mirroring.
Wired Mirroring: A Reliable Alternative
Step 1: Gather the Necessary Equipment
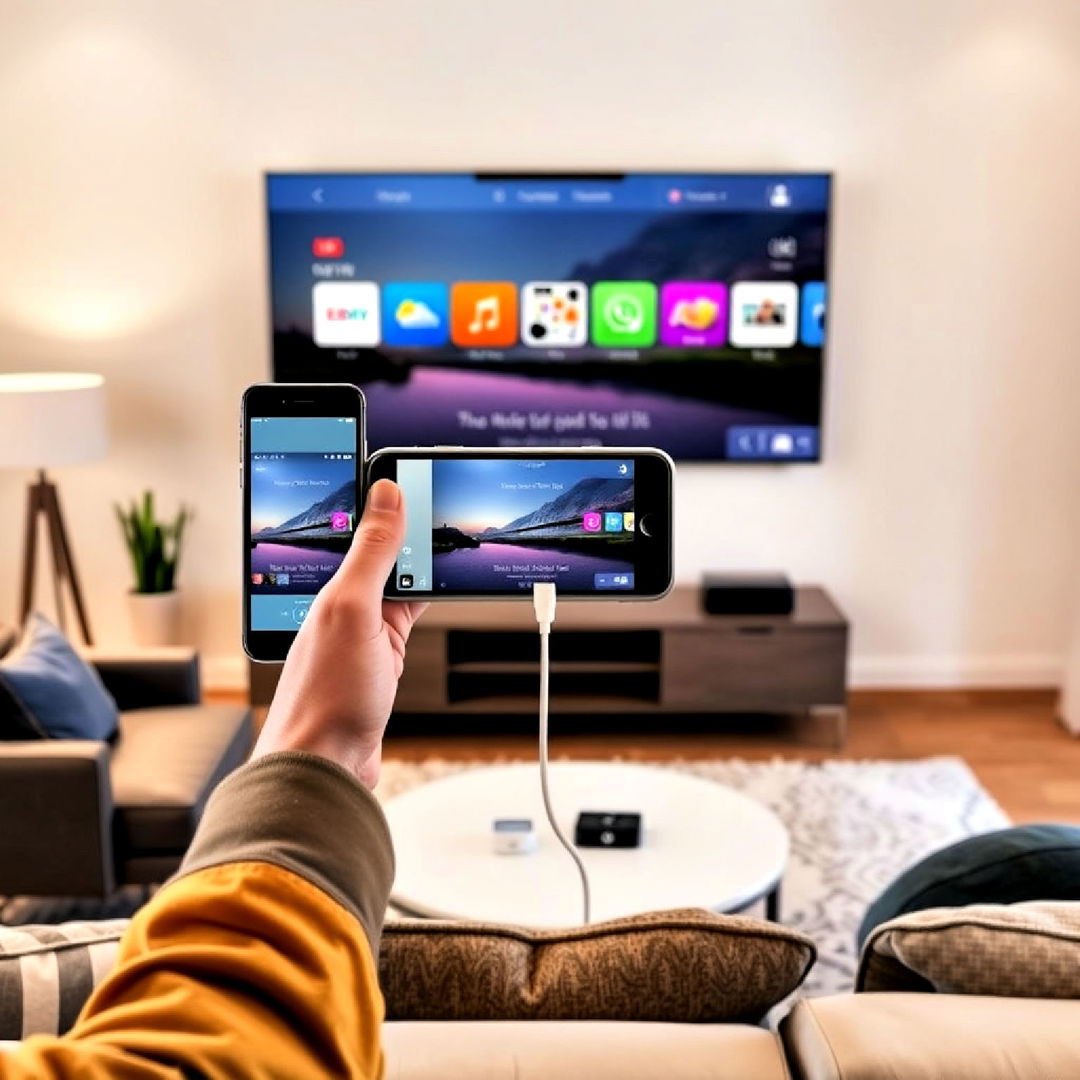
For the wired method, I needed an HDMI cable and the appropriate adapter for my iPhone. I used the Lightning Digital AV Adapter since my iPhone has a Lightning port.
Step 2: Connect the Adapter
I connected the adapter to my iPhone. The adapter has two ports—one for the HDMI cable and another for charging the phone simultaneously.
Step 3: Plug in the HDMI Cable
Next, I connected one end of the HDMI cable to the adapter and the other end to my TV’s HDMI port. It’s important to remember which HDMI port you use, as you’ll need to switch to that input on your TV.
Step 4: Select the Right Input on Your TV
Using the TV remote, I switched to the corresponding HDMI input where my iPhone was connected. Instantly, my iPhone’s screen was mirrored on the TV.
Step 5: Mirror and Enjoy
Just like the wireless method, everything from my iPhone appeared on the TV. The wired connection provided a stable and high-quality display, which was perfect for watching movies.
Using Third-Party Apps: An Alternative for Non-Compatible TVs
If your TV isn’t compatible with AirPlay 2, don’t worry. Several third-party apps can help you mirror your iPhone to the TV. Here’s how I explored this option:
Roku: An Easy Solution
- Download the Roku App: I installed the Roku app on my iPhone. This app allows you to mirror your iPhone screen to a Roku device.
- Connect to Roku: Within the app, I found my Roku device and connected to it.
- Start Mirroring: I followed the on-screen instructions to begin mirroring my iPhone to the Roku-connected TV.
Chromecast: Simple and Effective
- Google Home App: I downloaded the Google Home app to manage Chromecast.
- Link Devices: After setting up the app, I linked my Chromecast and iPhone.
- Cast Content: Using compatible apps like YouTube, I tapped the Cast icon and selected my Chromecast device to display the content on the TV.
Amazon Fire Stick: Using AirScreen
- Download AirScreen: This app is available on Amazon Fire devices and supports various platforms, including AirPlay.
- Set Up AirScreen: I installed and configured AirScreen to receive signals from my iPhone.
- Mirror Using AirPlay: By using the Screen Mirroring feature in Control Center, I selected the Fire Stick running AirScreen to mirror my iPhone.
Overcoming Challenges: Troubleshooting Tips
While the process was smooth, I faced a few challenges. Here are some tips if you encounter issues:
- Check Connections: Ensure all cables and adapters are properly connected.
- Restart Devices: Sometimes, a simple restart of your iPhone or TV can resolve connectivity issues.
- Update Software: Keeping your iPhone and TV’s software updated can prevent compatibility issues.
Final Thoughts: Choosing the Right Method
Each method has its pros and cons. Wireless mirroring is convenient and cable-free, while wired connections offer stability and consistent quality. Third-party apps are a great backup if your TV doesn’t support AirPlay 2.
I found that having options made it easy to adapt to different situations. Whether I wanted to quickly share photos or have a movie night, I could easily choose the method that suited my needs best.
By following these steps, you too can enjoy the benefits of mirroring your iPhone to a TV without an Apple TV. Whether you’re tech-savvy or a beginner, these methods are straightforward and accessible. Happy mirroring!

