Making a DIY tin can planter is a fun and eco-friendly project that's perfect for adding a touch of greenery to any space. Using recycled tin cans not only helps the environment but also adds a rustic charm to your decor. All you need are some empty tin cans, a bit of paint, soil, and your choice of plants. This simple project is great for anyone who enjoys crafting and gardening.
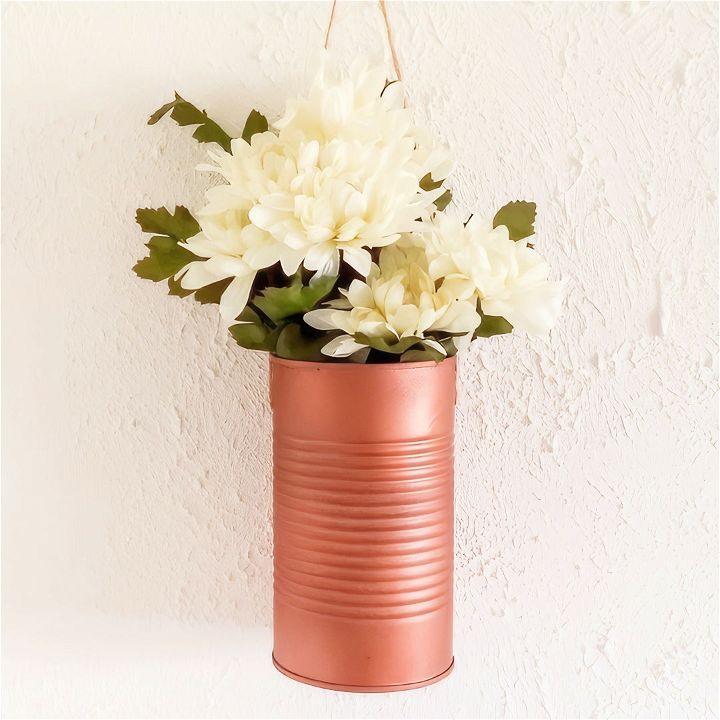
Transforming tin cans into planters is straightforward and affordable. Start by thoroughly cleaning the cans and removing any labels. Then, paint the cans in your preferred colors and let them dry. Once ready, fill them with soil and plant seeds or small plants. This activity can be a relaxing way to spend time and is perfect for brightening up indoor or outdoor spaces.
Materials You'll Need
Before we dive into the steps, let’s talk about the materials you'll need:
- Empty Tin Can: Ensure it’s clean. Tin cans are sturdy and easy to handle.
- Water: To freeze in the can, making the next steps easier.
- Nail and Hammer: For making holes to thread the twine.
- Towel: To provide a soft surface and absorb water as the ice melts.
- Spray Paint: Any color you like. I chose copper for a rustic look.
- Twine: For hanging the planter. Strong and durable twine is ideal.
- Fake Flowers or Low-Water Plants: For decorating the planter.
Step by Step Instructions
Learn how to make a DIY tin can planter in 7 easy steps. Follow our guide from preparing the can to adding the plants for a fun, eco-friendly project.
Step 1: Preparing the Can
First things first: if there's any tape on your tin can, decide if you want to remove it. If the tape is too stubborn, don’t worry—it can be the back of your planter.
After that, fill the can with water. This might seem strange, but trust me—freezing the water reduces the risk of the can denting while you’re making holes. Once filled, place the can in the freezer and let it freeze overnight.
Step 2: Making the Holes
When the water is fully frozen, take the tin can out of the freezer and place it on a towel. This step is crucial as the towel will protect your working surface and soak up any water as the ice melts.
Now, take your nail and decide where you want to make the holes for threading the twine. Carefully hammer the nail into the can until you’ve made the first hole. Ensure the twine fits through this hole before making the second one.
Step 3: Measuring and Making the Second Hole
Measure the distance from the top of the can to the first hole. Use this measurement to ensure the second hole aligns perfectly on the opposite side. Hammer the second hole just like the first.
Step 4: Melting the Ice
Once you have both holes, you need to get rid of the ice inside the can. Run the can under warm water to speed up the melting or let it sit at room temperature until the ice shrinks enough to be pulled out. Make sure to dry the can thoroughly afterward.
Step 5: Painting the Can
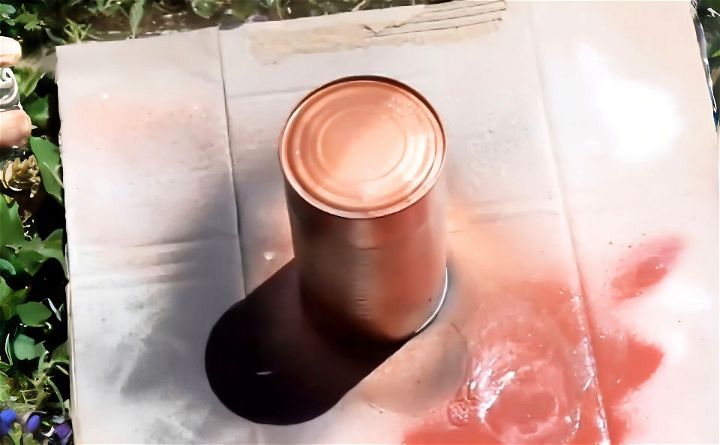
Now the fun part—painting! Choose a well-ventilated area and lay down some old newspapers or a drop cloth to protect your space from paint. Spray paint the can in your chosen color. I went with copper for a more rustic feel, but the choice is yours. Allow the paint to dry completely. This may take a few hours, so be patient.
Step 6: Threading and Securing the Twine
Once the paint is dry, it's time to thread the twine through the holes. Push the twine from the outside through each hole. Inside the can, tie a knot big enough to prevent it from slipping back through the hole. Repeat on the opposite side.
If you find it tricky to thread the twine, trimming the ends can help. You want the final product to have a secure knot inside the can, making a reliable hanger.
Step 7: Adding the Plants
The last step is to fill your tin can with your choice of plants. I recommend using fake flowers or low-water plants to keep maintenance simple. Once your plants are in place, your tin can hanging planter is ready to be displayed!
Hanging Your Planter
Find the perfect spot to showcase your new creation—whether it’s on a wall, fence, or even within your home. Securely fasten the planter using the twine loops you maked.
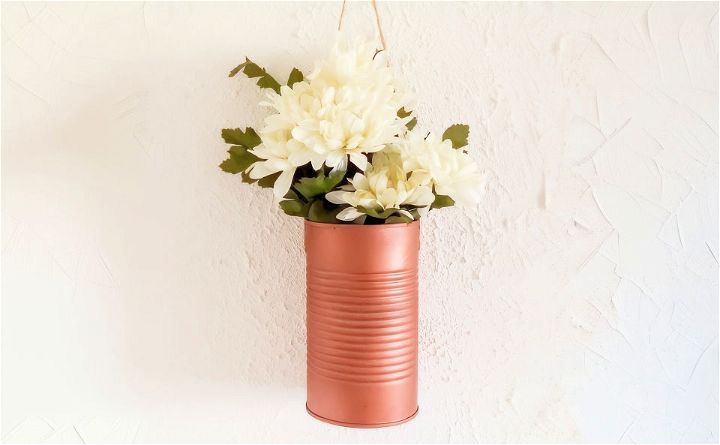
Making a DIY tin can hanging planter is a rewarding project that combines creativity with sustainability. By repurposing a simple tin can, you can add a touch of green to any space while also doing your part for the environment.
FAQs About DIY Tin Can Planters
Discover answers to common questions about DIY tin can planters and learn how to make and care for your own eco-friendly garden project.
First, make sure your tin cans are clean and free of any labels or glue. You can use a heat tool or adhesive remover if necessary. Next, create drainage holes at the bottom using a hammer and nail or a drill. If you’re planning to hang your planters, make holes on the sides for the handles.
Absolutely! Tin can planters are great for real flowers. Just ensure you have proper drainage by making holes at the bottom. Line the can with burlap or weed block fabric to keep the soil in place. Fill it with potting mix and plant your flowers or seeds. Remember to water them regularly.
There are many ways to decorate your planters. You can paint them with outdoor water and rust-resistant spray paint for longevity. Decoupage with napkins or fabric for a unique look, or use transfers for a professional design. Adding ribbons, lace, or twine can also give your planters a charming finish.
Yes, they are! By repurposing tin cans, you’re recycling materials that might otherwise end up in a landfill. Plus, by planting in them, you’re contributing to a greener environment. It’s a creative and eco-friendly way to decorate your space.
Proper drainage is crucial for healthy plant growth. To ensure your tin can planters have good drainage, follow these steps:
Drill holes at the bottom of the can. For smaller cans, place the holes at the very bottom to make it easier to grasp the can safely.
If you’re using larger cans, you can make multiple holes to ensure water can escape from different points.
Consider placing a layer of small rocks or gravel at the bottom before adding soil, which helps prevent soil from clogging the holes.
Regularly check the holes to make sure they are not blocked by soil or roots.
Conclusion:
In conclusion, making a DIY tin can planter is an accessible and eco-friendly way to add greenery to your home. With just a few materials and some creativity, you can transform a simple tin can into a beautiful planter. This project not only helps reduce waste but also provides a unique touch to your decor. Start your DIY tin can planter today and enjoy the satisfaction of a personal and handcrafted green space.

