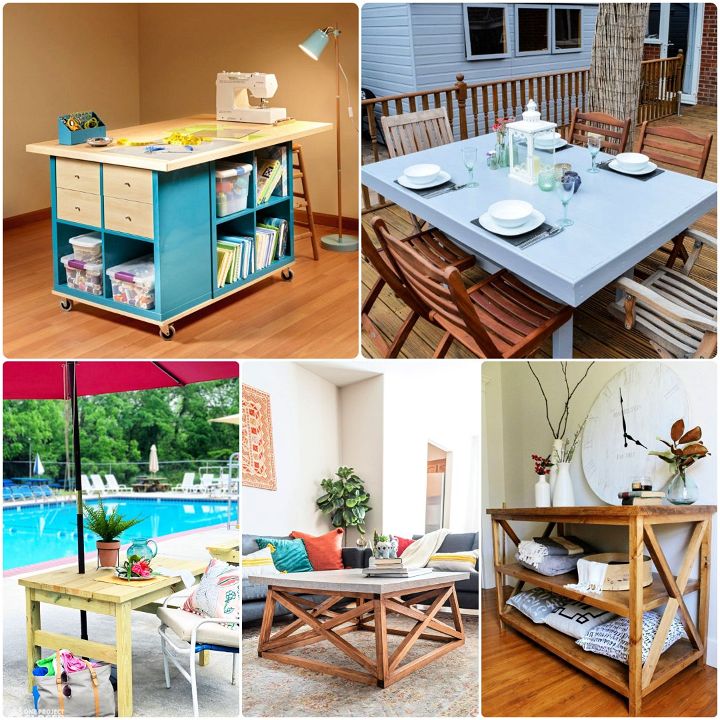
Building your own DIY console table can be a rewarding and straightforward project. This guide will walk you through each step, from selecting the right materials to the actual building process. You’ll discover useful tips and tricks to ensure your table looks stunning and sturdy. This project can be completed with basic tools and a little patience, making it ideal for anyone interested in DIY furniture.
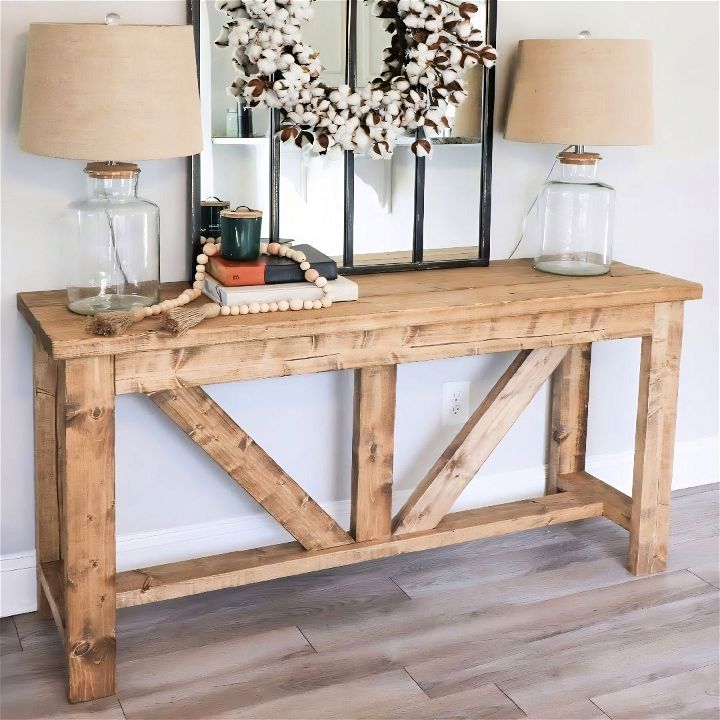
Building a DIY console table adds a personalized touch to your home decor while also providing practical storage or display space. The process begins with measuring the area where your table will go, then cutting and assembling the wood pieces. Following simple instructions, you can craft a beautiful table that fits perfectly in your space. Excited to start your DIY project? Continue to the next section for detailed steps and helpful visuals.
Materials and Tools Needed
Before we start, here’s a list of materials and tools you'll need:
Materials
- 2x4 lumber: Essential for the table legs and frame.
- 2x6 lumber: Used for the table top.
- Wood glue: Helps keep the structure solid.
- Wood screws (2.5 inches): For assembling the pieces.
- Wood filler: To smooth out any gaps or imperfections.
- Stain and sealant: For finishing the table.
Tools
- Miter saw: For accurate cuts.
- Drill: To make holes and drive screws.
- Kreg Jig: For pocket holes, ensuring strong joints.
- Sanding block or electric sander: To smooth the wood surface.
- Square tool: Ensures straight and precise angles.
- Measuring tape and pencil: For measurements and markings.
Step by Step Instructions
Learn how to build your own console table with our easy, step-by-step instructions. Perfect for DIY enthusiasts. Get started on your project today!
Step 1: Selecting and Preparing the Wood
The quality of your wood is crucial for a sturdy table. At the store, be selective about your lumber. Ensure the pieces are straight and free from major knots.
Tips for Selection
- Straightness: Place the lumber on a flat surface and check for any warping.
- Quality: Inspect for cracks and large knots that might weaken the structure.
Step 2: Cutting the Wood
Once your wood is ready, measure and cut the pieces according to the following dimensions:
- Legs: (4) 30-inch pieces from the 2x4 lumber.
- Top supports: (2) 50-inch pieces from the 2x4 lumber.
- Side supports: (4) 11.5-inch pieces from the 2x4 lumber.
- Diagonal supports: (2) pieces cut to fit the frame diagonally.
- Tabletop: (4) 50-inch pieces from the 2x6 lumber.
Using the Miter Saw
I used my Ryobi saw on a makeshift table, which worked perfectly. The miter saw makes clean cuts and speeds up the process significantly.
Step 3: Drilling Pocket Holes
To ensure strong joints, I used a Kreg Jig to drill pocket holes on the ends of the supports and tabletop pieces. I marked a line 1.25 inches back on each piece for where to place the jig.
How to Use the Kreg Jig
- Clamp the jig onto the wood, aligning with your marked lines.
- Drill the holes using the bit provided in the Kreg Jig kit.
- Repeat for all pieces requiring pocket holes.
Step 4: Assembling the Frame
With all the pieces cut and drilled, it’s time to assemble the frame.
Building the Base
- Attach the legs to the 50-inch top supports using the pocket holes and screws. Ensure the legs are flush and the assembly is square.
- Add the side supports at the bottom, 4 inches from the ground, to stabilize the frame.
- Use wood glue at each joint before screwing it together for additional stability.
Step 5: Adding Diagonal Supports
The diagonal supports add a farmhouse charm and structural integrity.
Installation
- Measure and cut the diagonal pieces by placing them against the assembled frame and marking the angles.
- Cut the angles using the miter saw.
- Secure the diagonals with screws through pocket holes, ensuring they fit snugly.
Step 6: Installing the Tabletop
Once the base is sturdy, it’s time to attach the top.
Steps
- Place the 2x6 pieces on top of the frame, leaving a 1-inch overhang on each side.
- Mark 1-inch lines all around the top of the frame to help align the tabletop.
- Attach the tabletop using wood screws through the pocket holes drilled earlier in the top supports.
Step 7: Finishing Touches
After the assembly is complete, there are a few finishing touches to ensure your table looks and functions at its best.
Sanding and Filling
- Sand all surfaces: Use an electric sander or sanding block to smooth the wood and round off any sharp edges.
- Fill any gaps or holes: Apply wood filler to any visible gaps or screw holes and sand smooth once dry.
Staining and Sealing
- Apply the stain: Use a brush or cloth to apply the stain evenly, following the wood grain. Let it dry according to the manufacturer’s instructions.
- Seal the wood: Apply a sealant to protect the wood and give it a polished finish.
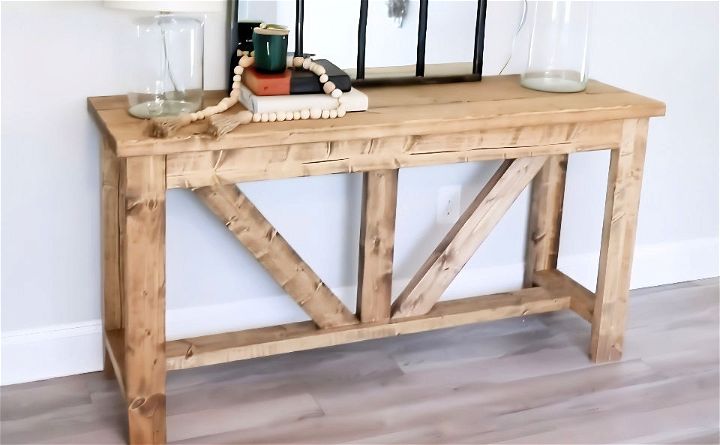
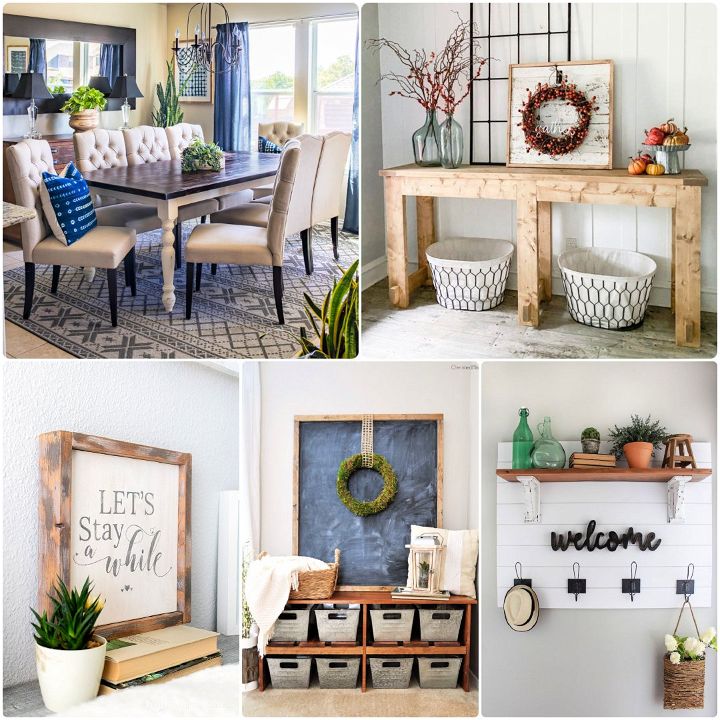
A beautiful farmhouse-style entry table built from scratch. This project, while detailed and requiring patience, is incredibly rewarding. There’s something magical about building something so functional and beautiful with your own hands.
FAQs About DIY Entry Table
Discover answers to common questions about DIY entry tables, from materials needed to step-by-step instructions. Build your perfect entry table today!
A DIY entry table is a piece of furniture that you can build yourself to place in your home’s entryway. It serves as a spot to drop off keys, mail, and other items as you enter the house. The designs can range from simple to complex and can be tailored to fit your home’s decor.
Building your own entry table allows for customization to fit your space and style perfectly. It can also be more cost-effective than purchasing a pre-made table. Plus, the satisfaction of building something with your own hands can be very rewarding.
Consider the space where the table will go and your personal style. Do you prefer a modern look or a rustic charm? Measure your space to ensure the table will fit. You can find various plans online that offer step-by-step instructions for different styles.
Yes! There are many entry table plans available that are suitable for beginners. These plans provide detailed instructions and a list of all the necessary materials and tools. Start with a simple design and as you gain confidence, you can try more complex projects.
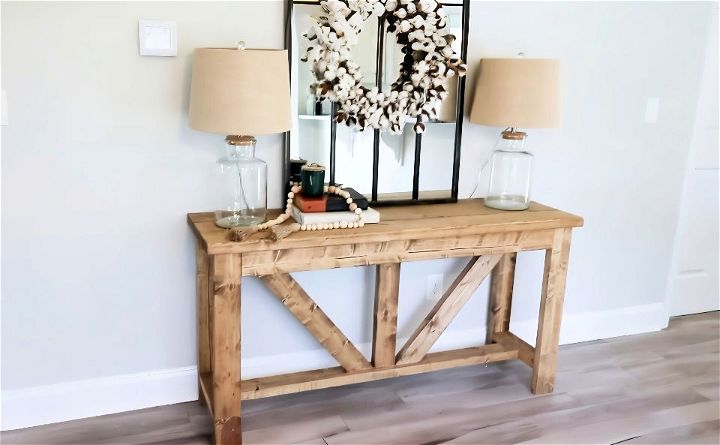
Decorating your DIY entry table can add character and functionality to your entryway. Consider adding a source of light, such as a lamp, to make a warm ambiance. Incorporate live plants or flowers to bring a touch of nature indoors. Keep the table functional with a tray for keys and mail, and personalize it with family photos or artwork. Adding scented candles or diffusers can also build a welcoming fragrance. Lastly, storage options like baskets underneath for grab-and-go items should be included. These touches will not only make your entry table more useful but also reflect your personal style.
Conclusion:
In conclusion, building your DIY console table can be a satisfying and rewarding experience. By following simple instructions and being resourceful with materials, you can fashion a beautiful and functional piece of furniture for your home. Embrace the creativity and personalization that come with making your own diy console table. This project is a perfect blend of practicality and innovation, adding a unique touch to any space.
Related DIY Projects and Ideas:
Discover inspiring DIY projects and creative ideas. Transform your space with easy, budget-friendly crafts, home improvements, and unique decor tips.
- DIY Faux Fireplace: Create a cozy atmosphere with these budget-friendly DIY faux fireplace ideas. Transform your space with style!
- DIY Succulent Planter: Make a beautiful DIY succulent planter in 13 easy steps with this detailed guide. Perfect for adding greenery to any space.
- DIY Tufted Headboard: Upgrade your bed design with a DIY tufted headboard. Follow these simple steps for a luxurious bedroom look.
- DIY Welcome Sign: Greet your guests with style by creating a personalized DIY welcome sign. Easy and stylish ideas for your entryway.
- DIY Macrame Plant Hanger: Enhance your decor with a simple DIY macrame plant hanger. Follow this guide for a stylish, handmade touch.
- DIY Coffee Bar: Create your own coffee haven with this beginner-friendly DIY coffee bar idea. Perfect for adding a personal touch to your space.
- DIY Floor Lamp: Illuminate your home with a personalized touch using this creative DIY floor lamp idea. Transform any room with style.
- DIY Bed Frame: Build a budget-friendly bed frame with these simple DIY bed frame plan and idea. Ideal for affordable home upgrades.
- DIY Changing Table: Easily construct a functional changing table with these step-by-step DIY changing table plan. Perfect for new parents.
- DIY Headboard: Upgrade your bedroom with a stylish DIY upholstered headboard. Simple steps to create a cozy, custom look.

