Making your own DIY rain barrel is a great way to save money and conserve water. You can collect rainwater from your roof for gardening, washing your car, or any other outdoor chores. This low-cost, eco-friendly project is accessible to anyone who wants to make a positive environmental impact. Plus, it's simple to set up with materials you might already have at home.
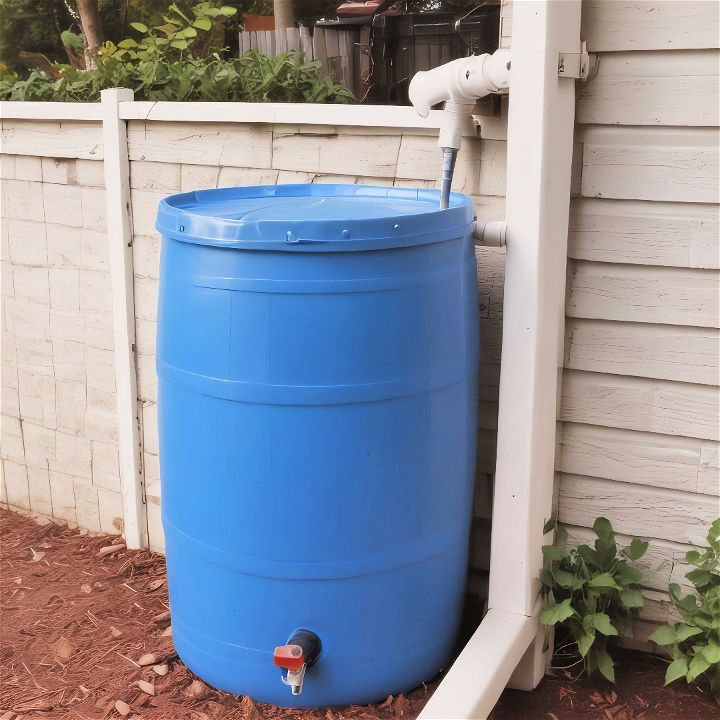
Ready to take the next step? The process is straightforward and rewarding. With our comprehensive guide, you'll find all the instructions you need to build your own rain barrel quickly. Whether it's fitting the barrel, attaching a spigot, or setting up a diverter, this guide covers it all. Let's explore the step-by-step instructions in the next section.
Materials Needed
Before diving into the step-by-step guide, let's gather the necessary materials. Each material has its own purpose in making the rain barrel functional and efficient.
- 55-Gallon Barrel: This will be your primary water storage. Make sure it has a lid to keep debris out.
- 2-inch Threaded Electrical (Gray PVC) Conduit Adapter: Essential for making an outlet for your water.
- 4x4 Treated Lumber & Screws: These will elevate your barrel, making it easier to access the water.
- Screen Sections of 2-inch PVC Pipe: Used to filter out leaves and other large debris.
- Silicone Caulk: Ensures the joints and fittings are watertight.
- Brass Spigot: Allows you to easily access the stored water.
- Teflon Tape: Helps seal threaded connections to prevent leaks.
- Landscaping Fabric or Fine Mesh Screen: Keeps mosquitoes and other pests out.
Step-by-Step Instructions
Learn to build your own rain barrel with our step-by-step DIY instructions. Save water and money with this easy project!
Step 1: Prepare the Barrel
Make sure your barrel is clean, especially if it's been recycled. Any residue inside the barrel could contaminate the water, so a thorough wash is essential.
Step 2: Drill Holes for Spigot and Overflow
Drill a hole near the bottom of the barrel for the spigot. Make sure it's high enough to allow a watering can to fit underneath. Next, drill another hole near the top as an overflow outlet—this allows excess water to escape when the barrel is full.
Step 3: Install the Spigot
Wrap Teflon tape around the spigot threads to ensure a tight seal. Insert the spigot into the hole, applying silicone caulk around the joint for extra waterproofing. Allow the caulk to cure as per the manufacturer’s instructions.
Step 4: Make an Overflow Outlet
Using the 2-inch threaded electrical conduit adapter, insert it into the hole drilled for overflow. Again, use silicone caulk to seal it. Attach a section of PVC pipe to this adapter, directing the overflow away from your home's foundation.
Step 5: Add Screening
Cut a piece of fine mesh screen or landscaping fabric to fit the top of the barrel. Secure it under the lid to prevent pests and debris from entering. This screen is crucial for keeping your rainwater clean and uncontaminated.
Step 6: Elevate the Barrel
Construct a stand using 4x4 treated lumber and screws. Elevating the barrel makes it easier to access the spigot and increases water pressure, making it more efficient for use. Assemble the stand securely and place the barrel on top.
Step 7: Connect Downspout Diverter
Modify your downspout to direct rainwater into the barrel. Many hardware stores sell diverter kits specifically designed for this purpose. Follow the kit instructions to attach the diverter to your downspout and connect it to the barrel.
Step 8: Test Your System
Once everything is assembled, test the system with a garden hose to ensure there are no leaks and the barrel fills appropriately. Adjust as needed to optimize water flow and storage.
Practical Uses for Your Rain Barrel
Now that your DIY rain barrel is up and running, let’s explore the practical uses for all the stored rainwater:
- Gardening: Rainwater is often more beneficial for plants compared to chlorinated tap water.
- Car Washing: Use the collected water for washing your car, saving on your water bill.
- Lawn Watering: Ensure your lawn stays green, especially during dry seasons.
- Toilet Flushing: If you’re looking to conserve even more water, consider using your rainwater to flush toilets.
Additional Tips
- Regular Maintenance: Check your rain barrel regularly for debris or potential issues. Clean the screen and inspect for leaks to ensure longevity.
- Winterizing: If you live in a colder climate, remember to drain your barrel before the first freeze to prevent cracking and damage.
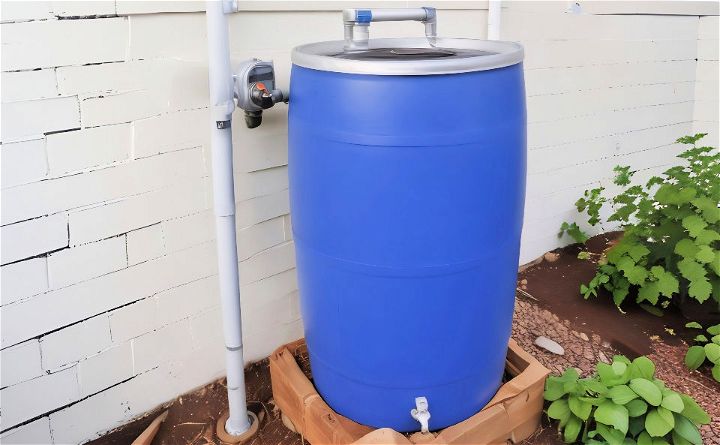
Building your own DIY rain barrel is not only easy and cost-effective but it’s also a fulfilling way to contribute to water conservation efforts. With materials sourced easily from any hardware store, and a weekend of work, you can make a sustainable solution for utilizing rainwater.
Try it out yourself! Whether you choose a DIY rain barrel under $100 or a more complex system, the benefits are clear. Start saving water and money, and reduce your environmental footprint with this simple project.
FAQs About DIY Rain Barrel
Discover the answers to common questions about DIY rain barrels, including setup, maintenance, and benefits. Save water and reduce expenses today!
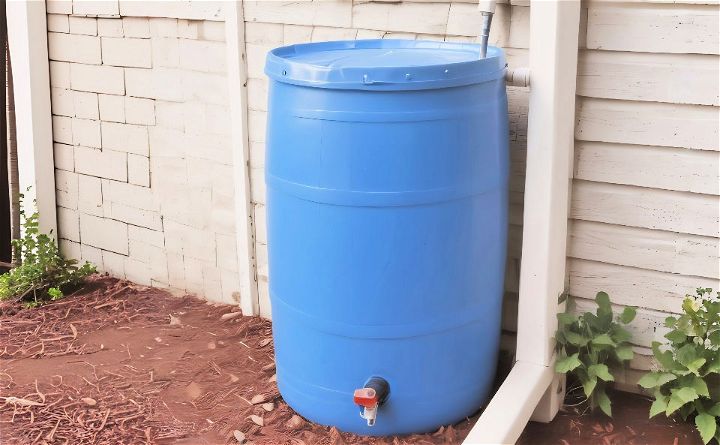
A DIY rain barrel is a homemade system that collects and stores rainwater from your roof. You can use this water for your garden, lawn, and other outdoor watering needs. It’s a great way to save on your water bill and conserve water.
No, building a rain barrel can be quite affordable. You may even be able to get a used barrel for free or at a low cost from places like car washes or food service providers. The rest of the supplies can be found at hardware stores.
It’s best to use a sturdy, food-grade container that hasn’t held any toxic substances. A common choice is a plastic 55-gallon drum with a removable lid. Make sure it’s clean before using it for water collection.
To maintain your rain barrel, you should regularly check for leaks and clear out any debris from the screen. Also, make sure to empty and clean it out before winter to prevent freezing and cracking. During the rainy season, keep an eye on the overflow to ensure it’s directed away from your home’s foundation.
Using a rain barrel has several environmental benefits. It helps reduce stormwater runoff, which can carry pollutants into our waterways. By collecting rainwater, you’re also reducing the demand on municipal water systems, which can save energy and resources. Plus, rainwater is free from the chemicals found in tap water, making it better for watering plants.
Conclusion:
Wrapping up, making your own DIY rain barrel is a simple and effective way to conserve water and benefit your garden. With the easy steps outlined in this guide, you’ll achieve water conservation and make an eco-friendly choice for your home. Start your journey towards sustainability today by setting up your rain barrel and enjoy the many benefits it brings.
Related DIY Projects and Ideas:
Discover creative DIY projects and ideas. Explore step-by-step guides, tips, and inspirations for your next home improvement or craft endeavor.
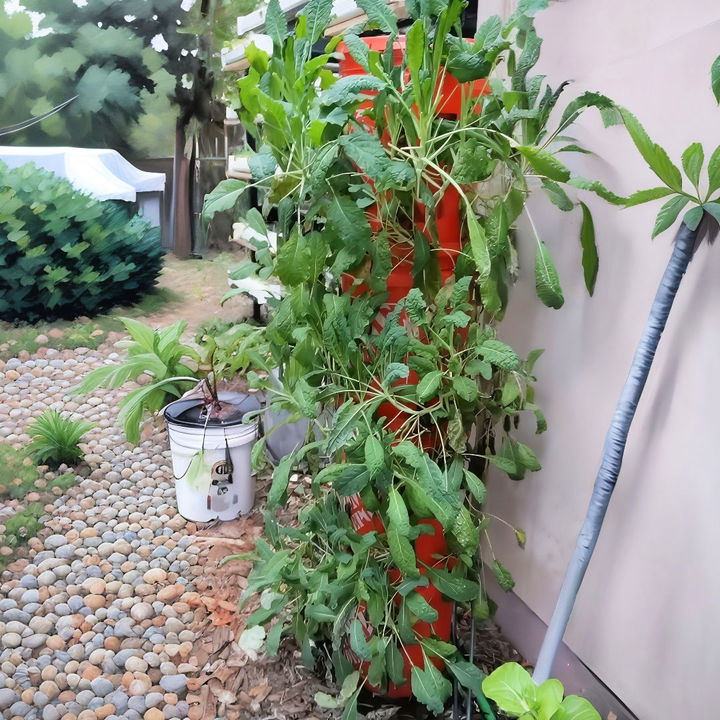
- DIY Vertical Garden: Transform your space with our DIY vertical garden guide. Perfect for small spaces and urban living.
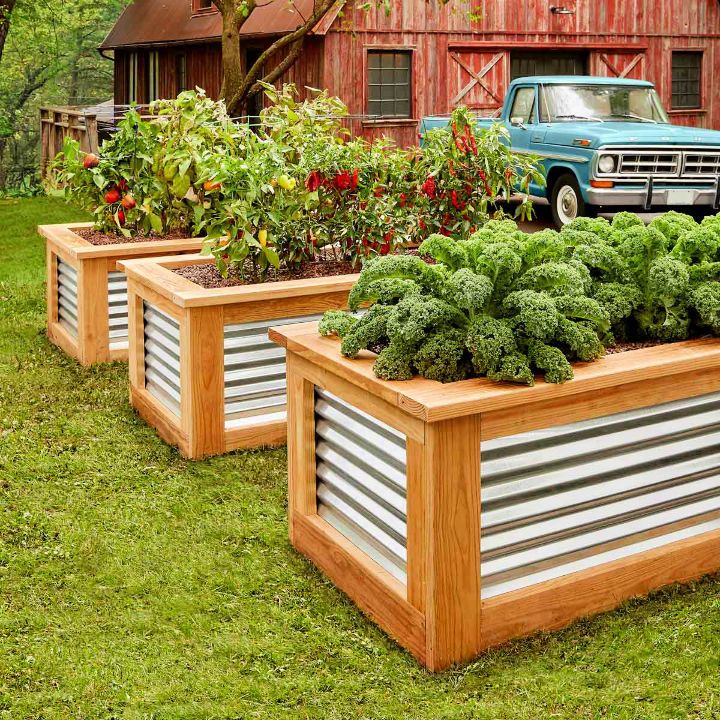
- DIY Planter Box: Craft your own planter box to grow anything you love with these detailed plans and ideas.
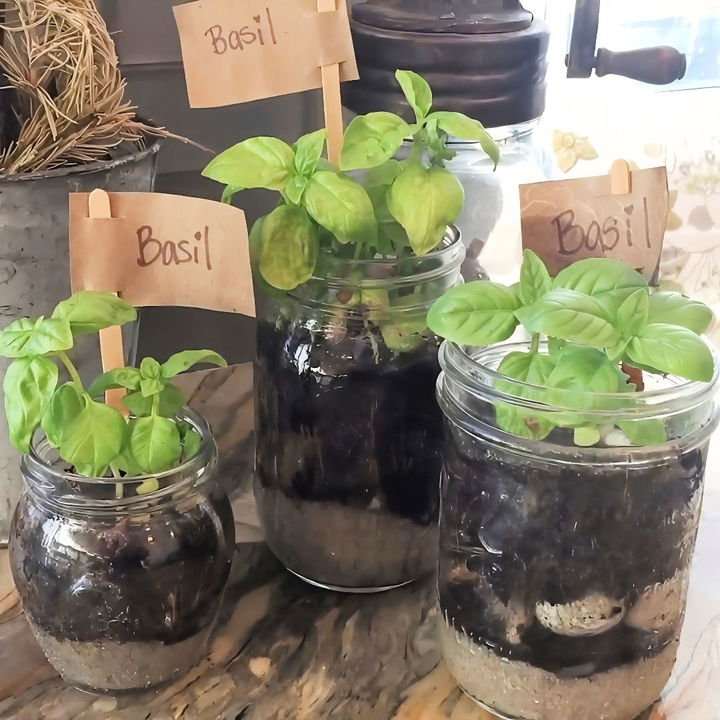
- DIY Mason Jar Herb Garden: Learn how to create a charming mason jar herb garden with our step-by-step guide.
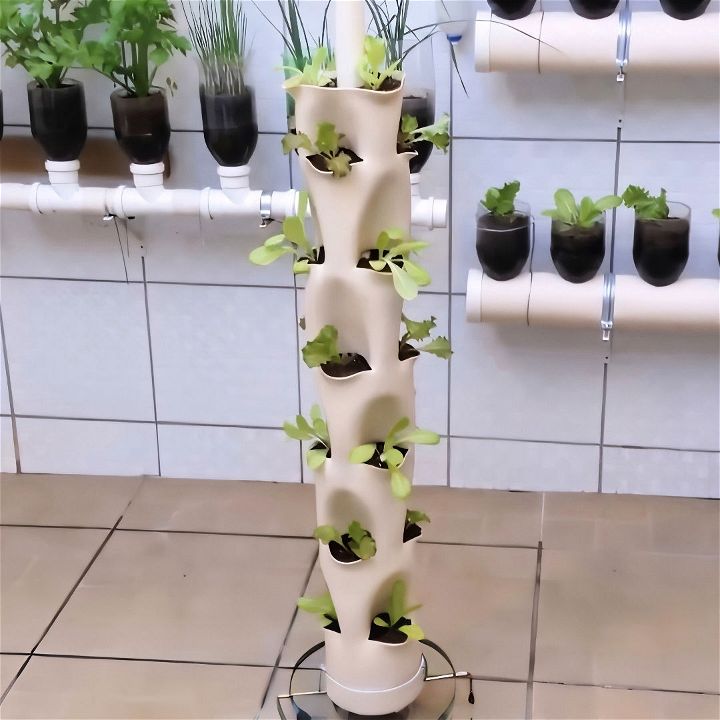
- DIY Vertical PVC Pipe Garden: Maximize your gardening space with a DIY vertical PVC pipe garden. Innovative and space-saving.
- DIY Ladder Plant Stand: Elevate your greenery with a stylish DIY ladder plant stand. Perfect for indoor and outdoor use.

