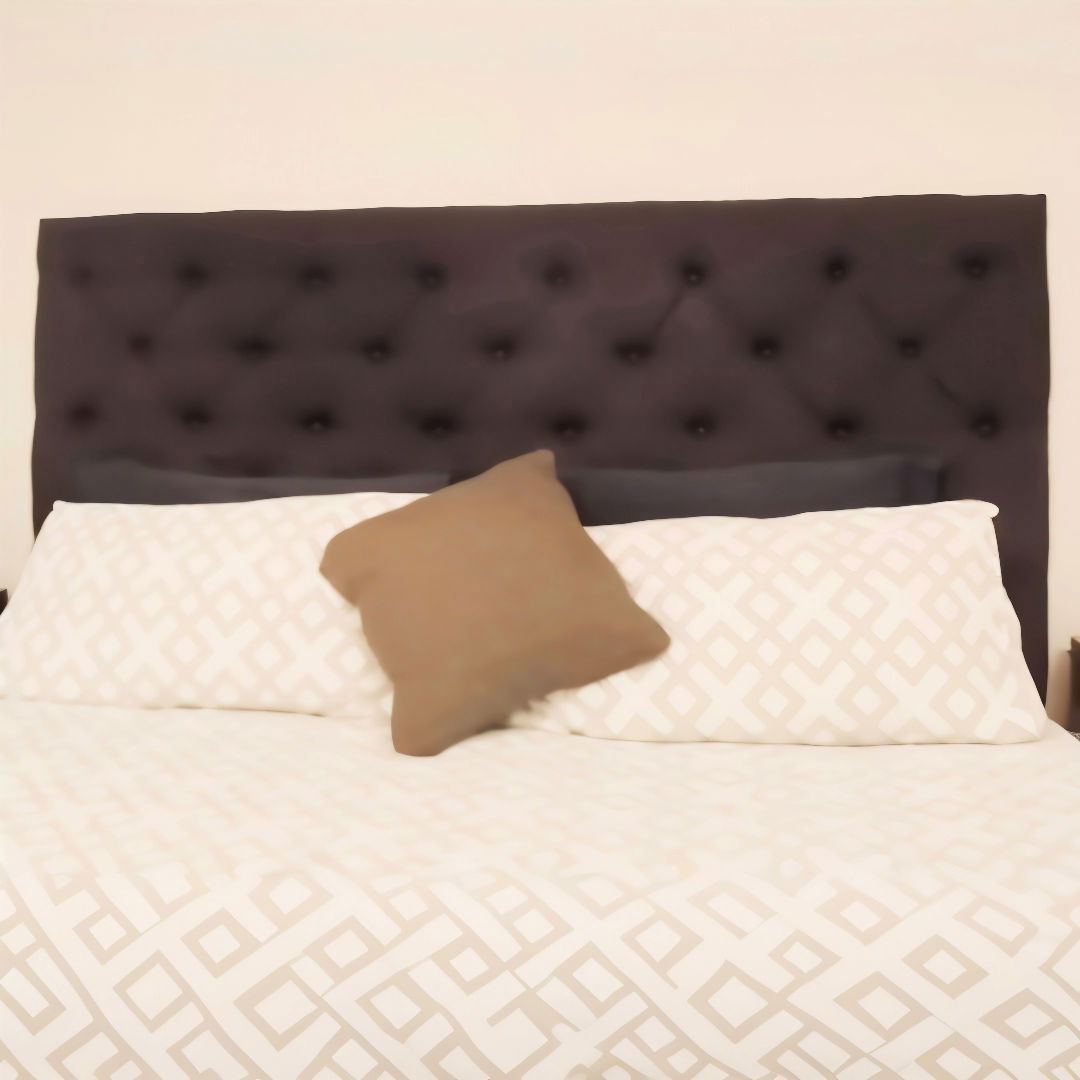
Making a DIY upholstered headboard can transform your bedroom with a personal touch and unique style. It's a simple and affordable way to update your space, and the process is quite rewarding. You can choose the fabric and design that best match your décor, giving your room an elegant, cozy vibe. This fun project can also be tailored to all skill levels, and the end result is a beautiful, custom-made addition to your home.
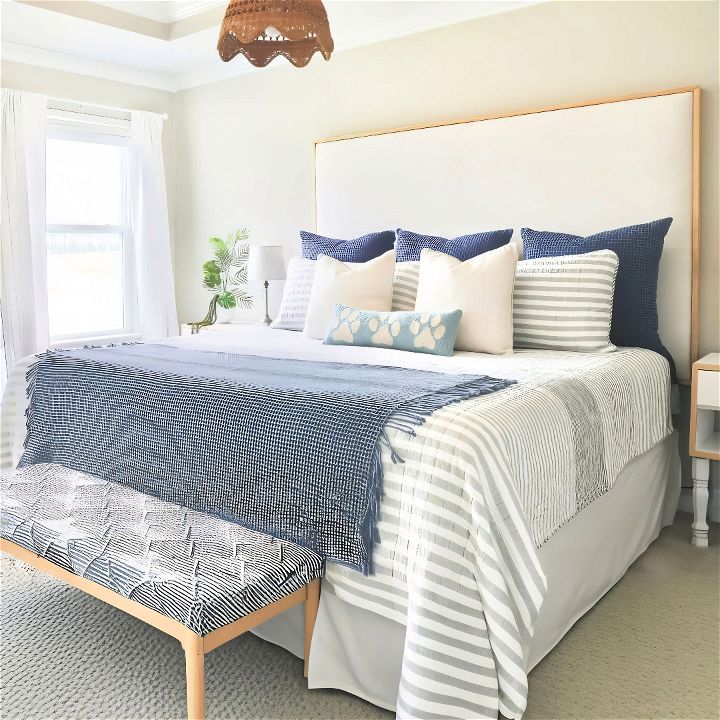
Learn how to make a stunning DIY upholstered headboard with our easy-to-follow instructions. We'll guide you step-by-step through the materials you'll need, the preparation, and the assembly process. Our comprehensive tips ensure your headboard will be sturdy, comfortable, and visually appealing. Continue reading to discover the detailed steps and expert advice that will help you make a masterpiece in no time.
Materials Needed
- Lumber (From Home Depot): Essential for constructing the sturdy frame.
- Plywood: Acts as the base for the foam and fabric.
- One-inch Foam: Provides cushioning for the headboard.
- Spray Adhesive: To secure the foam to the plywood.
- Batting: Adds an extra layer of softness and smoothness.
- Fabric (From Jo-Ann Fabrics): The decorative layer that sets the tone.
- Trim: Finishing edges that give a polished look.
- Tools:
- Kreg Jig: For drilling pocket holes.
- Screws and Wood Glue: To secure frame pieces.
- Staple Gun and Staples: For attaching fabric and batting.
- Nailer: To attach trim.
- Picture Frame Hangers: To mount the headboard to the wall.
These materials are not only essential but also customizable to match any décor.
Step by Step Instructions
Build a gorgeous DIY upholstered headboard with our easy, step-by-step instructions. Transform your bedroom decor affordably today!
Step 1: Cut Materials
First, I headed to Home Depot for my lumber. They even cut all the long pieces to size so I could transport them in my SUV. For a king-size headboard, here's the cut list:
- Three 45-inch short frame pieces
- Two 77-inch long frame pieces
- One 48 by 77-inch plywood sheet
Having precise cuts ensures a perfect fit.
Step 2: Assemble the Frame
Using the Kreg jig, I drilled pocket holes in each end of the 45-inch short frame pieces. This step took some time but guaranteed a stable frame. Pocket holes allow screws to be driven in at an angle, providing a stronger joint.
I laid out the three short frame pieces in the middle and the 77-inch frame pieces on top and bottom. Two and a half-inch screws and wood glue were used to assemble the frame, making sure it was sturdy and square.
Step 3: Attach the Plywood
Attaching the plywood was straightforward. I placed the 48 by 77-inch plywood on the frame and secured it with one-inch screws. This plywood platform serves as the base for the foam and fabric, making it a vital component.
Step 4: Secure One-Inch Foam
Instead of expensive upholstery foam, I chose a mattress pad which was cheaper and worked just as well. Cutting the foam to fit the plywood was simple with a pair of scissors. Using spray adhesive, I secured the foam to the plywood, ensuring a tight, even coverage to avoid lumps and gaps.
Step 5: Staple Batting
I moved to my living room for a cleaner workspace. Laying the batting out flat made the next steps easier. I cut the corners as depicted in the image I was following, then folded the batting over and stapled it tightly to the frame. This layer smooths out the foam and provides a plush feel.
Step 6: Staple Fabric
I laid out the fabric flat, avoiding any wrinkles. Starting on one side, I stapled the fabric to the headboard, then moved to the opposite side, pulling the fabric tight and stapling every few inches. Cutting the corners precisely ensured clean edges.
Step 7: Cut and Stain Trim
Using a table saw, I cut my trim pieces to fit the depth of the headboard better. After measuring the headboard with the fabric on, I opted for 45-degree corners for a polished look, though straight corners are an easier alternative. Once satisfied with the dry fit, I stained the trim using a natural stain and satin polyurethane for a smooth finish.
Step 8: Attach Trim
Once the trim was dry, I attached it to the headboard using a nailer and one and a half-inch brad nails. Filling the nail holes with wood filler gave it a seamless look. The trim added a sophisticated finishing touch, making the headboard look professionally made.
Step 9: Hang the Headboard
Finally, I used heavy-duty picture frame hangers to mount the headboard to the wall. Measuring carefully ensured that it hung perfectly. Following the hanger instructions made the process straightforward.
Making an upholstered headboard may seem intimidating, but breaking it down into manageable steps makes it doable for anyone, regardless of DIY experience. The key is patience and precision.
This project not only gave me a beautiful custom headboard but also a sense of accomplishment. By following these steps and using standard tools and materials, you too can make a headboard that adds a touch of luxury and personalization to your bedroom.
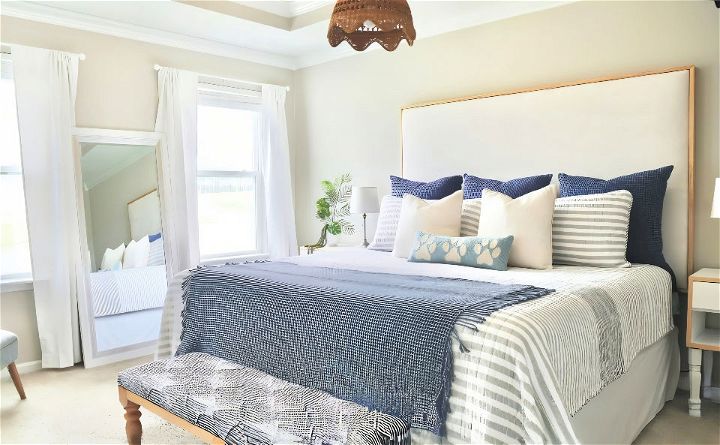
FAQs About DIY Upholstered Headboard
Discover answers to common questions about DIY upholstered headboards, including materials, tools, and step-by-step guides for a perfect finish.
The size of your headboard typically corresponds to the size of your bed. Here are standard dimensions:
Twin: 40" x 36"
Full: 54" x 36"
Queen: 60" x 36"
King: 76" x 36" For an extra tall headboard, add 12" to the height.
Yes, you can make an upholstered headboard without sewing. Use a staple gun to secure the fabric over the foam and batting. Ensure the fabric is pulled tight and the corners are neatly folded for a professional finish.
You can attach the headboard to the bed frame using bolts and nuts that fit your bed frame’s headboard brackets. Alternatively, you can mount the headboard to the wall using sturdy picture frame hangers or a French cleat system for a floating look.
To maintain your upholstered headboard, vacuum it regularly with an upholstery attachment to remove dust. For stains, use a mild fabric cleaner and test it on a small, inconspicuous area first. Avoid harsh chemicals that may damage the fabric.
There are numerous ways to personalize your upholstered headboard:
Tufting: Add buttons or diamond tufting for a classic, elegant look.
Nailhead Trim: Outline the edges with nailhead trim for a chic, sophisticated finish.
Fabric Choice: Choose a bold pattern or color to make a statement, or a neutral fabric for a subtle, versatile piece.
Shapes: Experiment with different shapes, such as curved tops, rectangles, or even an extended wingback design.
Additional Features: Consider adding built-in shelves, reading lights, or even a fold-down desk for functionality.
Conclusion:
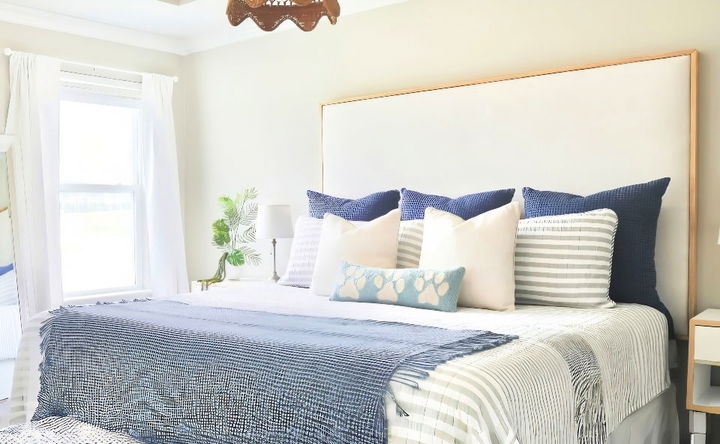
Wrapping up, building a DIY upholstered headboard is a fantastic way to add a personal touch to your bedroom decor. With just a few materials and some simple steps, you can achieve a stylish and cozy addition to your space. Get creative, have fun, and enjoy the satisfaction of making something special for your home.
Related DIY Projects and Ideas:
Discover inspiring DIY projects and ideas for your home. Easy-to-follow guides and tips to unleash your creativity and transform your space.
- DIY Bed Frame: Create a simple DIY bed frame on a budget. Follow these plans and ideas to upgrade your bedroom.
- DIY Console Table: Maximize space and style with an easy DIY console table. Find plans and ideas to fit your entryway.
- DIY Floor Lamp: Personalize your space with a wonderful DIY floor lamp. Explore creative designs and make your own.
- DIY Coffee Bar: Build your DIY coffee bar for beginners with these easy ideas. Create a stylish space for your morning brew.
- DIY Changing Table: Build a fantastic DIY changing table with easy-to-follow plans. Perfect for new parents.

