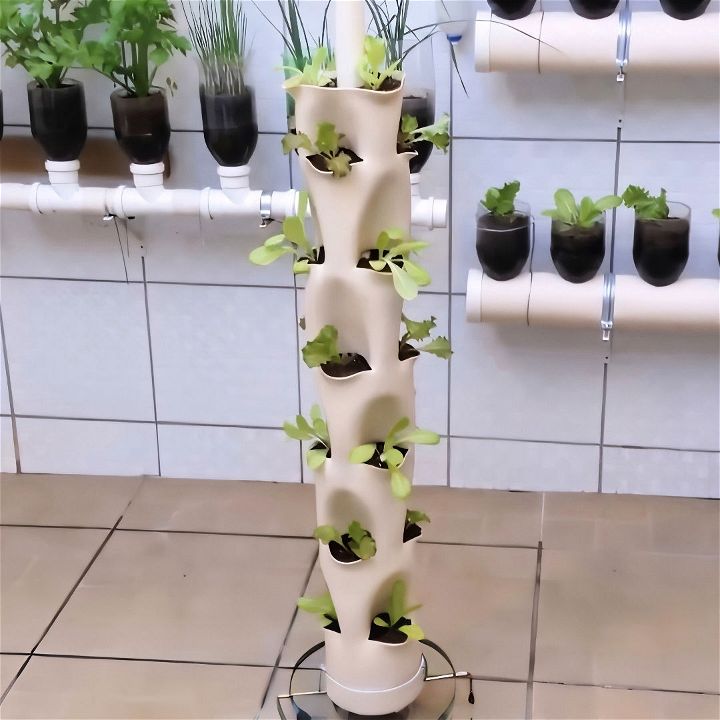
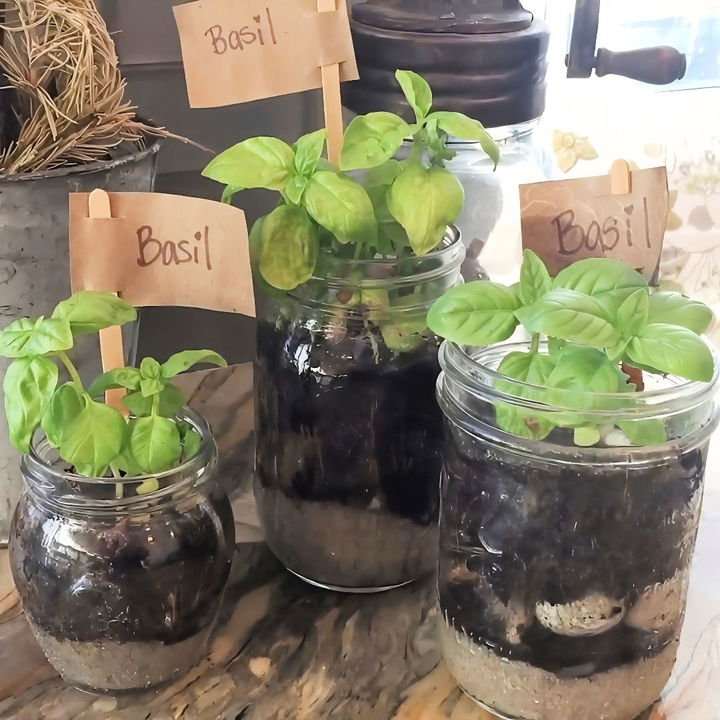
Making your own DIY vertical garden is a great way to add some green to your space without taking up too much room. Vertical gardens are perfect for small spaces and can be set up both indoors and outdoors. You can use a variety of plants, from flowers to herbs, making your garden unique and personalized. This method also allows you to enjoy the benefits of gardening without needing a large backyard.
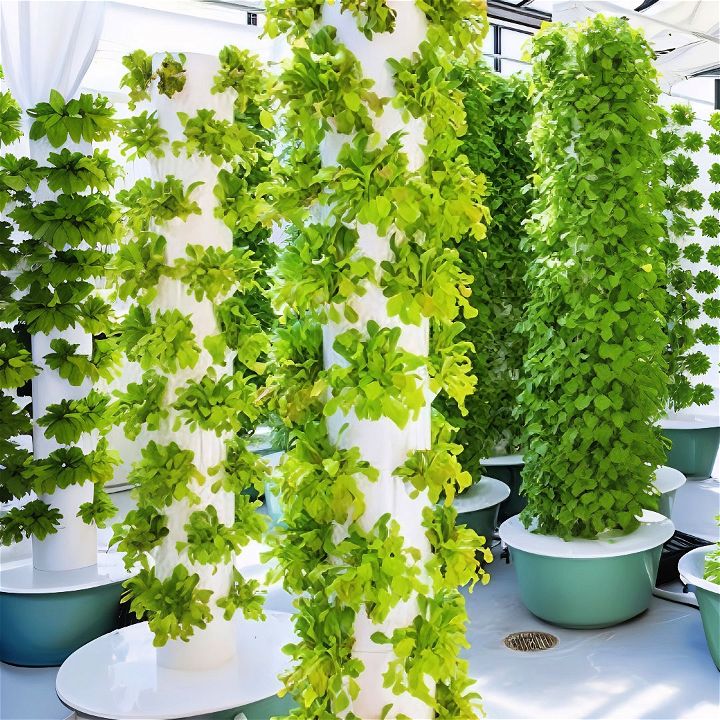
Setting up a DIY vertical garden involves a few simple steps. Start by choosing a wall or structure as your base. Next, select containers or pockets that will hold your plants. Make sure to arrange them in a way that allows each plant to receive enough sunlight and water. You can also get creative with recycled materials for an eco-friendly touch. After setting it up, regular maintenance, like watering and trimming, will keep your garden thriving.
Why Vertical Gardening?
Vertical gardening is excellent for small spaces. It allows you to grow a good number of plants in a vertical column, utilizing minimal ground area. Besides being aesthetically pleasing, it provides easier access for maintenance and harvesting.
Materials Needed
- 5-Gallon Buckets: These serve as the primary structure. You'll need as many as the number of levels you want in your tower. Each bucket forms a layer of the garden.
- Pool Noodles or Cloning Collars: These are used to hold the plants securely in place.
- 1.75-Inch Hole Saw: Necessary for creating the holes in the buckets where the plants will be inserted.
- Drill: To drill the holes in the buckets.
- Waterproof Markers: For marking where to drill the holes.
- Nutrients: Hydroponic nutrients to feed the plants.
- Net Cups (optional): For those who want a more structured plant holder.
Each of these materials plays a vital role. Buckets provide the backbone of the system; pool noodles or cloning collars ensure plants stay secure and upright; the drill and hole saw are essential for creating spaces for the plants.
Step by Step Instructions
Learn how to build a DIY vertical garden with our step-by-step guide. Easy instructions on materials, setup, planting, and maintenance!
Step 1: Gather Your Materials
First, collect all your materials. Check local stores for prices on buckets or look for freebies at local delis and stores. Cloning collars and pool noodles can be sourced online if hard to find locally.
Step 2: Preparing the Buckets
Mark four equidistant spots around the circumference of each bucket about one inch below the top rim. These marks are where you'll drill your plant holes. Make sure your marks are precise to maintain structural integrity and balance.
Step 3: Drilling the Holes
Using the 1.75-inch hole saw, drill holes at each marked spot. The holes should be big enough to hold your pool noodles or cloning collars but small enough to maintain the bucket's stability.
Note: Make sure to drill at a slight angle for the holes to prevent rainwater from getting inside and drowning the plants.
Step 4: Preparing the Plant Holders
Cut your pool noodles into small cylinders that fit snugly into the drilled holes. If using cloning collars, ensure they fit well into the holes. These holders will keep your plants in place while allowing roots to grow into the bucket.
Step 5: Setting Up the Tower
Stack the buckets on top of each other. Ensure they are stable; the stacking mechanism relies mostly on the bucket rims. For more stability, you might consider securing the buckets with a central rod or some outside support structures.
Step 6: Adding Nutrients and Water
Fill each bucket with about 3.5 to 4 gallons of water. Add the recommended amount of hydroponic nutrients to this water. The idea is to create a self-contained hydroponic system where each bucket’s nutrient solution seeps down gradually to the levels below.
Step 7: Inserting the Plants
Insert your microgreens, herbs, or small plants into the pool noodle or cloning collar holders. Ensure the roots are hanging inside the bucket and can eventually reach the nutrient solution.
Step 8: Regular Maintenance
While this design aims for minimal maintenance, regular checks for water levels and plant health are necessary. Replenish the nutrient solution as needed, especially during hot weather when evaporation rates may be high.
Practical Tips and Insights
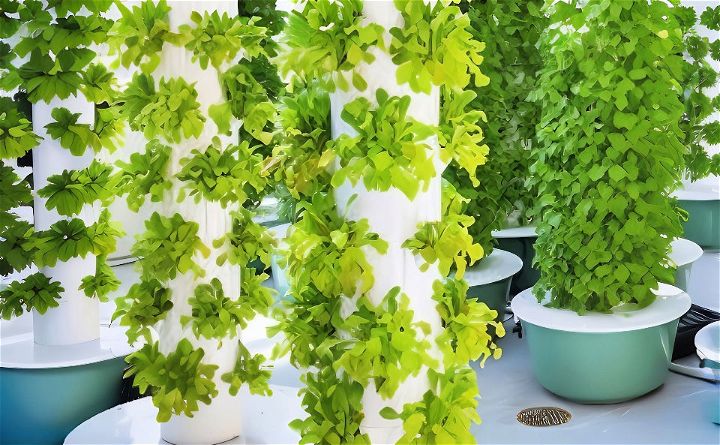
- Keep Buckets Cool: The larger water volume helps in maintaining a cooler environment for roots, essential for quick-growing hydroponic plants.
- Rain Considerations: The design aims to deflect rainwater to avoid drowning the plants. Ensure the buckets are set at a slight angle to aid this.
- Structural Stability: The tower can become quite heavy when filled with water. Make sure it's on a stable surface.
Optional Addition: Air Pumps
If you want to boost oxygen levels in the water, adding air stones connected to an air pump can be highly beneficial. Drill a small quarter-inch hole at the bucket's upper side to insert the air pump tubing.
Using Alternative Plant Holders
If you find pool noodles hard to source, use available cloning collars. These are readily available online and fit snugly into the bucket holes, holding plants securely while allowing oxygen flow.
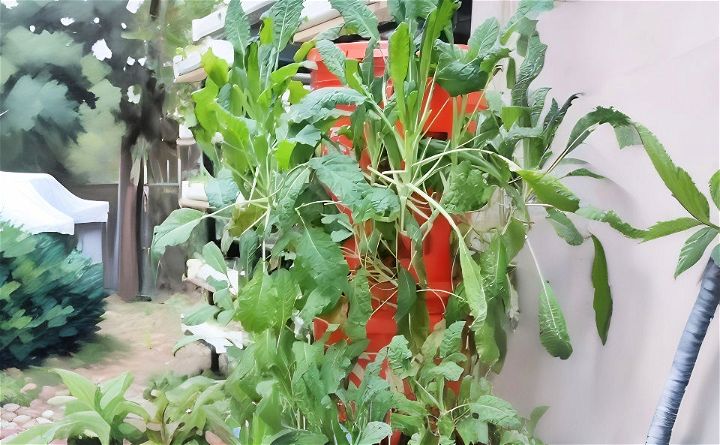
Implementing this DIY vertical garden project was immensely rewarding. It enabled me to grow a variety of microgreens, herbs, and small vegetables without using precious garden space or incurring significant costs.
By sharing this method, I hope to inspire you to take a step towards vertical gardening. With just a few accessible materials and a bit of effort, you can easily create your own cheap and efficient hydroponic garden tower.
Remember: Gardening is as much about the journey as it is about the harvest. Embrace every step, from construction to cultivation, and the rewards will extend beyond just fresh produce.
FAQs About DIY Vertical Garden
Discover answers to common questions about DIY vertical gardens. Tips, tricks, and essentials to create your own lush, space-saving garden.
A DIY vertical garden is a creative way to grow plants upwards rather than outwards, using various structures like trellises, wall planters, or stacked containers. It’s perfect for small spaces or to add a green touch to urban environments.
Herbs, succulents, and many vegetables like lettuce, spinach, and strawberries thrive in vertical gardens. Choose plants based on the sunlight in your area and the care they need. Climbing plants like ivy or tomatoes need sturdy supports.
Water regularly, ensuring all plants get enough moisture. A drip irrigation system can help. Fertilize as needed, and prune plants to keep them healthy and well-shaped. Check for pests and diseases regularly to keep your garden thriving.
Absolutely! You can repurpose items like pallets, plastic bottles, or old furniture to create your garden structure. Use affordable planting containers and shop for plants during sales or propagate your own from cuttings.
To create a sustainable vertical garden, choose native plants that are adapted to your local climate and require less water and maintenance. Utilize recycled materials for planters and structures. Consider installing a rainwater collection system to water your plants and opt for organic fertilizers. Regularly compost plant waste to enrich the soil and support a healthy ecosystem in your garden.
Conclusion:
Wrapping up our exploration of the DIY vertical garden, it’s clear that creating your own green space can be both fun and rewarding. By following the simple steps and creative tips mentioned, you can transform any small space into a vibrant garden. So grab your tools and start building your own DIY vertical garden today!
Related DIY Projects and Ideas:
Discover creative related DIY projects and ideas: step-by-step guides, budget-friendly tips, and inspiration for your next home project.
- DIY Planter Box: Build your own DIY planter box to grow anything you love.
- DIY Mason Jar Herb Garden: Follow this step-by-step guide to create a mason jar herb garden.
- DIY Vertical PVC Pipe Garden: Explore innovative ideas for a vertical PVC pipe garden.
- DIY Rain Barrel: Save money and conserve water by making your own rain barrel.
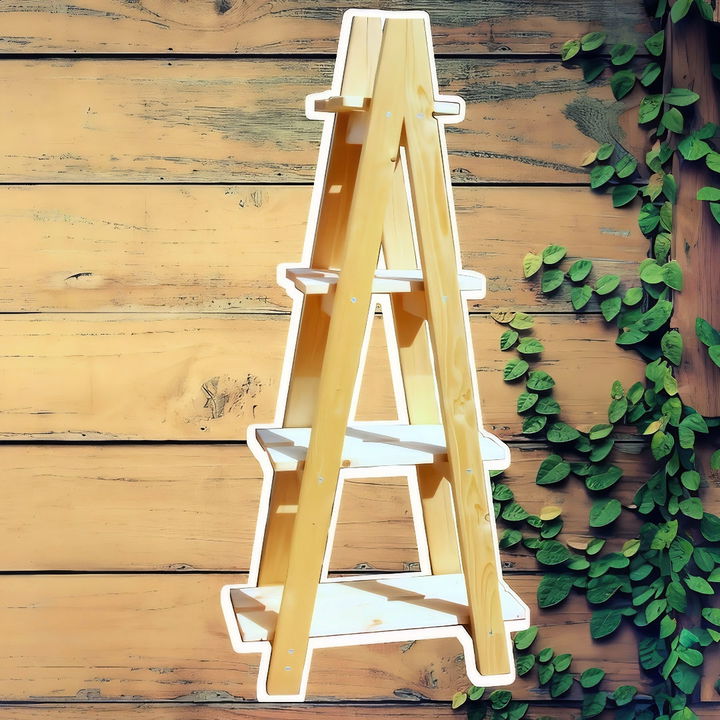
- DIY Ladder Plant Stand: Elevate your greenery with a DIY ladder plant stand.

