Making your own DIY beeswax wraps is a sustainable and fun way to reduce plastic use in your kitchen. These reusable wraps can cover bowls, wrap snacks, or store leftovers, making them a versatile and eco-friendly option. By making your wraps with beeswax, you ensure that your food stays fresh without the harmful effects of plastic wraps. Beeswax wraps are an excellent choice for anyone interested in a more sustainable lifestyle.
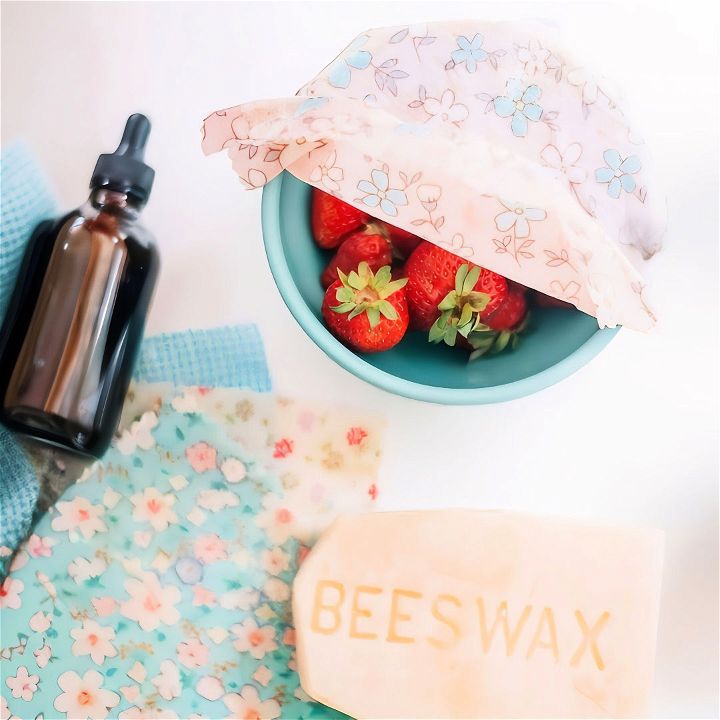
To get started, you will need beeswax, fabric, parchment paper, and a brush. First, cut the fabric into the desired size and shape. Melt the beeswax and spread it evenly over the fabric using the brush. Then, place the fabric between two sheets of parchment paper and iron until the beeswax melts through the fabric. Allow it to cool and harden. Your beeswax wraps are now ready to use.
Next, let’s explore how to care for your beeswax wraps to make them last longer.
Materials Needed
Gathering the right materials is essential for making your beeswax wrap effective. Here’s what you will need:
- Cotton Fabric: Pre-wash and cut into squares. Either 8-inch or 11-inch squares work well. Cotton fabric is breathable and easily coated with the wax mixture.
- Beeswax: Buy in blocks or pellets. This is the main ingredient that creates the seal on the wrap.
- Grater: For shredding the beeswax into smaller pieces, which makes it easier to melt.
- Jojoba Oil: Adds pliability and softness to the wrap.
- Pine Resin: The secret ingredient for extra stickiness.
- Fabric Scissors: To cut your fabric.
- Pinking Shears: For a neat, non-fraying edge.
- Double Boiler: Necessary for melting the beeswax. A mason jar inside a saucepan can also work if you don't have one.
- Measuring Cup: To measure your ingredients accurately.
- Parchment Paper: To protect your work surface and prevent sticking.
- Iron: For evenly distributing the wax mixture.
- Small Brush: For applying the wax mixture to the fabric.
Step-by-Step Guide
Learn how to make DIY beeswax wraps with our step-by-step guide. Eco-friendly and easy to follow!
1. Prepare Your Fabric
First things first, pre-wash your cotton fabric. This removes any impurities that could affect how well the wax adheres. Once washed and dried, cut the fabric into squares. I prefer 8-inch or 11-inch squares, but you can cut them to any size based on your needs.
2. Grate the Beeswax
Grate the beeswax using your grater until you have approximately ½ cup. Grating it into smaller pieces will help it melt more evenly.
3. Mix the Ingredients
In your double boiler or a mason jar placed inside a saucepan of water, combine the following:
- ½ cup grated beeswax
- 1 tablespoon jojoba oil
- 3 tablespoons pine resin
Melt all the ingredients together using low heat. Beeswax has a low melting point, so a double boiler is crucial to prevent it from burning. Stir occasionally until all components are liquefied and well-mixed.
4. Lay Out Your Fabric
Meanwhile, lay out your fabric squares on a sheet of parchment paper. This will protect your work surface and make it easier to apply the wax mixture.
5. Apply the Wax Mixture
Once the wax mixture is fully melted, use a small brush to apply it to the fabric squares. Start from the center and work your way outwards to ensure even coverage. Be thorough but quick, as beeswax tends to set quickly.
6. Iron the Fabric
Place another sheet of parchment paper over the waxed fabric. Use an iron on the 'Cotton' setting to press down on the fabric. This step will help distribute the wax mixture evenly across the fabric and ensure that it seeps through to the other side.
7. Dry the Wraps
Remove the top sheet of parchment paper and let the wraps dry. They dry fairly quickly; you can even flip them in the air a few times to speed up the process.
8. Trim the Edges
Once dry, trim the edges with pinking shears to prevent fraying. This step is optional but gives your beeswax wraps a neat finish.
How to Use Extra Sticky Beeswax Wraps
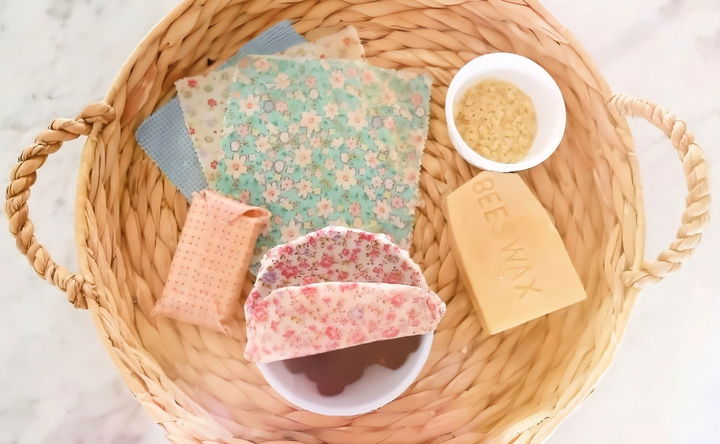
You can use your newly made beeswax wraps to store a variety of foods. Wrap them around sandwiches, fruits, cheese, or use them to cover bowls. The warmth of your hands will activate the wax and make the wraps adhere to themselves or the container.
Cleaning and Maintenance
After each use, wash the wraps in lukewarm water with mild detergent. Avoid hot water as it can melt the wax. Hang them to dry. Typically, these wraps will last 6 to 12 months. If they lose their stickiness, you can revive them by adding a fresh layer of wax or compost them as they are fully biodegradable.
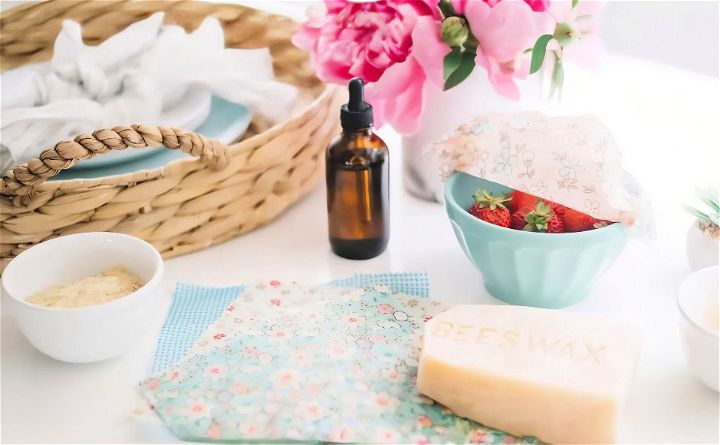
Making extra sticky beeswax wraps is a straightforward, rewarding process that pays back in sustainability. These wraps are a fantastic alternative to plastic wrap, offering both reusable and compostable benefits. I hope you find this tutorial helpful. Feel free to share your own experiences or any tips you have.
Thank you for reading! If you’ve enjoyed this guide, please share it with friends and family looking to make their eco-friendly kitchen items. Happy crafting!
Additional Tips
- Storage: Store your beeswax wraps in a cool, dry place away from direct sunlight.
- Customization: You can choose various patterns and colors for your cotton fabric to make your wraps as fun or elegant as you like.
- Gifting: Beeswax wraps make excellent eco-friendly gifts
FAQs About DIY Beeswax Wrap
Discover essential answers to your faqs about DIY beeswax wrap, including tips, benefits, and usage to improve your eco-friendly lifestyle.
A DIY beeswax wrap is a piece of fabric, usually cotton, coated in beeswax, which can be used as a sustainable alternative to plastic cling wrap. It’s moldable, slightly sticky, and can be used to cover dishes or wrap food to keep it fresh. Beeswax wraps are reusable, non-toxic, and biodegradable, making them an eco-friendly kitchen staple.
After use, clean your beeswax wrap with cold water and a mild soap. Avoid hot water, as it can melt the wax. Let it air dry before storing. With proper care, beeswax wraps can last up to a year. If they start to lose their stickiness, you can refresh them by re-melting the beeswax.
Beeswax wraps work well with most types of food, but it’s best to avoid using them with raw meat and fish to prevent contamination. They’re great for wrapping cheese, fruits, vegetables, bread, and covering bowls. The natural antibacterial properties of beeswax help keep food fresh.
While beeswax wraps are versatile, they aren’t suitable for every situation. They shouldn’t be used in the microwave or with hot foods. Also, they may not provide an airtight seal like plastic wrap, so they might not be the best choice for storing certain foods that require airtight conditions.
To ensure the longevity of your beeswax wraps, store them in a cool, dry place away from direct sunlight and heat sources. You can fold them neatly in a drawer or roll them up to prevent creases. Some people like to keep them in a kitchen drawer or a storage container. Proper storage will help maintain the wax coating and keep your wraps ready for their next use.
Conclusion:
Wrapping up, making DIY beeswax wraps is a fun and eco-friendly way to reduce plastic use. Follow the simple steps outlined here to make your own reusable wraps. Enjoy the process and take pride in contributing to a sustainable future. These wraps are not only practical but also add a personal touch to your kitchen.

