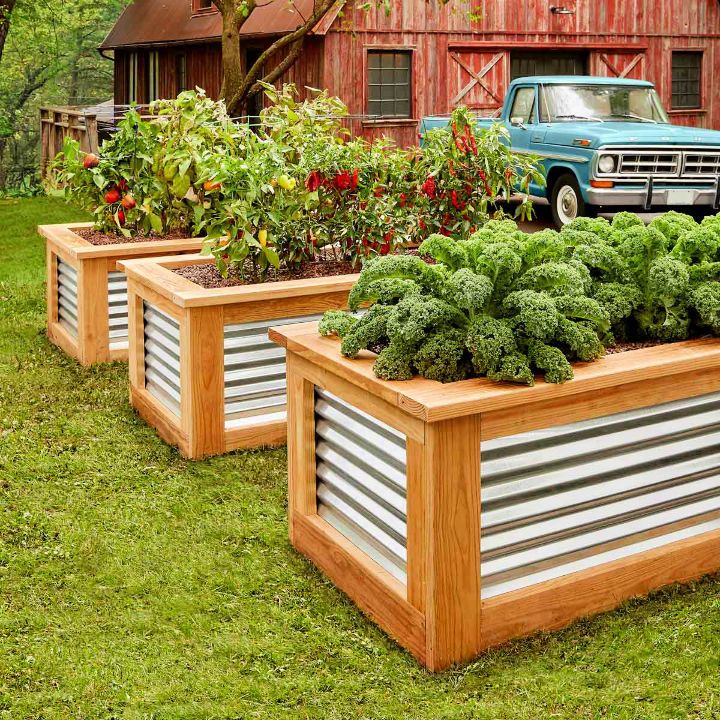
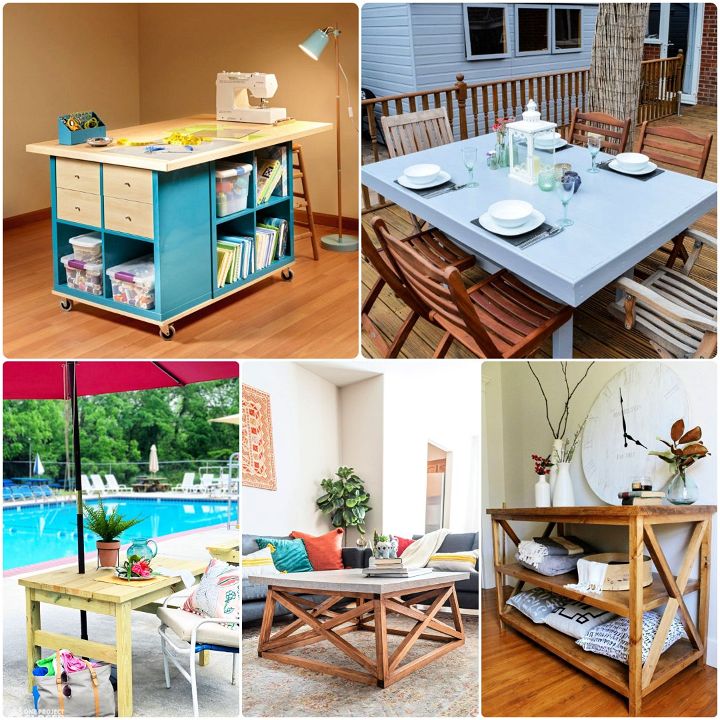
Building your own DIY planter box is a rewarding and enjoyable project. Building a planter box allows you to tailor the size, style, and design to fit your space. This task is perfect for enhancing your garden or home with personalized containers for growing plants. Using simple tools and materials, you can make a beautiful DIY planter box that will last for years.
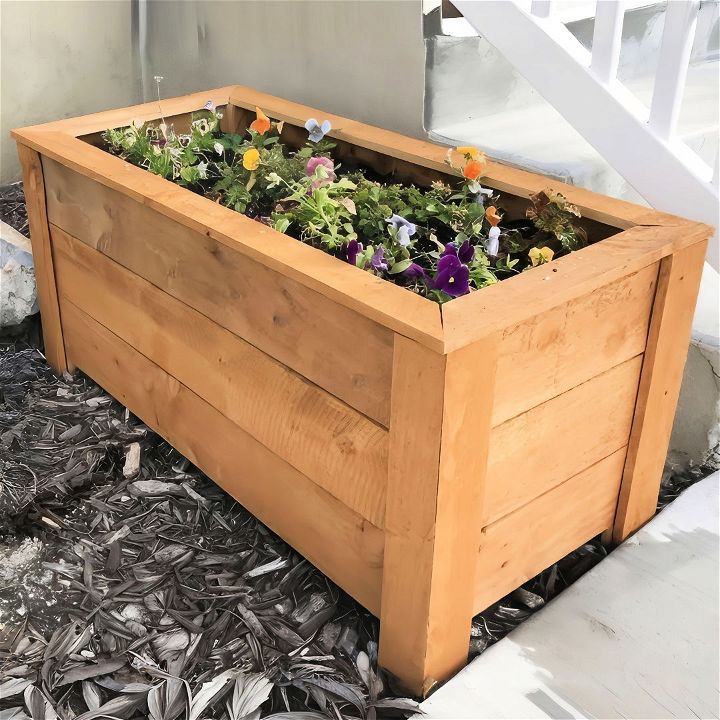
Not only does a DIY planter box add aesthetic appeal, but it's also practical. These boxes can optimize your gardening space, allowing you to grow a variety of plants, flowers, or even vegetables. With clear instructions and basic supplies, building a planter box can be a straightforward and gratifying experience.
Materials You’ll Need
Why These Materials?
- Nine Cedar Boards: These are cost-effective and naturally rot-resistant, perfect for outdoor use. Each board cost less than $2.
- One 2x4 Board (8 feet): This will serve as the internal structure. Priced at about $3.
- Wood Screws (3 inches and 2 inches): Necessary for assembling all the parts.
- Staple Gun with 18-gauge staples: Useful for attaching the cedar boards to the frame.
- Weed Barrier Mat (optional): Helps keep soil in place and adds drainage.
- Soil and Plants of Your Choice: So you can start gardening right away.
Step-by-Step Instructions
Learn how to build a DIY planter box with our step-by-step instructions. Perfect for gardening enthusiasts looking for an easy and fun project!
Step 1: Preparing the Cedar Boards
Total Time: 30 minutes
- Purchase Cedar Boards: I bought nine cedar boards, each costing just under $2. Cedar is a great choice for outdoor projects because it’s durable and naturally resistant to decay and insects.
- Measure and Cut: Using a table saw or circular saw, I cut each board to the required size for the planter box frame.
Step 2: Building the Internal Frame
Total Time: 1 hour
- Cut the 2x4 Board: The first step is to slice the 2x4 board exactly in half, making two pieces.
- Assemble the Frame: I pre-drilled holes and used 3-inch wood screws to assemble the internal frame. This structure supports the entire weight of the soil and plants.
- Position the Frame: I placed the frame where I wanted the planter to stand permanently.
Step 3: Building the Planter’s Floor
Total Time: 45 minutes
- Measure and Cut More Cedar Boards: I cut six cedar boards to the exact width of the frame.
- Attach to the Frame: I pre-drilled and attached these boards to the frame, ensuring there were small gaps between them for drainage. This is crucial to avoid waterlogging your plants.
Step 4: Building the Internal Walls
Total Time: 1 hour
- Cut the Cedar Boards: I needed to cut four more pieces to form the inner structure that will hold the floorboards.
- Attach with Screws: Using 3-inch screws, I attached these pieces to the existing frame, making sure they were flush with the top of the floor structure.
Step 5: Adding the Outer Panels
Total Time: 2 hours
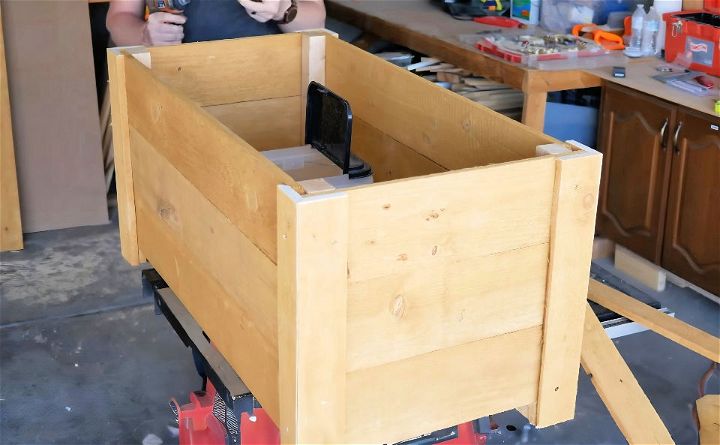
- Cut 12 Pieces: Six long and six short pieces for the side panels.
- Secure Using Staple Gun: I used an 18-gauge staple gun for this. Alternatively, you can use screws if you prefer.
- Hide the Edges: Some edges may stick out, but this will be covered by the corner pieces.
Step 6: Installing the Legs
Total Time: 30 minutes
- Measure and Cut Legs: I followed the plans to cut four equal pieces for the legs.
- Temporary Fix: I temporarily fixed them with small screws to hold them in place.
- Final Attachment: I made sure they were securely attached.
Step 7: Adding the Corner Pieces
Total Time: 1 hour
- Cut at a 45-Degree Angle: Using a circular saw, I angled the saw to 45 degrees to make the corner pieces.
- Attach Firmly: I used leftover screws to attach each corner piece firmly, ensuring stability and a finished look.
Step 8: Top Frame and Finishing Touches
Total Time: 1 hour
- Frame the Top: I cut four more pieces, each at a 45-degree angle, to form the top frame.
- Secure the Top Frame: I placed this frame over the top of the planter box, ensuring it covered all exposed edges.
- Optional Weed Barrier: I placed a weed barrier mat inside the planter box to help with soil retention and drainage.
Step 9: Soil and Planting
Total Time: 30 minutes
- Add Soil: I used three bags of potting soil.
- Plant: I filled the box with my favorite flowers and herbs.
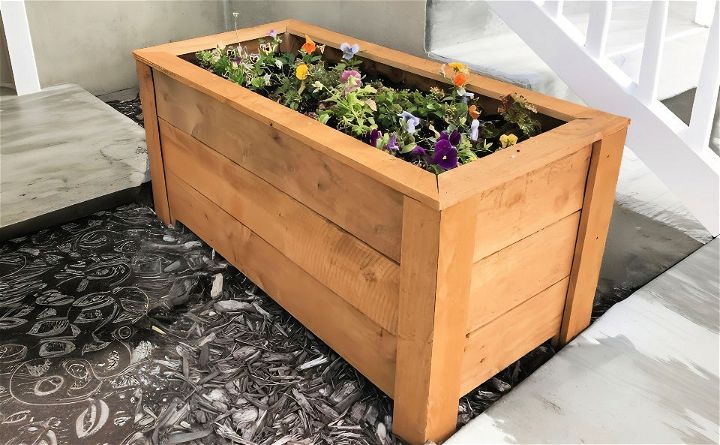
It was incredibly satisfying to transform a few basic materials into a beautiful, functional planter box for just $23. I now have a charming addition to my patio that houses a variety of my favorite plants. With this guide, I hope you’re inspired to build your own DIY planter box too.
FAQs About DIY Planter Box
Discover answers to common questions about DIY planter boxes, including materials, sizes, and assembly tips for the perfect garden project.
Drainage is key to prevent root rot. Drill several holes in the bottom of your planter box. Cover the holes with landscape fabric and add a layer of gravel before filling it with soil.
The size of your planter box should fit the space you have available and be large enough to accommodate the root systems of the plants you want to grow. A common size for a medium planter is 54 inches long, 26-1/2 inches wide, and 15-1/4 inches tall.
Yes, you can! There are many simple planter box designs that require minimal tools and materials. Look for plans that use straightforward construction techniques like screws and glue.
Customize your planter box by choosing a design that matches your style, selecting a finish that complements your outdoor space, and picking plants that suit your climate and aesthetic preferences. You can also add features like trellises or wheels for mobility.
Maintaining your DIY planter box involves regular watering, ensuring the soil remains fertile with compost or fertilizer, and checking for pests. It’s also important to reapply a protective finish annually to prevent weather damage. For wooden planter boxes, inspect for any signs of rot or wear and repair or replace parts as necessary.
Conclusion:
Wrapping up, a DIY planter box is a simple and enjoyable way to add a touch of nature to your home or garden. Building your own planter box not only allows you to customize the design but also offers a sense of accomplishment. With basic materials and tools, you can build a functional and attractive planter box that suits your space perfectly. So, gather your supplies, follow the steps, and soon, you'll have a beautiful planter box to showcase your favorite plants.
Related DIY Projects and Ideas:
Discover inspiring DIY projects and ideas to enhance your creativity and home. Get simple, innovative solutions for every skill level.
- DIY Vertical Garden: Create stunning green walls with our step-by-step guide on vertical gardening. Enhance your space and enjoy lush greenery effortlessly.
- DIY Mason Jar Herb Garden: Grow fresh herbs at home with our easy mason jar herb garden guide. Perfect for kitchens and small spaces.
- DIY Vertical PVC Pipe Garden: Learn how to build a vertical garden using PVC pipes. Maximize your gardening space with this innovative and simple project.
- DIY Ladder Plant Stand: Elevate your plant display with a DIY ladder plant stand. This creative project adds style and function to any space.
- DIY Rain Barrel: Save money and conserve water with a DIY rain barrel. Follow our guide to create an efficient water-saving system.

