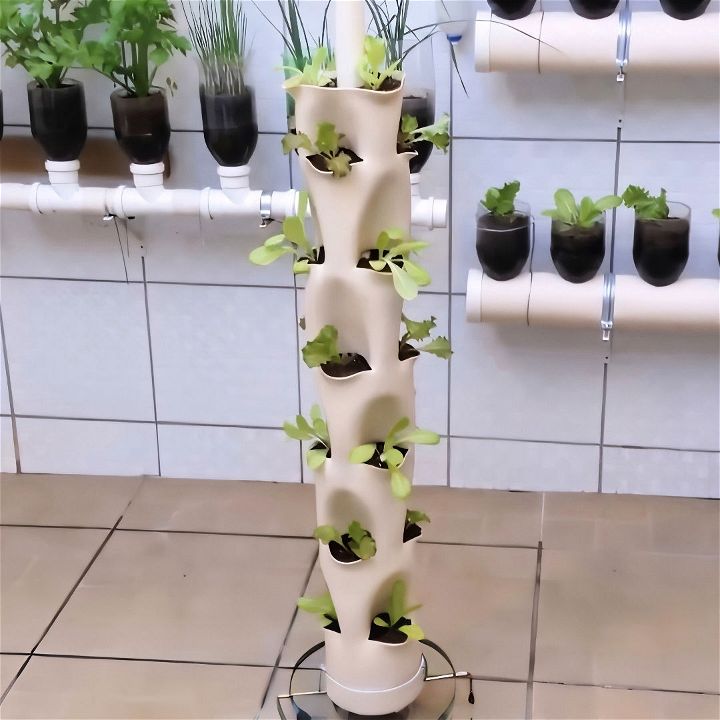
Living in the hustle and bustle of the city has its perks, but it also means less space for gardening. I’ve always been passionate about growing my own herbs and vegetables, but with limited outdoor space, I had to think creatively. That's when I stumbled upon a beautiful idea: making a DIY vertical pvc pipe garden. In this article, I’ll guide you through my own experience of making a DIY pvc pipe garden, providing you with valuable insights and practical advice. By following this step-by-step guide, you’ll be able to bring a piece of nature into your urban space.
Materials Needed
Before we dive into the process, let’s gather all the materials we need. Each of these materials plays a crucial role in ensuring our vertical garden’s functionality and longevity.
- 150mm PVC Pipe (also known as 6-inch PVC pipe): This will serve as the main structure where the plants will be housed.
- 40mm PVC Pipe (1.5-inch PVC pipe): Used for the irrigation system inside the main pipe.
- Buffer Plug for 150mm and 40mm Pipes: These plugs will seal the ends of the pipes to prevent soil and water from leaking.
- Scissors and Knife: These tools are essential for making precise cuts in the pipe.
- Glue Adhesive for PVC Tube: This will ensure that all parts are securely attached.
- Pliers and Saw: Pliers are used for holding materials in place, while the saw is used to cut the PVC pipes.
- Sandpaper: Necessary for smoothing any rough edges after cutting.
- 14 AWG or 1.5mm Steel Wire: This wire helps stabilize the structure.
- Steel Base for Garden: This base will support the entire vertical garden.
- Fire or Hot Air Blower: To soften the PVC pipe so that we can mold it.
- Small Pieces of Bricks or Expanded Clay: For drainage at the bottom of the pipe.
- Potting Substrate: Soil or growing medium for your plants.
- Seeds or Seedlings: Choose your preferred plants, like lettuce or herbs.
Step by Step Instructions
Learn how to make a DIY vertical PVC pipe garden with our step-by-step guide. Perfect for urban gardening!
Step 1: Prepare the 150mm PVC Pipe
First, take the 150mm PVC pipe. Measure and mark six divisions with a pen. These divisions will create sections each with three openings for planting. Mark and cut three 100mm slots in each section using a saw. Make sure your cuts are evenly spaced.
Step 2: Heat and Shape the Pipe
Now that you have your slots, use a fire or a hot air blower to heat the areas around your cuts. Once heated, the PVC will become more pliable. Insert a bottle into the cut to widen it and create openings for the plant pots. Hold it in place for a few seconds until the PVC cools down and retains the shape.
Step 3: Sand the Edges
After the PVC has cooled and the openings are properly shaped, use sandpaper to smooth the edges. This is important to ensure that the edges do not damage your plants or your hands when planting.
Step 4: Create Drainage Holes
Next, drill small holes at the bottom of the 150mm PVC pipe for drainage. This will prevent water from accumulating at the base and drowning your plants.
Step 5: Attach the Buffer Plug
Apply the PVC glue adhesive around the bottom end of the 150mm pipe and attach the buffer plug. Let it dry completely before moving on to the next step.
Step 6: Prepare the Irrigation Pipe
Take the 40mm PVC pipe and drill six 1mm holes, evenly spaced about 300mm apart. Cap the bottom of the pipe using glue adhesive.
Step 7: Assemble the Structure
Place the steel base where your vertical garden will stand. Insert the 150mm pipe vertically into the base. Secure it with the 14 AWG steel wire for added stability.
Step 8: Add Drainage Material and Substrate
To facilitate proper drainage, add small pieces of bricks or expanded clay at the bottom of the 150mm pipe. Fill the rest of the pipe with potting substrate up to the first opening. Then, continue adding the substrate layer by layer until it reaches the top.
Step 9: Plant Your Seedlings
Begin planting your chosen herbs or vegetables. I chose lettuce because it grows well in smaller spaces and requires moderate sunlight.
Step 10: Irrigation and Maintenance
Place the 40mm irrigation pipe in the center of the soil. Fill the pipe with water once a day to ensure the water reaches all the plants evenly through the drilled holes. This way, each level of your vertical garden receives just the right amount of hydration.
Step 11: Position and Initial Watering
Finally, position your vertical garden in a spot that receives direct sunlight. This is essential for the plants' growth. Water the soil thoroughly after the initial setup to ensure the roots are hydrated. Continue this practice daily to keep your plants healthy.
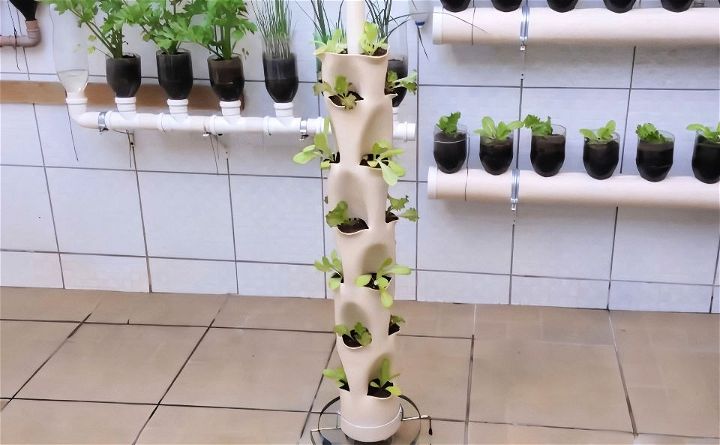
Making a vertical garden from PVC pipes is an excellent way to maximize limited space while enjoying home-grown produce. It’s cost-effective, environmentally friendly, and surprisingly easy to maintain. By following these steps, you can bring a touch of green to your home, just like I did. Not only do you get the satisfaction of growing your own vegetables, but it also adds a beautiful, natural element to your living space. Happy gardening!
FAQs About DIY PVC Pipe Garden
Find answers to common questions about DIY pvc pipe garden projects. Get tips, tricks, and expert advice for your sustainable garden today!
A DIY PVC pipe garden is a creative way to grow plants using PVC pipes as planters. It’s a form of container gardening that is cost-effective, space-saving, and versatile. You can build vertical, horizontal, or hanging gardens to suit your space and needs.
Most small to medium-sized plants, herbs, leafy greens, strawberries, and flowers do well in PVC pipe gardens. It’s important to choose plants that match the size of your pipe and the amount of sunlight your garden will receive.
Yes, you can create a self-watering system by incorporating a drip irrigation line inside the PVC pipes. This will ensure consistent moisture levels, which is particularly beneficial for thirsty plants or if you’re away from home often.
PVC is generally considered safe for growing food. However, it’s recommended to use food-grade PVC to avoid any potential leaching of chemicals into the soil, especially if you’re growing edible plants.
To ensure durability, use UV-stabilized PVC pipes to prevent damage from sunlight. Additionally, secure the structure with PVC cement and pipe brackets to withstand weather conditions. Regularly check for wear and tear and replace any damaged parts promptly.
Conclusion:
Wrapping up, making a DIY vertical PVC pipe garden is a unique and space-saving solution for growing your favorite plants. This project is easy, enjoyable, and offers endless possibilities for customization. From fresh herbs to vibrant flowers, your garden will flourish in even the smallest spaces. Start your vertical gardening journey today and enjoy the numerous benefits of a greener, more sustainable environment.
Related DIY Projects and Ideas:
Discover inspiring DIY projects and creative ideas. Perfect for crafters, homemakers, and enthusiasts looking to add a personal touch to their spaces.
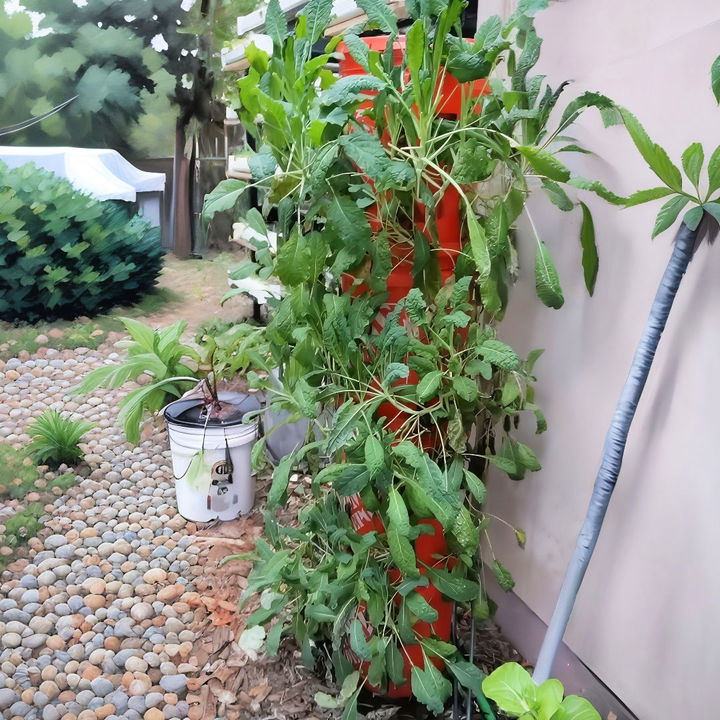
- DIY Vertical Garden: Create stunning green walls with our step-by-step guide on vertical gardening. Enhance your space and enjoy lush greenery effortlessly.
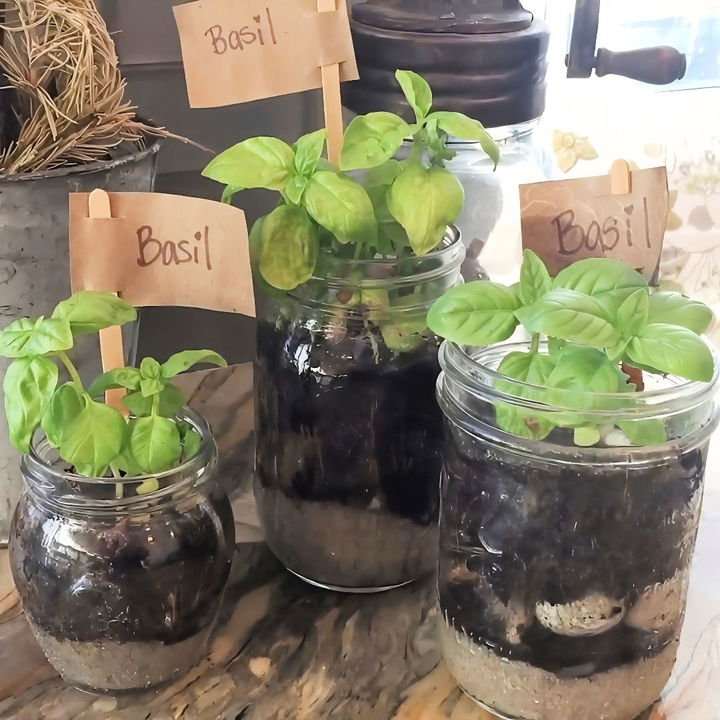
- DIY Mason Jar Herb Garden: Grow fresh herbs at home with our easy mason jar herb garden guide. Perfect for kitchens and small spaces.
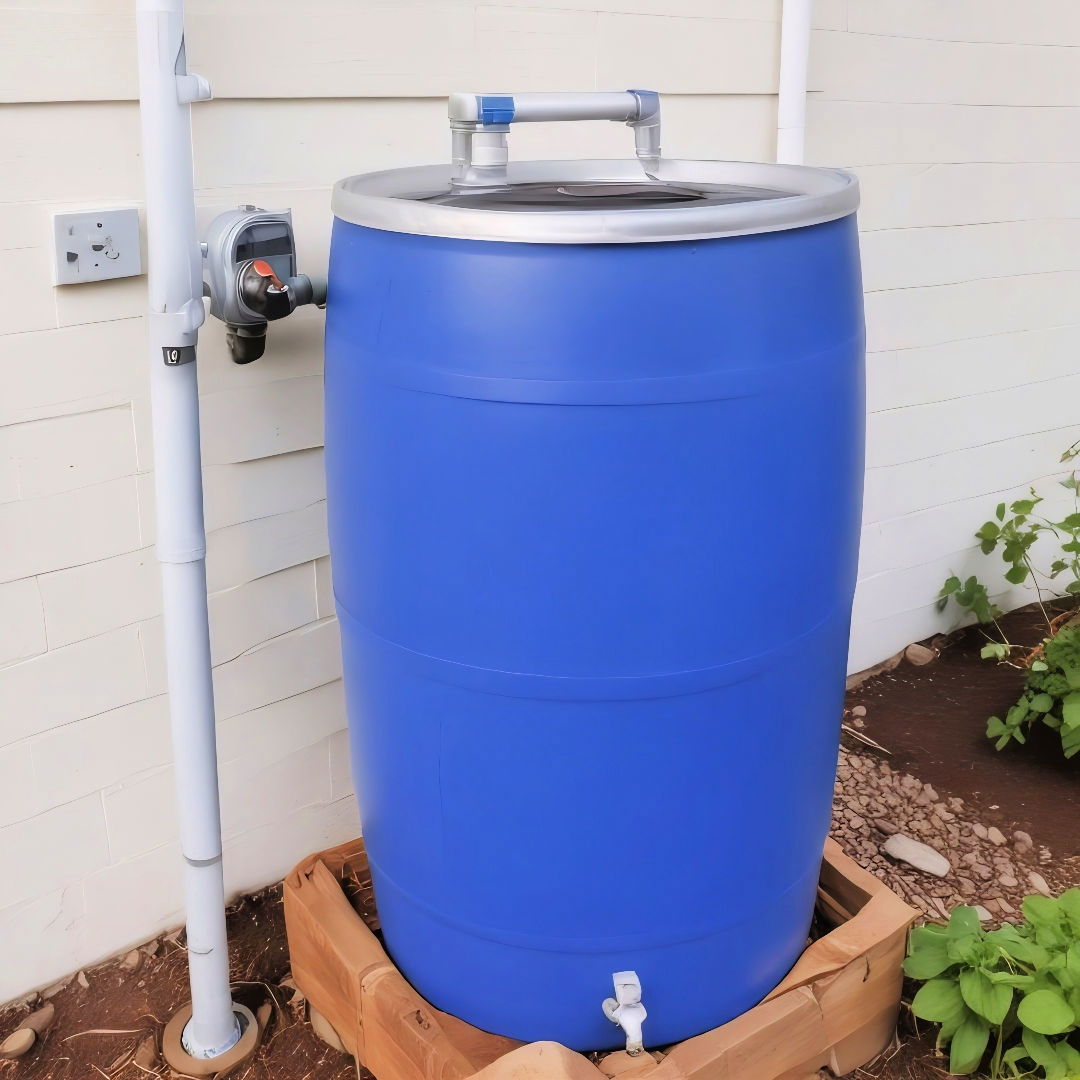
- DIY Rain Barrel: Save money and conserve water with an adorable DIY rain barrel. Follow our guide to create an efficient water-saving system.
- DIY Ladder Plant Stand: Elevate your plant display with a simple DIY ladder plant stand. This creative project adds style and function to any space.
- DIY Vertical PVC Pipe Garden: Learn how to build a vertical garden using PVC pipes. Maximize your gardening space with this innovative and simple project.

